Butterfly Cycle Thumbprint Art

This Butterfly Life Cycle activity in the form of thumbprint art is what I like to call a win-win.
Kids like it because it’s so fun they will want to do it over and over again.
Moms and teachers like it because it takes only a tiny bit of time to set up, and only makes the tiniest bit of mess.
Bonus: kids get to learn a little bit about the life cycle of a caterpillar.
If you’ve got a kiddo who doesn’t like to get their hands messy, don’t worry. At the bottom of this post we’ve suggested alternatives to making thumbprints.
The Gist:

printing a caterpillar on the leaf
The idea behind this activity is that children will use their thumb to print/paint in the stages of the butterfly as it goes through its life cycle; egg, caterpillar, chrysalis, butterfly.
This post contains affiliate links. As an Amazon affiliate, I earn a small commission on items purchased through these links at no extra cost to you. We only link to items we use and love.The Materials:
free printable(s) (Instructions on how to access the printables are at the end of the page.)
painting implement if not doing thumbprints (see note below)
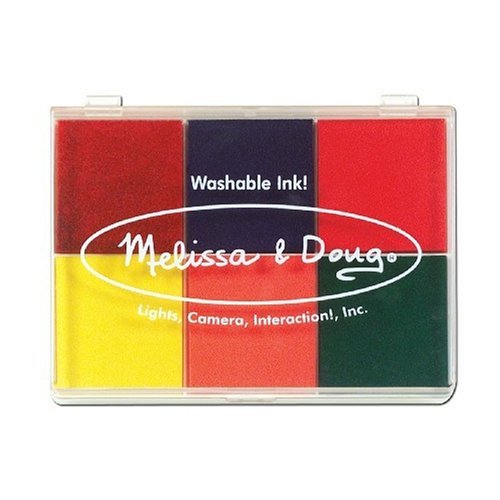
stamp pad (we prefer the washable one by Melissa and Doug)
The Steps
Show the caterpillar printable to the child and explain the activity.
Show the child how to make a fist, but leave the thumb extended and then press their thumb onto the ink stamp pad and then onto the paper (preferably just scrap paper at first).
(optional) Let the child explore making thumbprints on scrap paper.
Ask the child to pretend their thumb (or painting implement) is a caterpillar and print onto the picture in the order of the life cycle. (One print for the egg on the small leaf, several prints in a row for the caterpillar on the large leaf, two prints for the chrysalis hanging down from the branch, many prints to color in the butterfly.)

downward thumbprint for chrysalis
Tips
use a washable ink pad
use one ink color to minimize color mixing.
have hand wipes nearby
provide lots of paper for the child to print on so they aren’t tempted to print on walls or other surfaces.
Next Steps
Consider using the bonus printable Caterpillar Patterns (linked at bottom of page) for the child to make a pattern using multiple types of ink. Or keep it simple and just use one ink color to make caterpillars.
Give children blank paper and ask them to try to create other animals with their thumbprints. (Don’t be surprised if they start to get their whole hand in on the action.)
Give children blank paper to make whatever they want with thumbprint art.
Remind the child to put the lid on their ink pad and clean their hands when they’re done painting.
Alternatives
If you’re working with children who don’t want to get paint on their fingers, try some of these creative painting tools instead.
cotton ball held by a clothespin dipped in the tiniest bit of finger-paint
cotton swab dipped in liquid paint (washable tempera would work)
ink dauber used with the ink pad
dot paint marker (look for washable ones)

How to access the free printables:
Subscribers get access to all of the hand-made printables located in the Free Resource Library. Use the form at the bottom of the page to subscribe and get immediate access to Resource Library as well as fun activities delivered straight to your inbox.
Already a subscriber? Click the button below to enter the Free Resource Library. The password is in the last email you received from The Budding Artists.
Be sure to save this post for later. The image below is Pinnable. Thanks!

Click the button to download the free Thumbprint Butterfly printable.
And if you subscribe to our newsletter (using the sign-up form under the comment section), you’ll get access to the free bonus printables in the Resource Library.