A Guide to Working with Watercolor Paint
If you’ve read our About Us page, you know my sister Kim is the art guru, while I’m the teacher and writer behind this operation. I go to Kim for all my art and craft questions. Years ago, when I wanted to start bringing more art into my daughter’s life (she wasn’t getting any in the local public school), I bought a set of cheap watercolor paints. I’ll be honest, that paint palette sat unused for a really long time until I asked Kim to show me how to help my daughter use it. I know I’m not alone.
In the interest of helping us all feel more comfortable working with watercolor paint, I’ve created this guide (with Kim’s help, of course).
The steps below are meant for watercolor paint that comes in a palette of pots. (Watercolor in tubes works a little differently, though some of this information will be true for that too.)
We’ve also included a handy tutorial at the end to show you how to clean up the paint pans when the kiddos have been mixing the colors together in them.
Tips for Working with Watercolor Paint
Note: This post contains affiliate links. As an Amazon affiliate, we earn a small commission on purchases made through these links, at no extra cost to you. 
Tips for working with watercolor as well as how to clean your palette
1. Set up your painting station to include a protected flat surface, paintbrush, small container of water, paints, watercolor paper and a paper towel or other cloth for dabbing extra liquid from the paintbrush. (See the note about the materials and our recommendations at the bottom.)
2. Open the paint palette and lightly wet the paints you want to work with to activate them. You can do this by using the paintbrush to drip water onto the pans of paint or by spritzing the paint with a small spray bottle of water.
3. Determine if you want to use the wet-on-wet technique (to allow paints to blend and spread more) or the wet-on-dry technique (for more control over the pigment).
4. If using wet-on-wet, use your paintbrush to apply water over the whole surface of the paper—a wide paintbrush will make this go faster—and begin painting while the paper is still wet. (If you’re using a high-quality watercolor paper, you can wet it by running it under a faucet before laying it flat on your work surface.)
5. Swipe your wet paintbrush across your activated paint to lift some color and begin painting. For a lighter pigment, use more water with the paint. For a more vibrant pigment on your paper, use less water with your paint.
6. To mix colors, use your paintbrush to pull different pigments onto your palette and mix. Add more water to the mixture if needed. Or blend the colors directly on your paper if using the wet-on-wet technique. Experiment to see how this works on your paper.
7. Watercolor paint is transparent, so you cannot cover up mistakes by layering. .
8. If you want to add white highlights, use a white gouache paint after the watercolor painting has dried.
9. You can add details (before or after painting) by using a waterproof pen. We like these Micron fineliners.
10. Let your watercolor palette dry out completely before closing it.
Things to know:
· The quality of your paint matters. Low quality paint contains very little pigment and will result in less color on the page. Also, the cheap palettes run low very quickly, meaning you have to buy paint more frequently.
· The quality of your paper matters. If you use paper other than watercolor paper, it will buckle and peel. 90lb is good for practicing. We recommend 110lb or higher for painting projects.
Recommended Supplies for Painting with Watercolor
Watercolor Paints

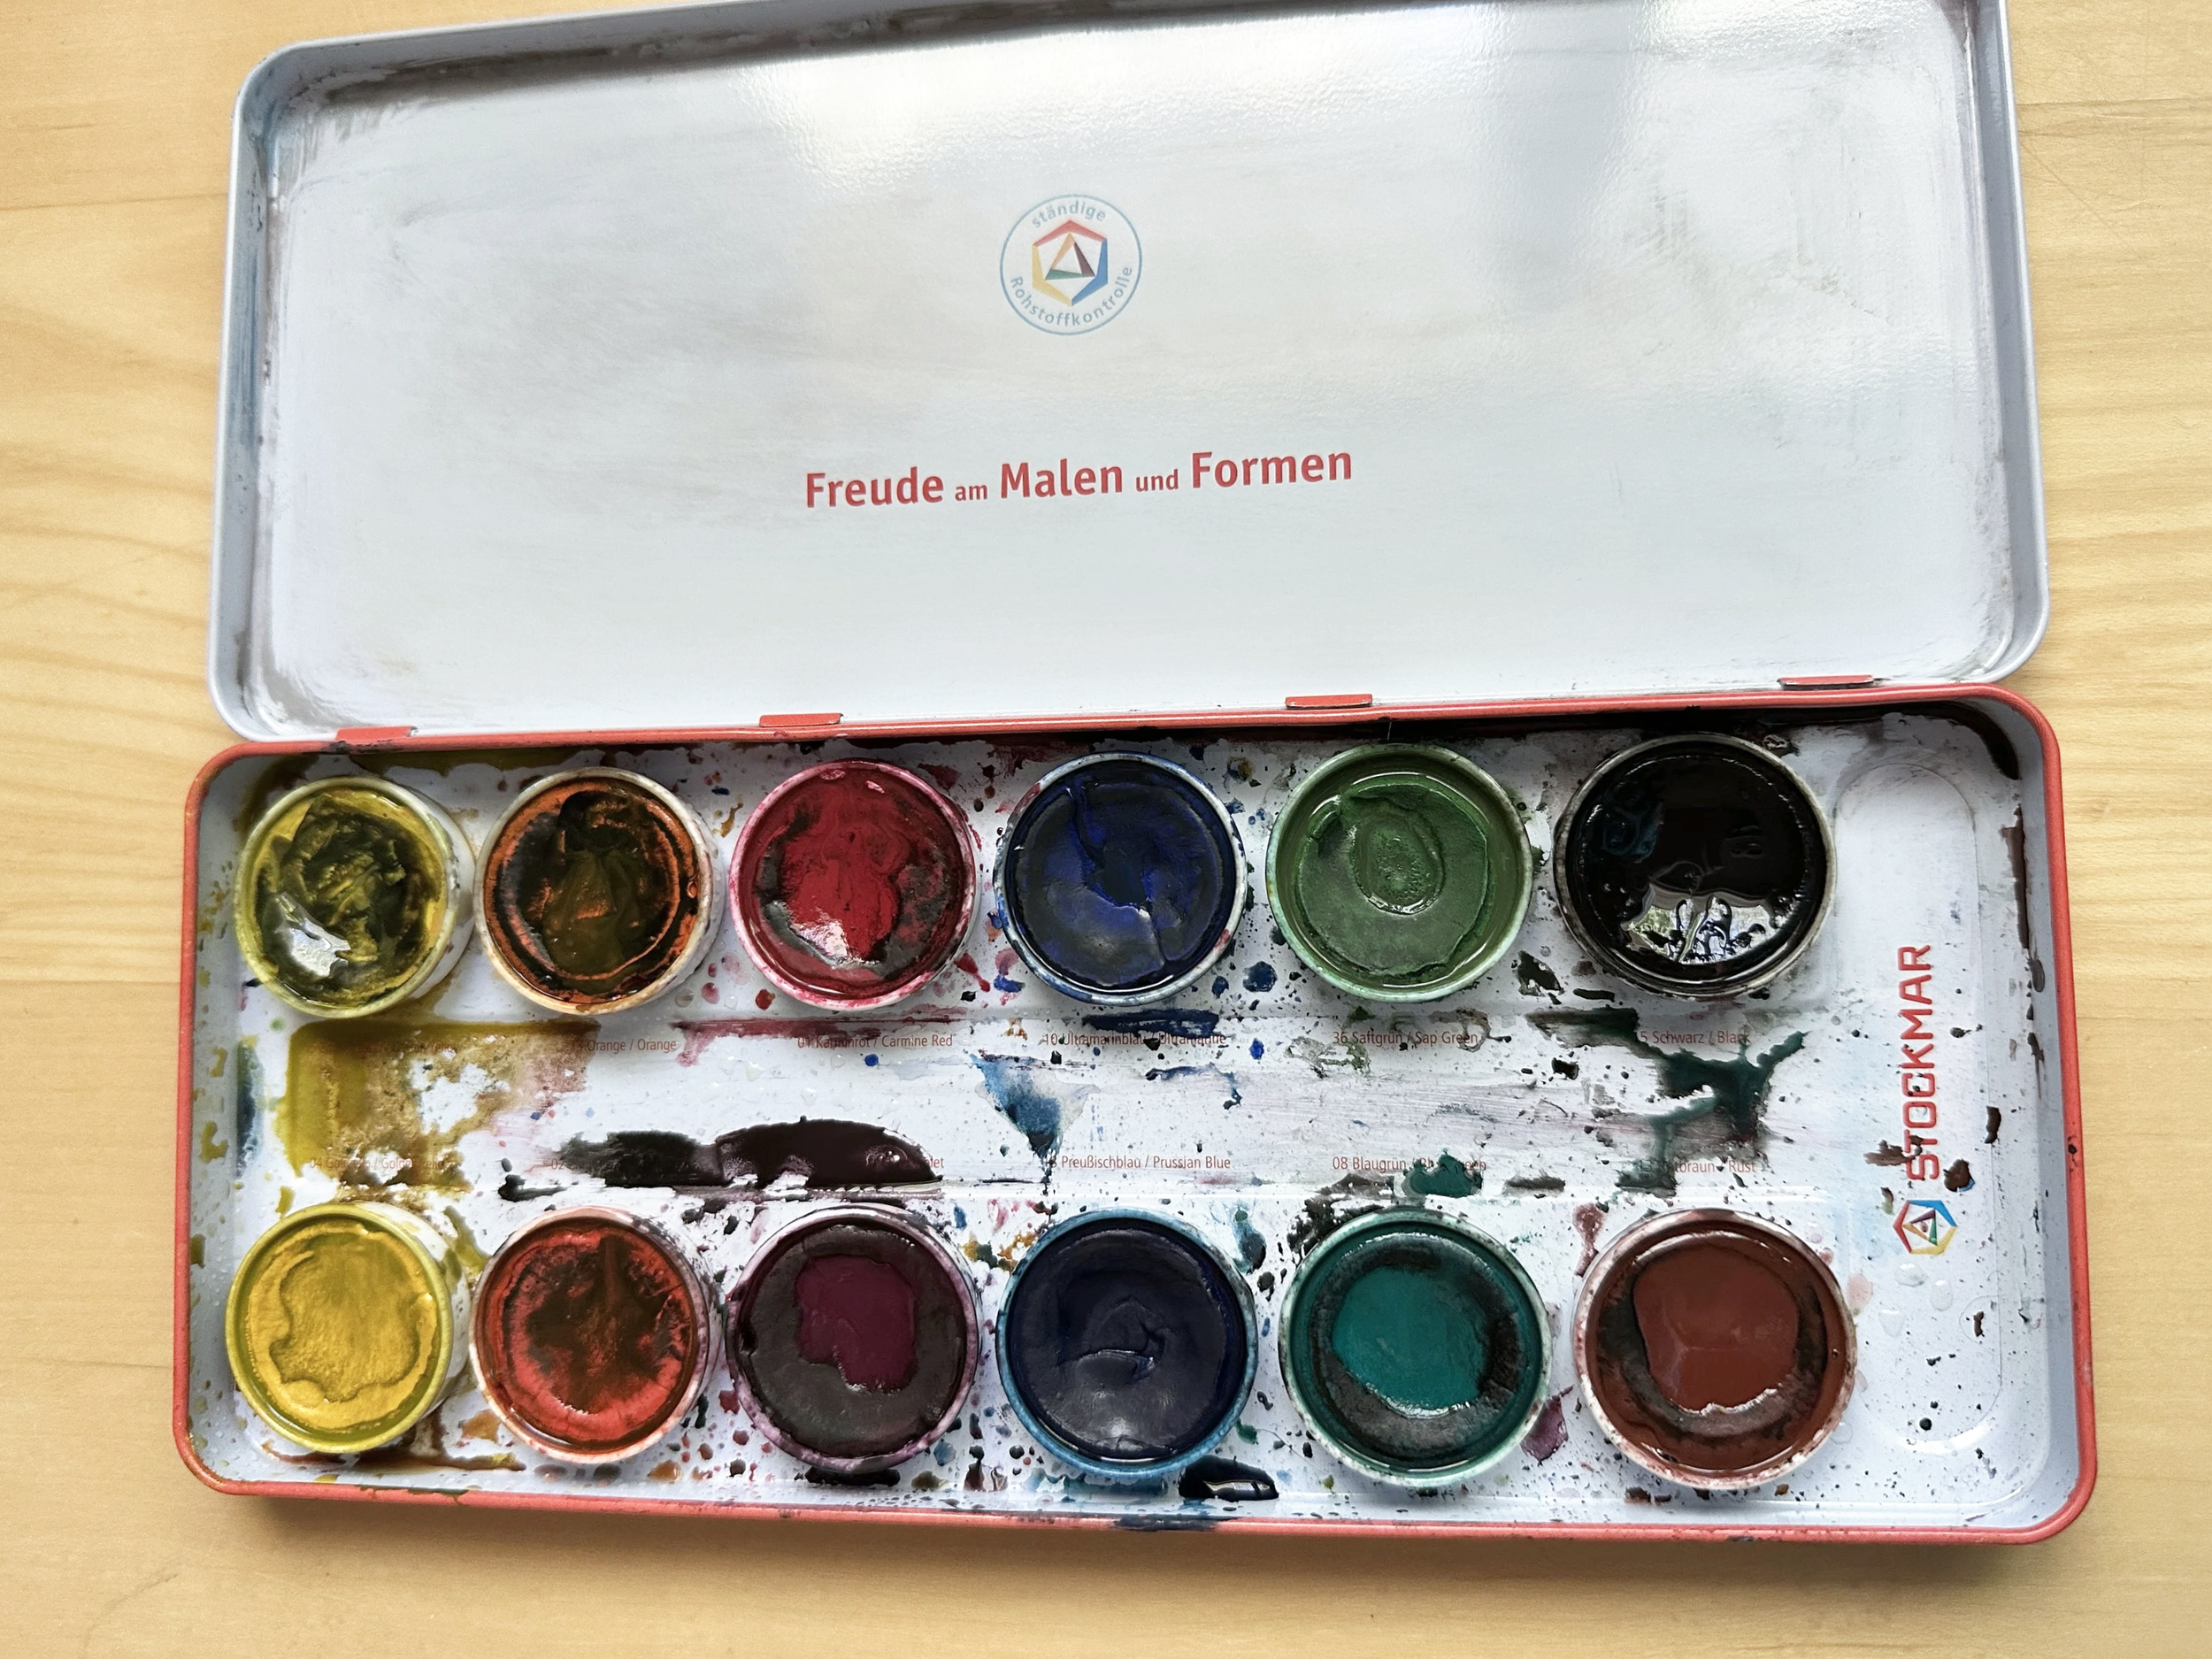
We really like this artist grade set of watercolor paints by Stockmar. It has many great features.
intense opaque pigments
non-toxic
removable paint pads
removable and cleanable mixing palette
tube of white gouache included
durable, travel-friendly storage tin
company claims individual paint colors can be replaced
A less expensive, but still good quality set is this one by Faber-Castell. Here’s why:
good level of pigmentation in the paints
non-toxic
removable paint pans (though a little difficult to return to the tin)
removable lid serves as cleanable mixing palette
tube of white gouache included
product claims individual paints can be replaced


For a high quality student grade set try the Cotman Half Pan Watercolor set from Winsor & Newton.
high quality pigment
non-toxic
portable
cleanable palette
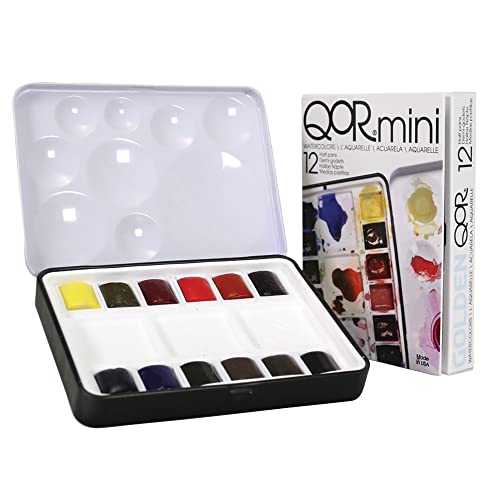
If you’re looking for professional grade, Kim loves this half pan set by Golden.
vibrant colors
portable tin
cleanable mixing palette
For paintbrushes:
Starting out, you will mostly use round brushes. This pack includes a variety of sizes, allowing for detail work as well as broad coverage.
I do not recommend buying the brushes from the dollar store. The bristles do not hold their shape at all, which makes them very frustrating to work with.

For watercolor paper:
There are some cheap bulk sets of watercolor paper you can order online. I once purchased such a pack, knowing we would go through a lot of it during our art lessons. I regret that decision. Much of that paper still sits in a drawer because it is of such a low quality no one likes using it. It crumbles and buckles when the slightest bit of water is added to it. The paint doesn’t behave the way it should on this cheap paper. I don’t recommend it. Instead, here are a few options we recommend (though there are other good ones out there) to get you started.
This Strathmore 300 series is a nice starting point. Many beginner artists are happy with their results from this.
An even nicer option is this pack from Meeden.
This artist grade pack from Arches is an investment, but gets high reviews from watercolorists, including Kim.
Still have questions about working with watercolor? Send us an email, and we’ll do our best to answer them.
How to Clean your Watercolor Palette
Watch the short video below to see how to clean up your water color paint pans.