Simple Christmas Tree Card for Kids
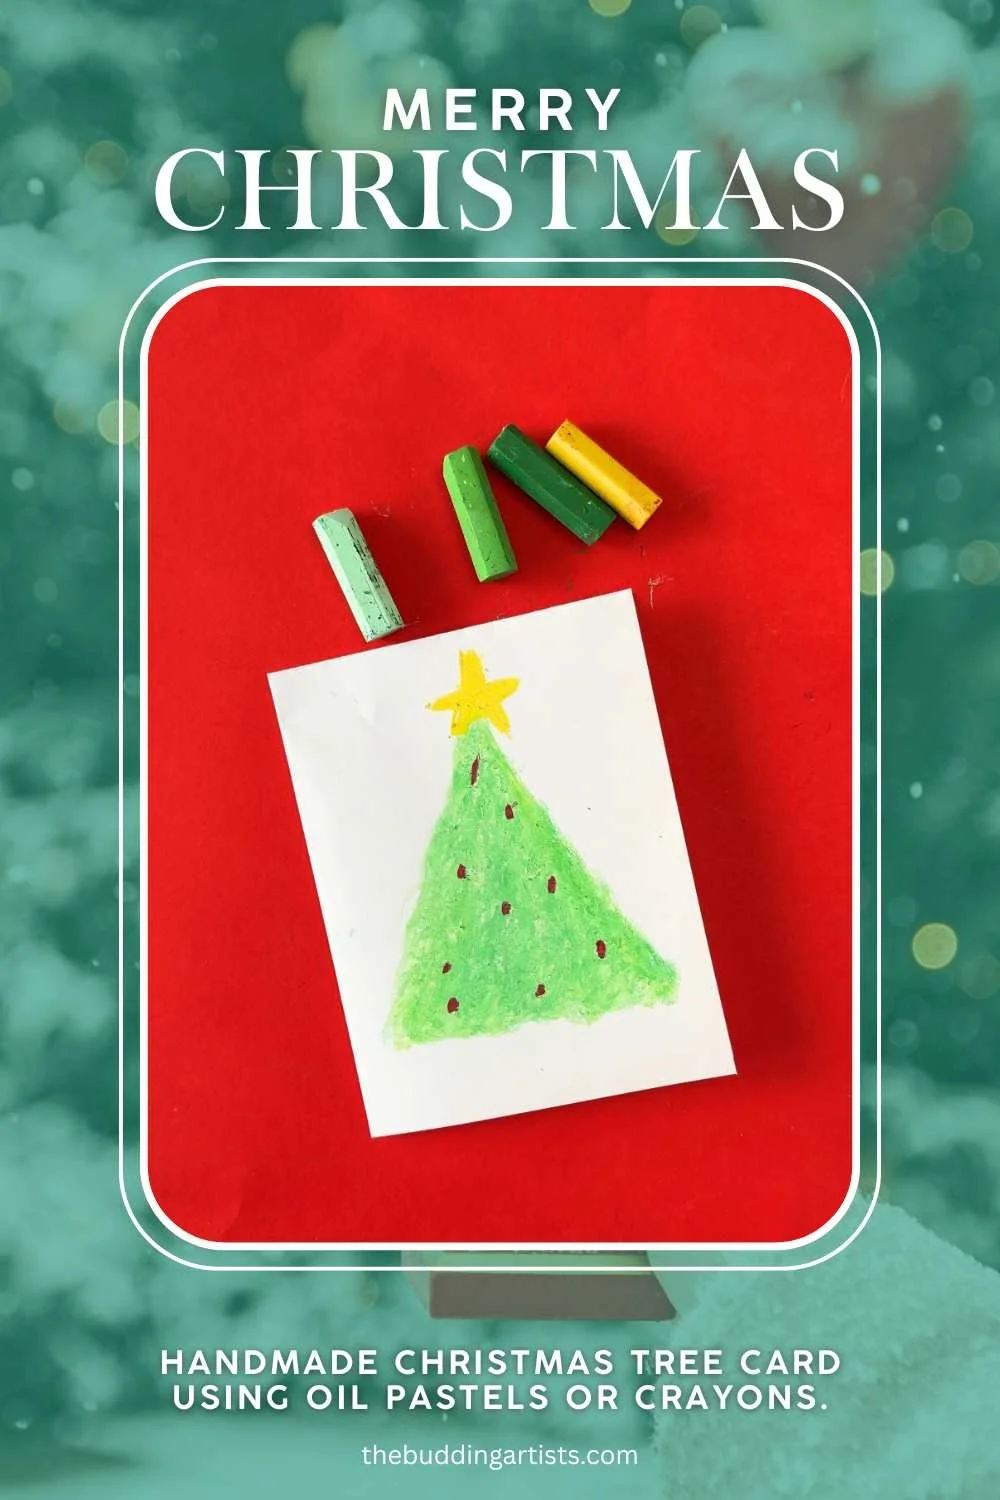
Kids as young as preschool age can make these homemade Christmas tree cards using crayons or oil pastels.
Kids as young as 3 can make these simple Christmas tree cards for loved ones, but older kids and even teens enjoy the process too. Bonus: I’ve included a quick way to turn this crafting activity into a full (but quick and simple) art lesson.
What makes these simple enough for preschoolers to make? If a child can write an uppercase letter T, they can make this card.
What makes them fun for older kids? Working with oil pastels brings out the creativity in kids and teens. The ability to beautifully blend colors makes this an engaging craft for kids of all ages.
Note: You can make these with regular crayons instead of oil pastels (though they won’t blend as well).
See our exhaustive test of the best crayons for kids here.
This post contains affiliate links. As Amazon affiliates, we earn a small commission on purchases made through these links at no extra cost to you. Materials:
White paper (printer paper, card stock, mixed media, or construction paper)
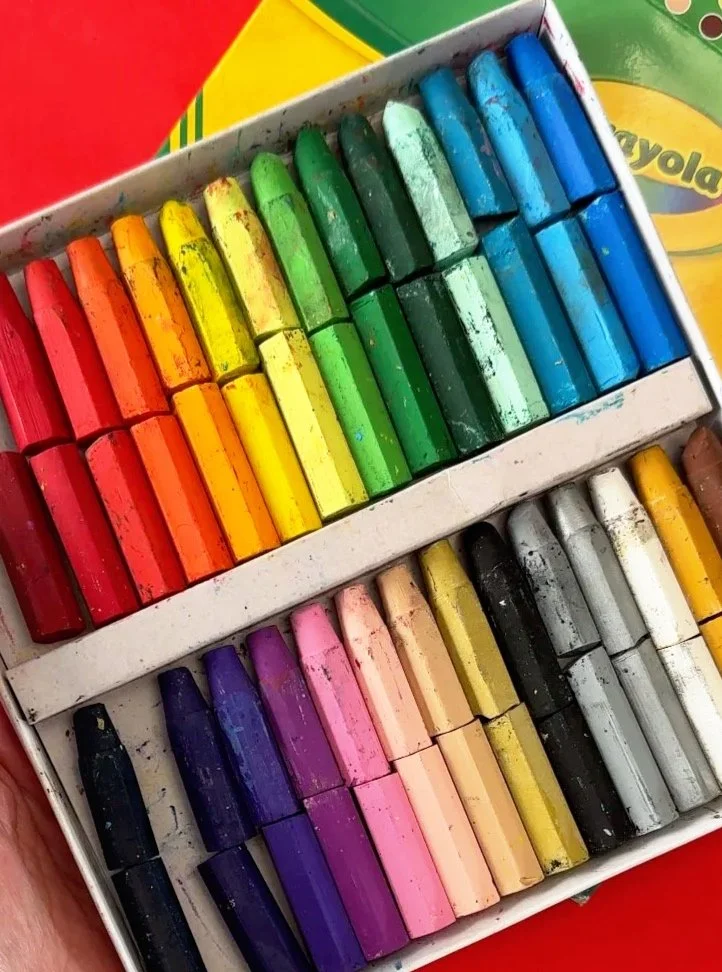
crayons or oil pastels in three shades of green, one yellow (or gold) and one red
blending stump (optional, but makes blending pastels easier. Use a paper napkin instead if desired.)
baby wipes (optional, but makes cleaning fingers easy)
Steps:
Decide what size you want the cards to be. You can cut or fold a sheet of paper into fourths or in half to make your card.
Once you have the paper folded to the size you want, position it on a flat surface so the front cover is facing up (as if you’re about to open the card).
Now, keeping the card flat, rotate it 180 degrees so the bottom of the card is now at the top. (You will draw the first two steps with the card upside down.)
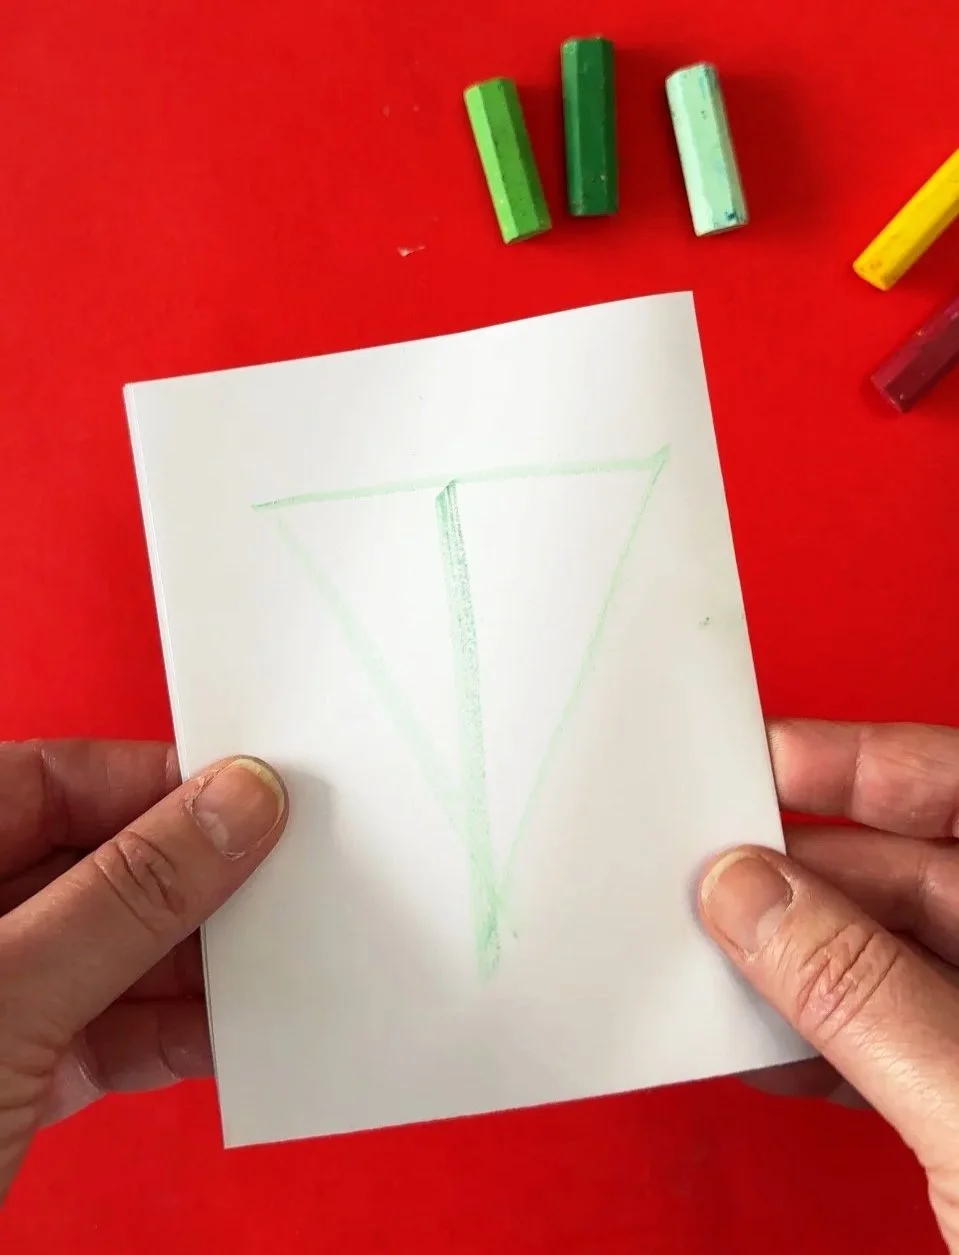
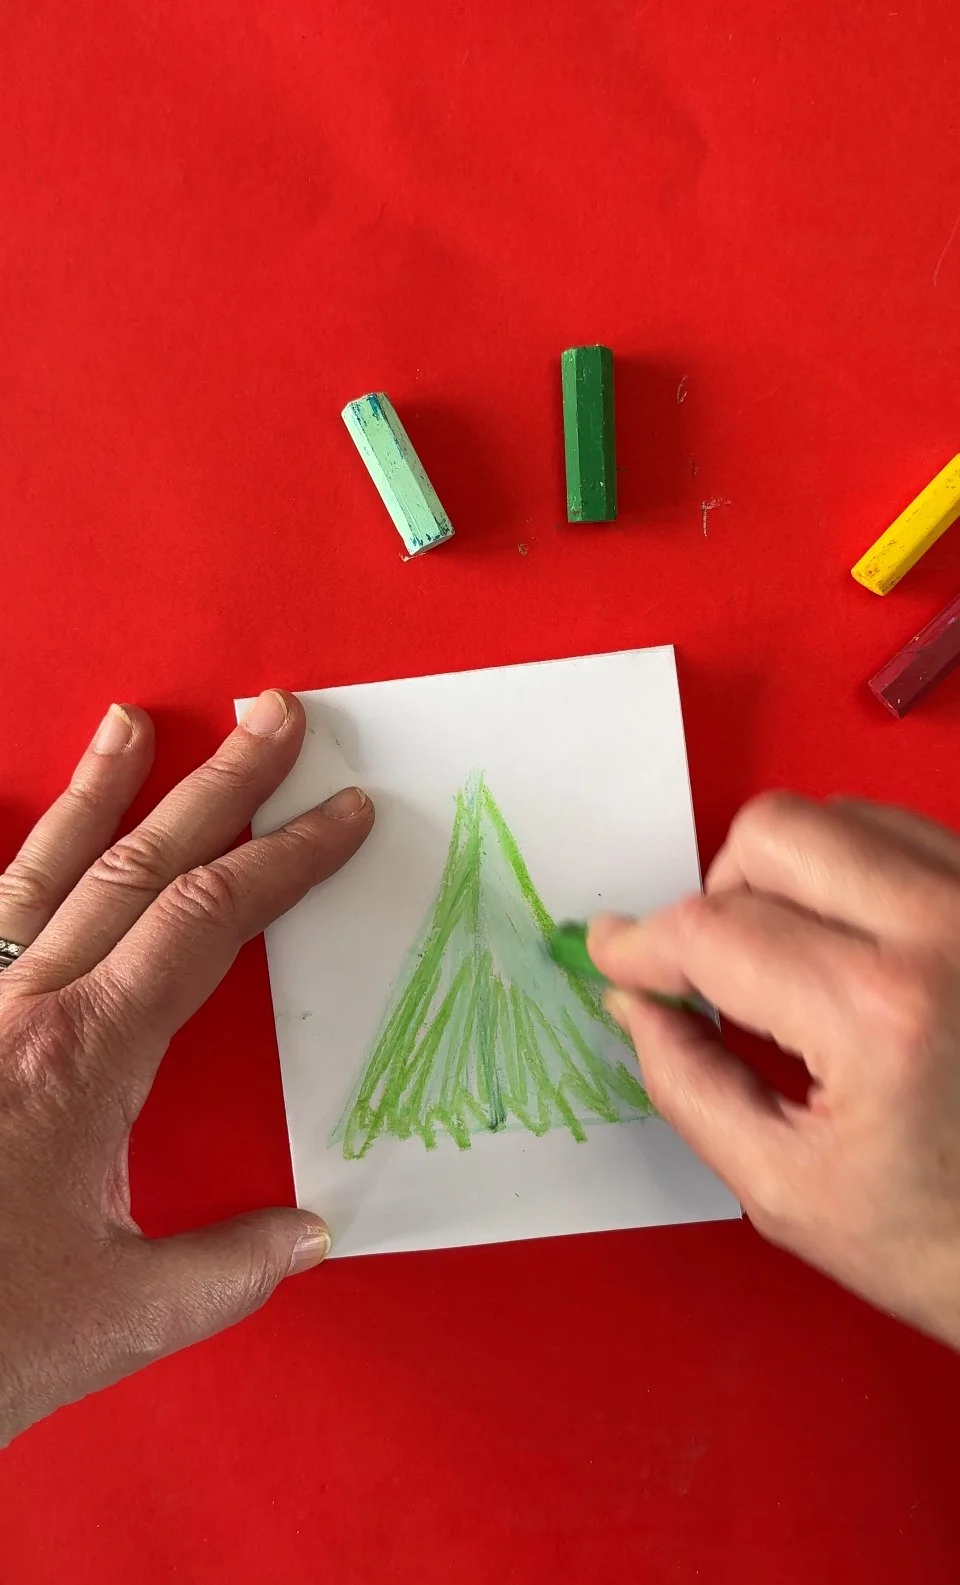
Using the lightest shade of green, draw an uppercase letter T, taking up most of the space. Leave a small margin of white space on all sides of the finished tree.
Next, you will turn the uppercase T into a triangle by drawing a diagonal line from each end of the top crossbar of the T down to the bottom point of the T. You should now have a triangle with a line going down the center.
Rotate the paper so the card is once again right side up. (Now the triangle is positioned with the wide part at the bottom—like an evergreen tree.)
With the same light shade of green, lightly color in the triangle. Older kids can use short strokes going in the same vertical direction to mimic pine needles.
Then color the triangle tree with the medium shade of green.
Finally, add a layer of your darkest green on top.
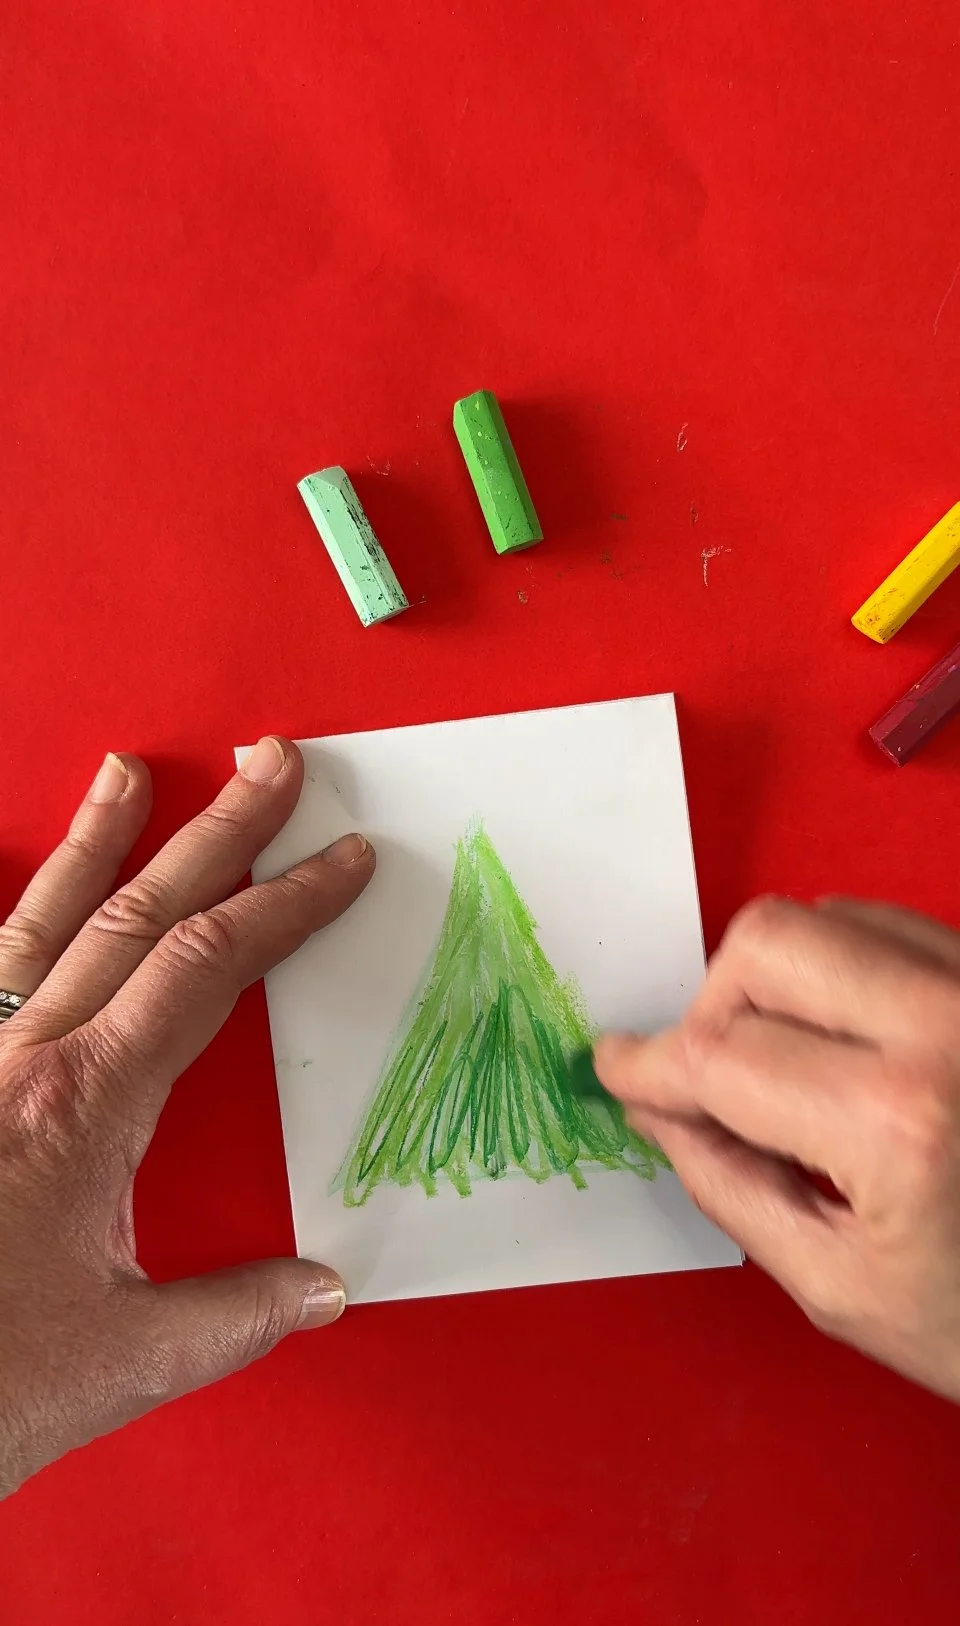
If you’re working with oil pastels, blend all the greens together before adding the star and “ornaments.” Blend a little bit outside of the lines of the original triangle in order to soften the look of the tree.
Use yellow or gold and draw a star on top of the tree.
Use the red crayon/pastel to add random red dots or tiny circles to create the look of Christmas ornaments.
Add 2nd layer of green
Add 3rd layer of green

Blend to look like a tree.
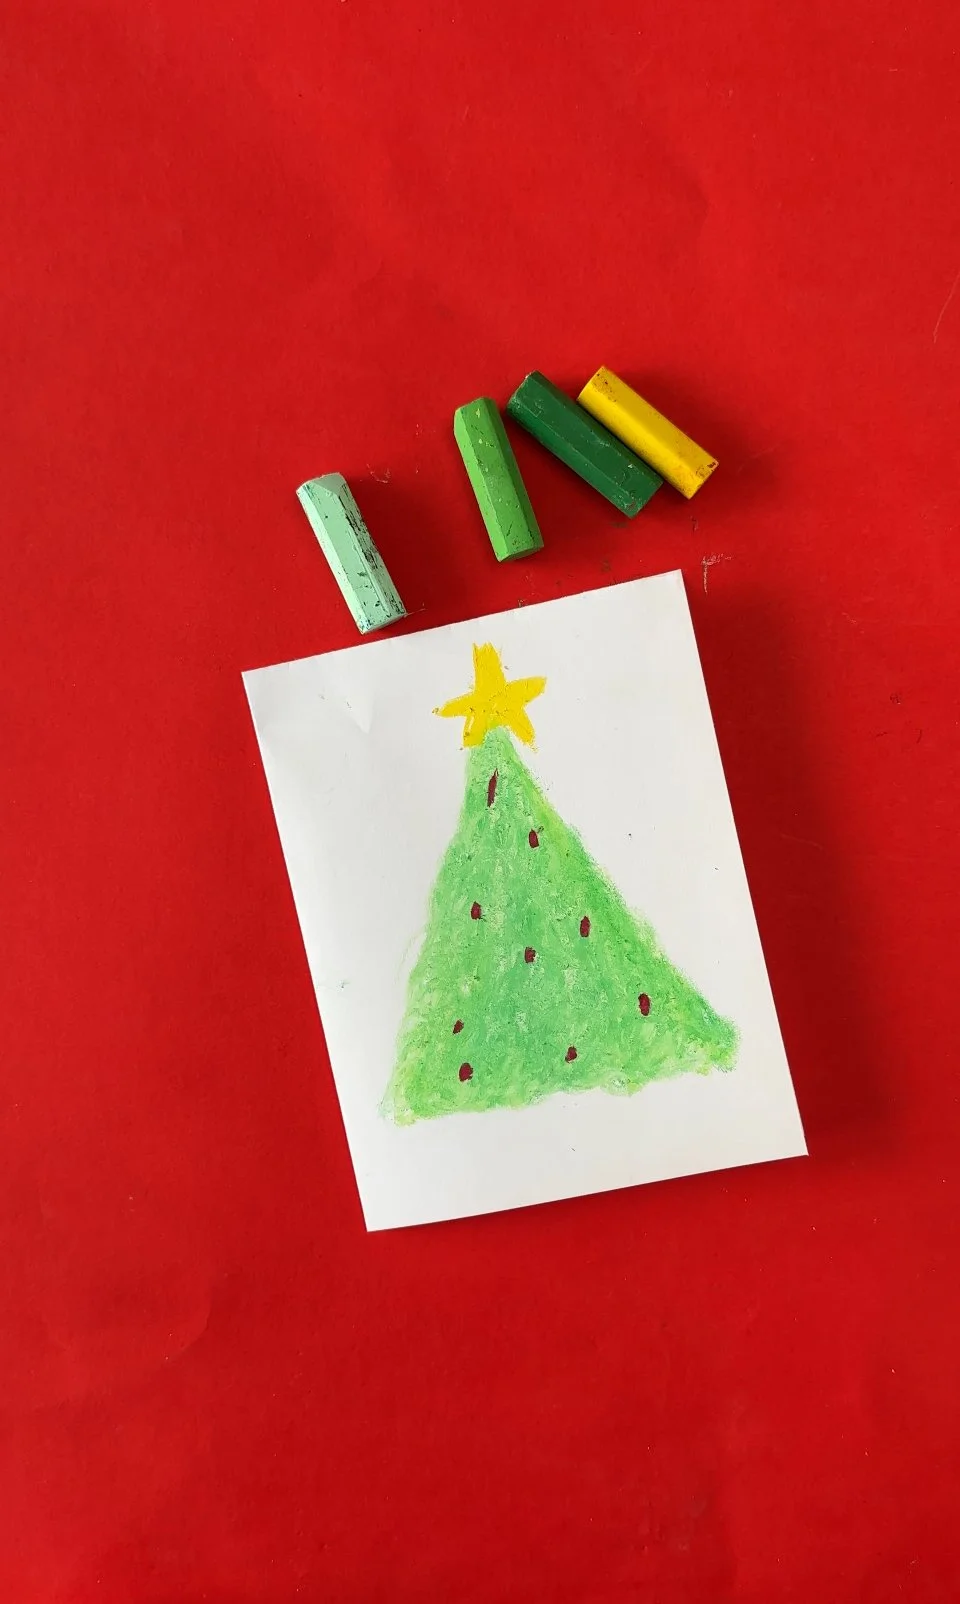
Color in star and ornaments.
You can make the tree with crayons instead of oil pastels.
Tips:
Try to shade over the center line of the original T you drew to make it blend in with the rest of the tree.
It’s ok if kids color outside the lines. This just gives the tree a more organic look.
Crayons will not layer as well as oil pastels, but they will fill in any remaining white space inside the tree.
If you don’t have a blending stump, wrap a paper napkin or paper towel around your fingertip to blend oil pastels.
If kids colored with short “needle-like” strokes, they should only lightly blend so they don’t lose the look of pine needles.
Don’t try to blend the red in with the green or you will end up with a muddy brown color instead.
Kids can add dots of other colors instead of (or in addition to) the red, but they should first explore the color combinations on a scrap paper to ensure they are happy with the look.
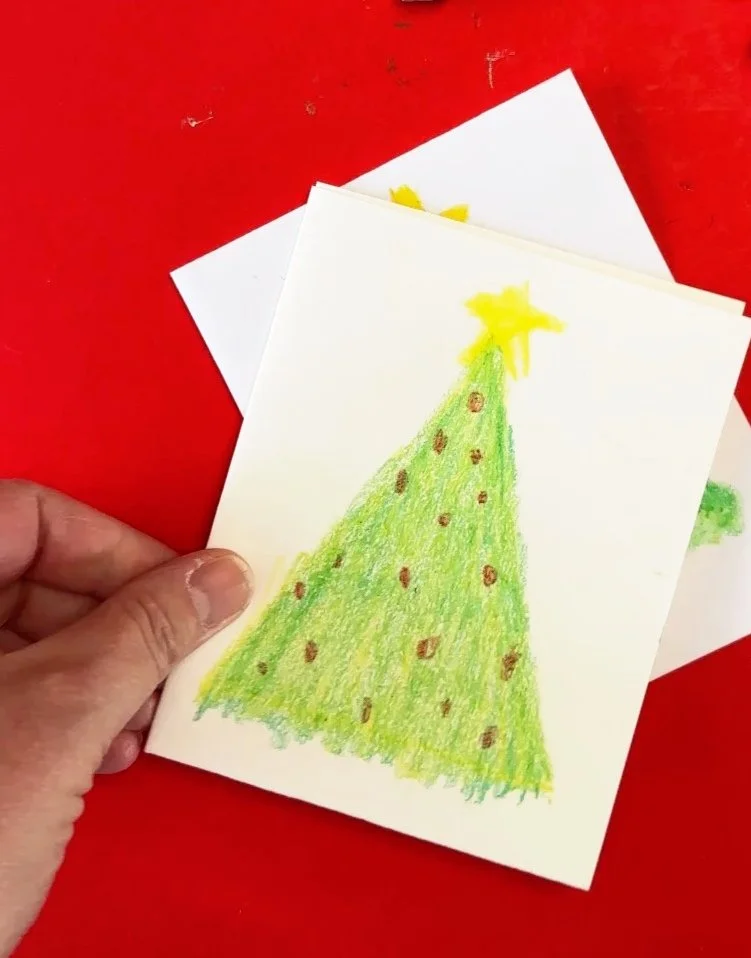
These handmade cards would pair perfectly with a handmade gift. Try these super simple beeswax candles.
Order self-seal envelopes in bulk for mailing handmade cards.
Turn it into a full art lesson:
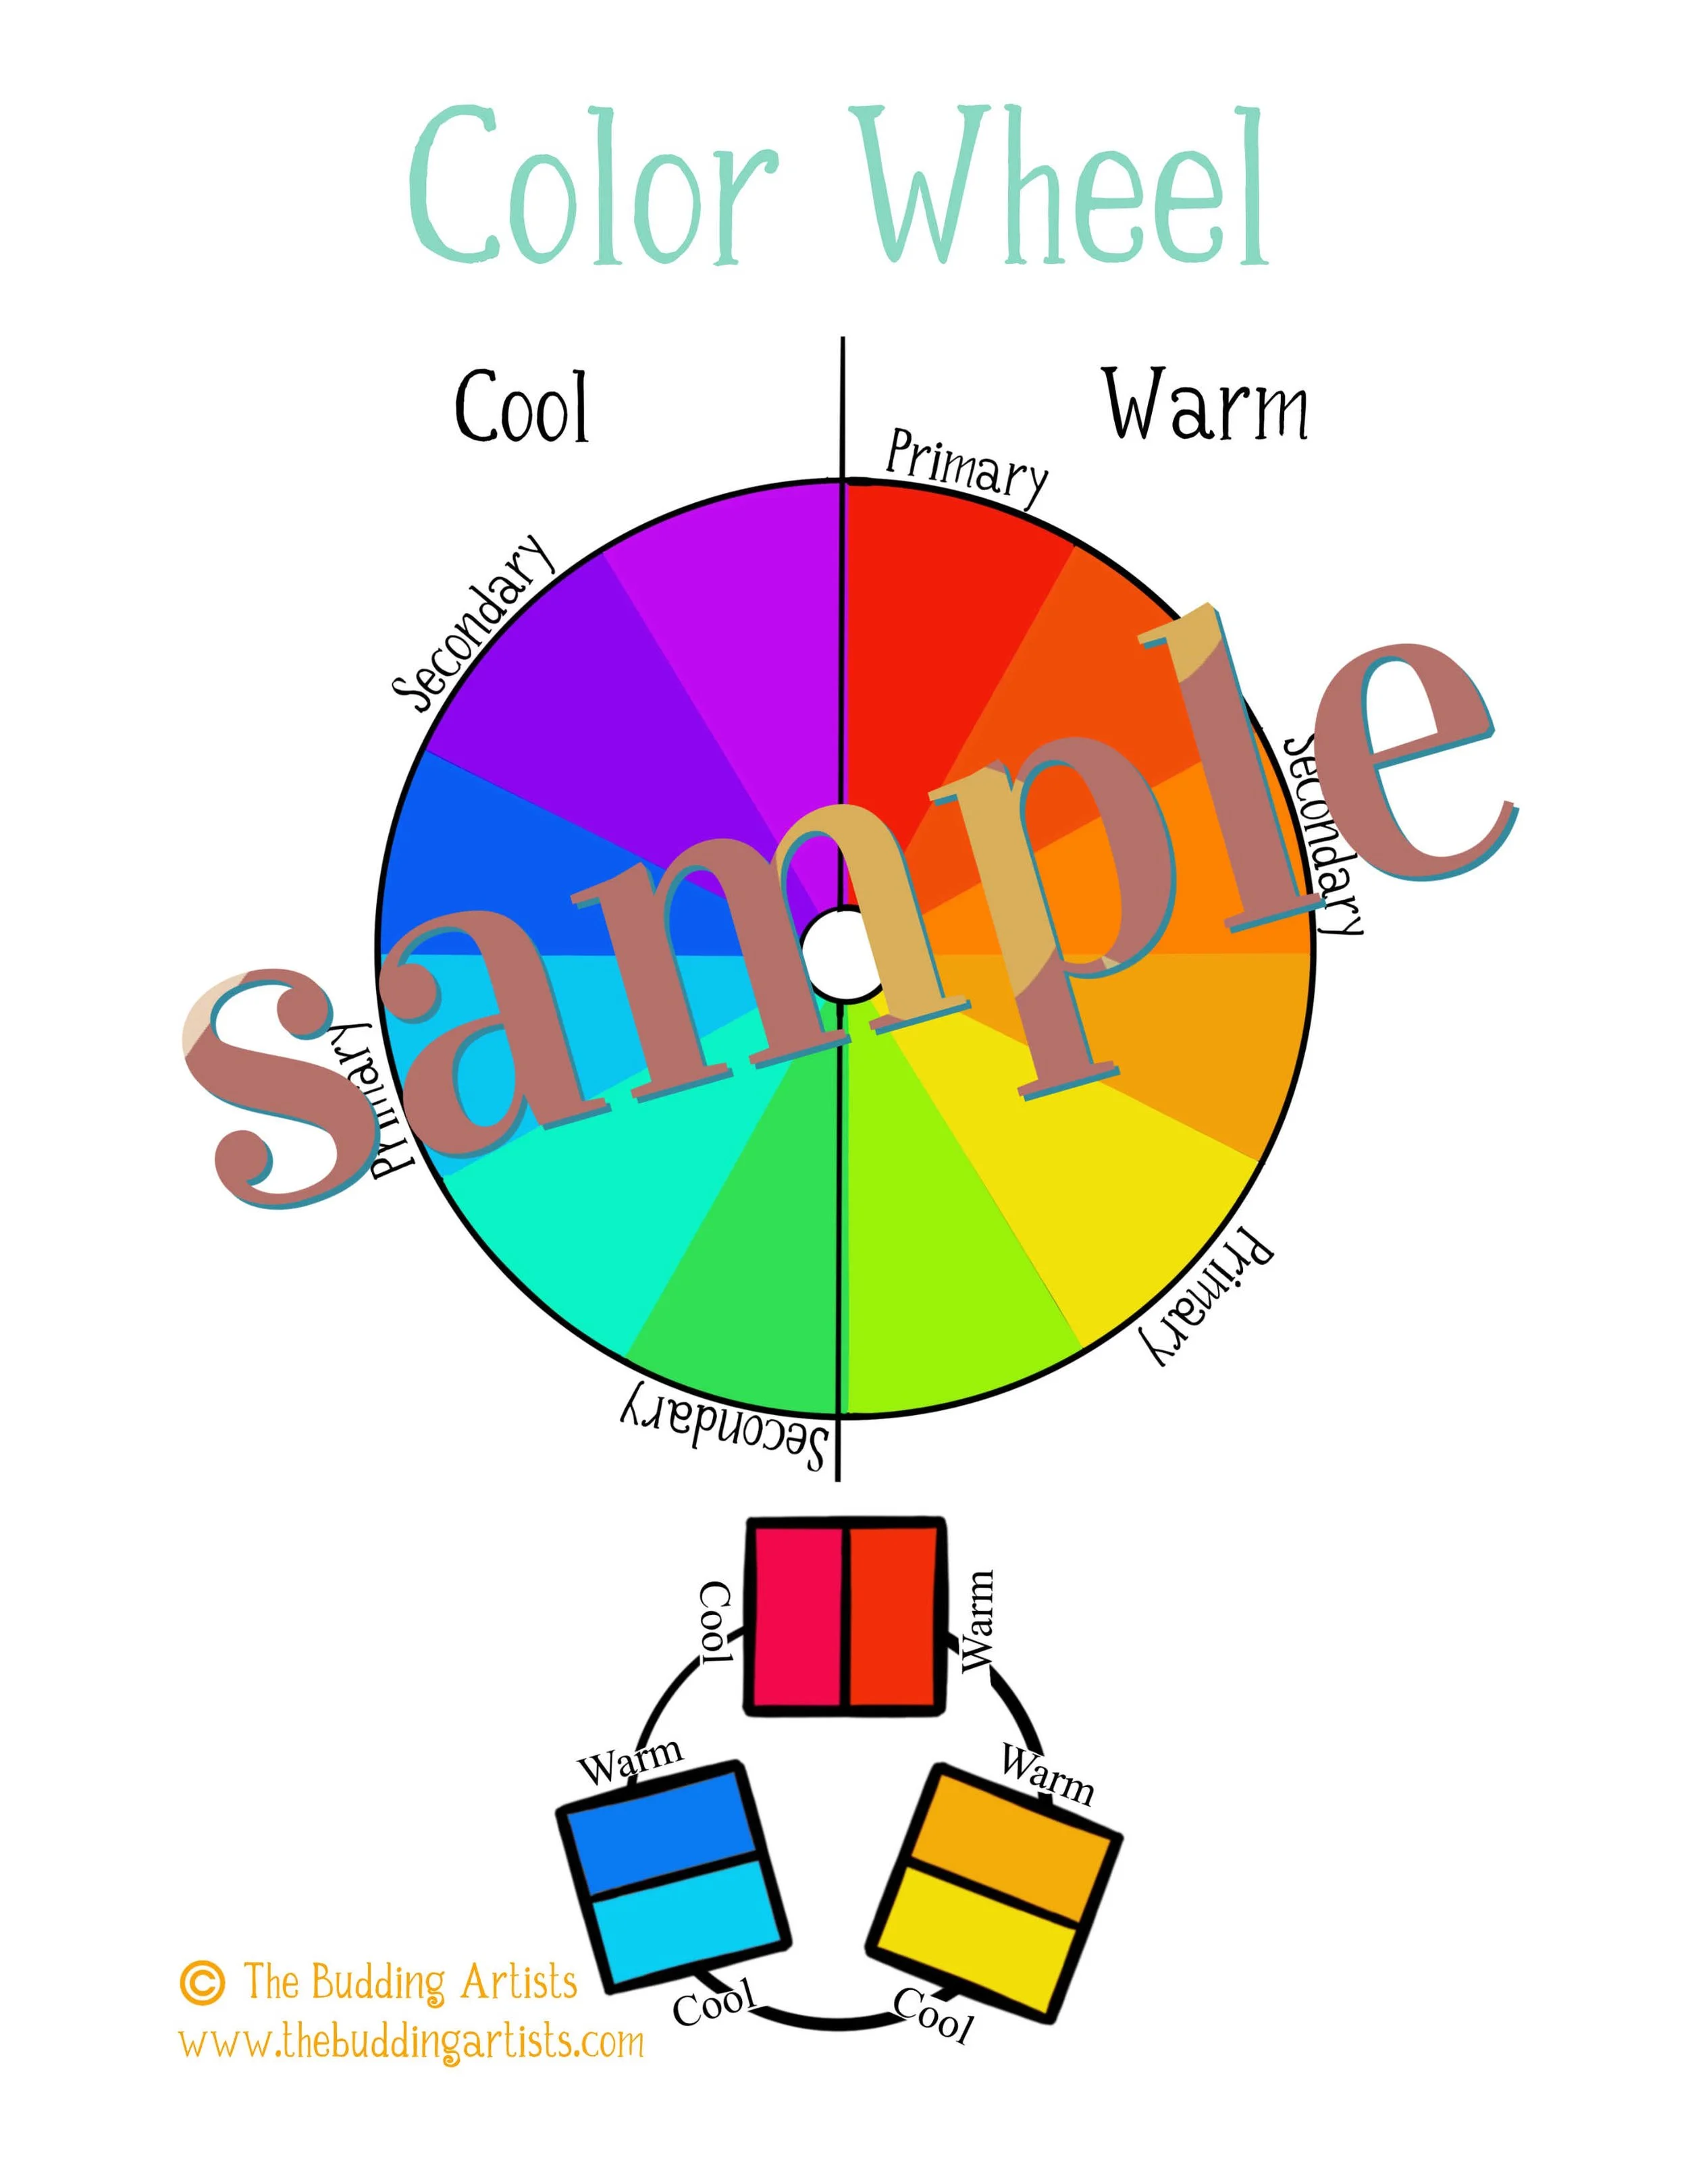
Download our color wheel inside the Free Resource Library
This activity provides a great opportunity to discuss the art element of color. Use a color wheel (get ours from the Free Resource Library) to demonstrate how green and red are opposites on the color wheel, so they are called complementary colors. There are two important things to know about working with complementary colors: they typically look good (eye catching) when used in close proximity to each other, but they will create a muddy brown-like color when they are blended together. Give children a chance to watch this transformation happen by giving them oil pastels in complementary colors and letting them blend them together.
Remember, any colors that are opposite on the color wheel are complementary colors (red + green, yellow + purple, orange + blue).
You can download our detailed color wheel (which is more comprehensive than most since we use it in our Mimic the Masters art curriculum). The color wheel—and all our other free printables—can be found inside the Free Resource Library. Subscribers to our Budding Artists newsletter will find the password to the resource library inside their latest newsletter. Not a subscriber yet? Use the subscribe box at the bottom of the page for immediate access to the Free Resource Library. We promise not to sell your email address nor spam your inbox. We only send newsletters when we have new art tips and resources to share with you and your kiddos.
Art Curriculum:
If you want to know more about teaching kids color theory and all the other elements of art, consider purchasing our comprehensive art curriculum Mimic the Masters intended for preschoolers through middle school.
You may also like:

Easy Watercolor Snowman
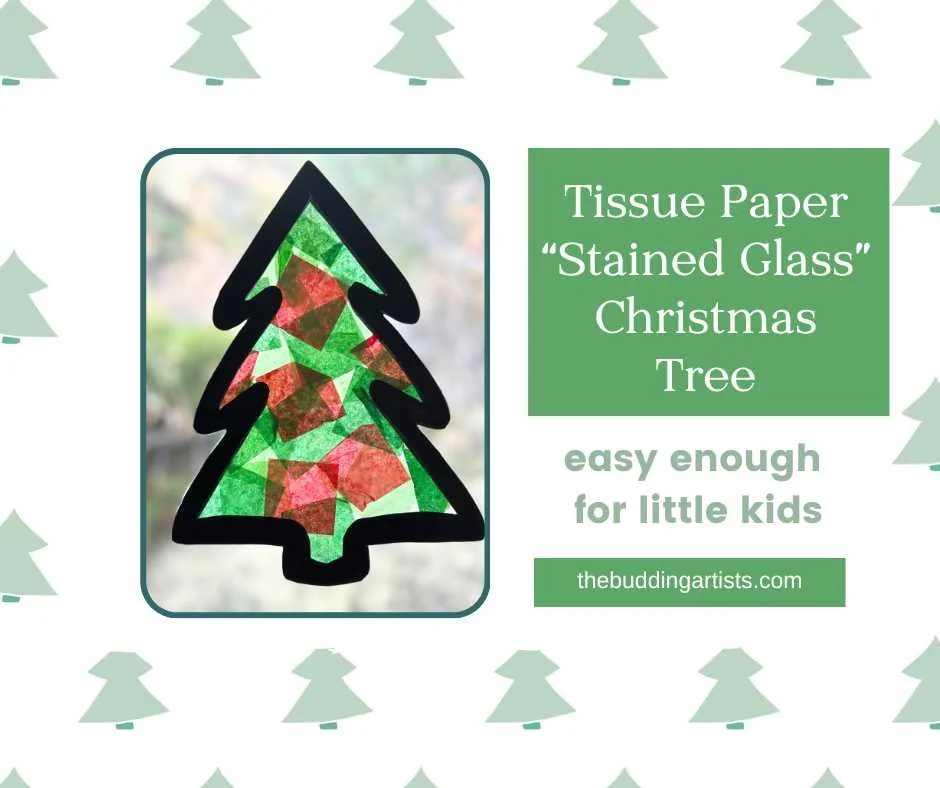
Stained Glass Christmas Tree

Gifts for Young Artists