Evergreen Forest Art Activity using Color Mixing
Use this quick tutorial to help kids draw and color a beautiful, but simple, winter forest of evergreen trees.
Have you ever noticed how coniferous trees are different shades of green? In fact, some, like the blue spruce, are even blue.

Inspiration for an evergreen forest art activity with color mixing.
This variety of an evergreen forest gives us a great excuse to do some color mixing with analogous colors, so I’ve included an optional quick art lesson at the bottom of this tutorial in case you want to use this activity to help your kids learn more about the art element of color.
Note: This post contains affiliate links. As an Amazon affiliate, we earn a small commission on purchases made through these links at no extra cost to you. 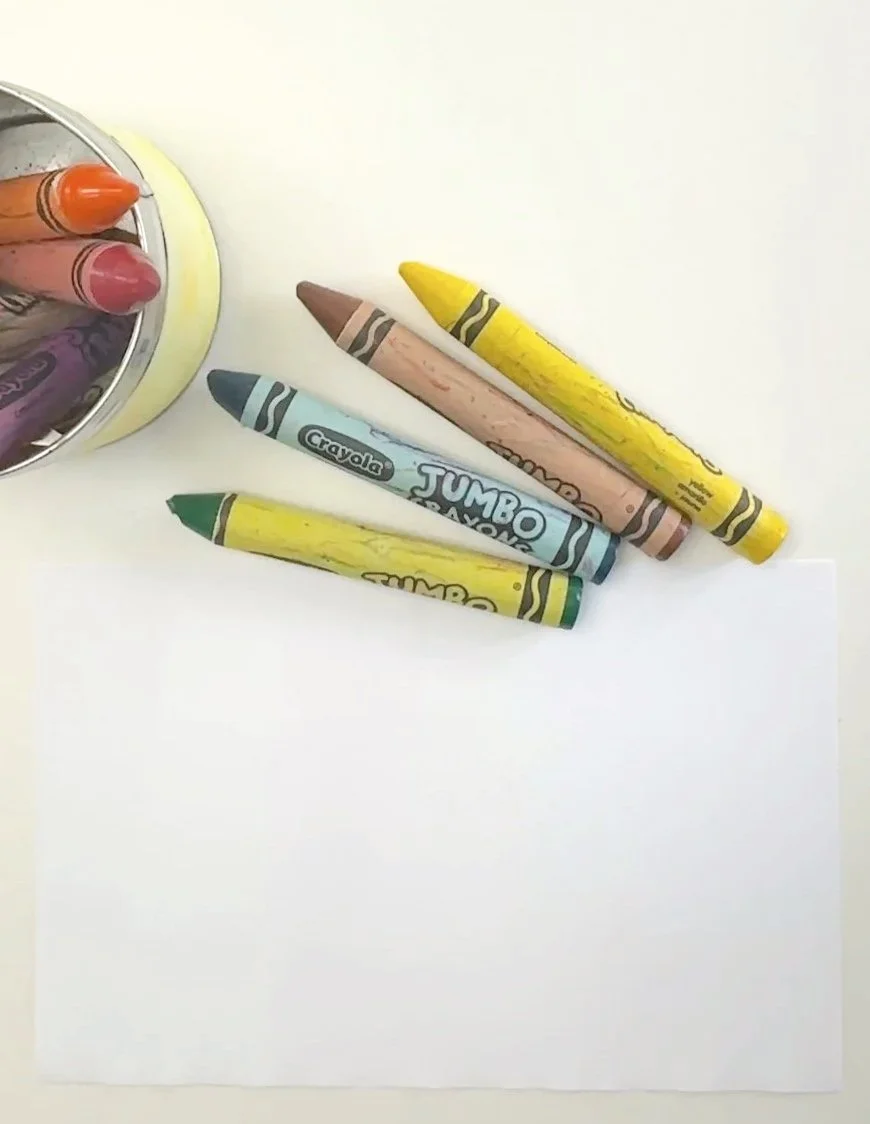
Choose crayons in green, yellow, & blue.
Materials:
This activity only makes use of two easy low-prep materials: crayons and white paper.
Printer paper, drawing paper, mixed media, or construction paper will work well for this.
Use crayons in different shades of green, yellow, and blue. (We love trying out different crayons. The Jumbo Crayola ones pictured here are comfortable to hold and fun to work with. You can learn about our other favorite crayons for kids here.)
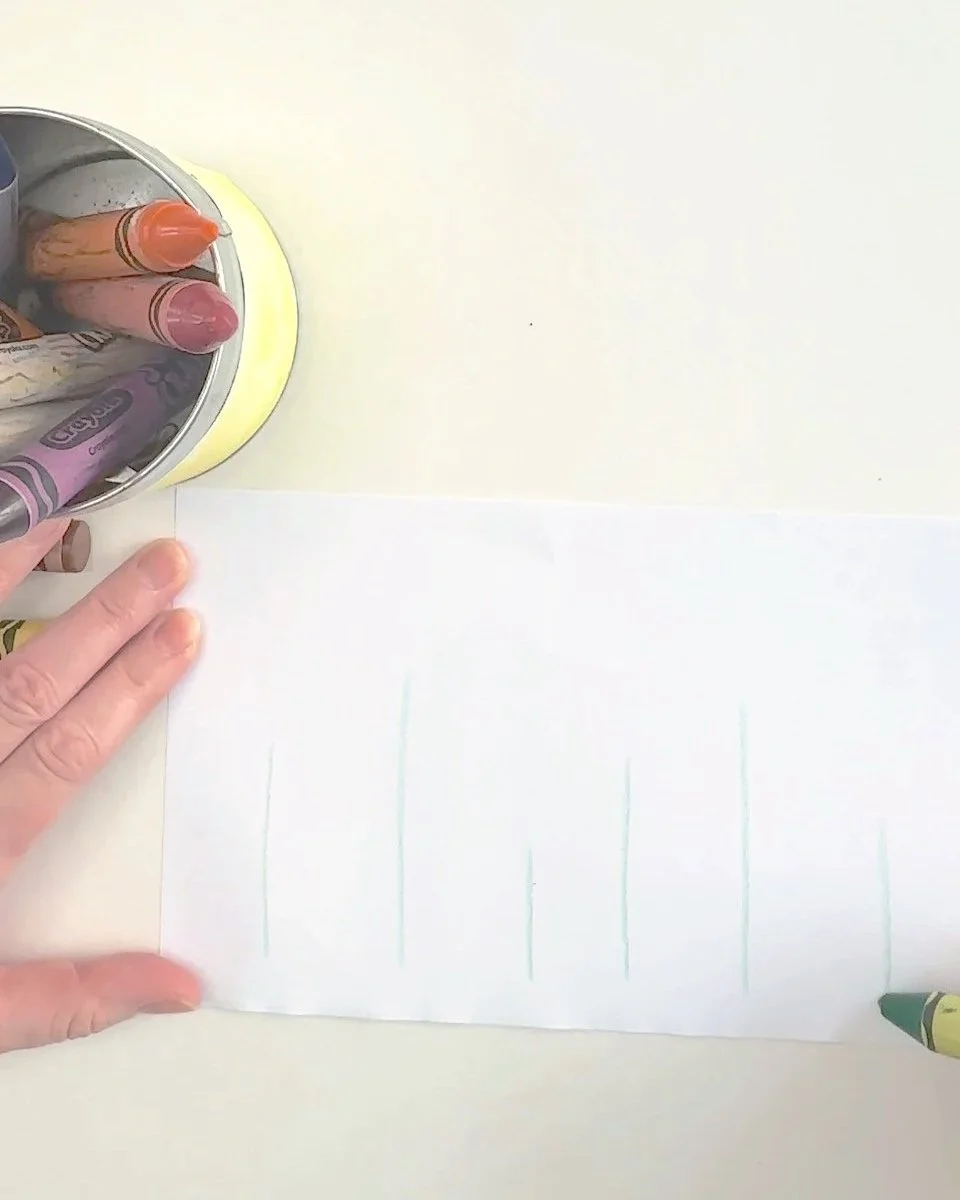
Draw vertical “trees.”
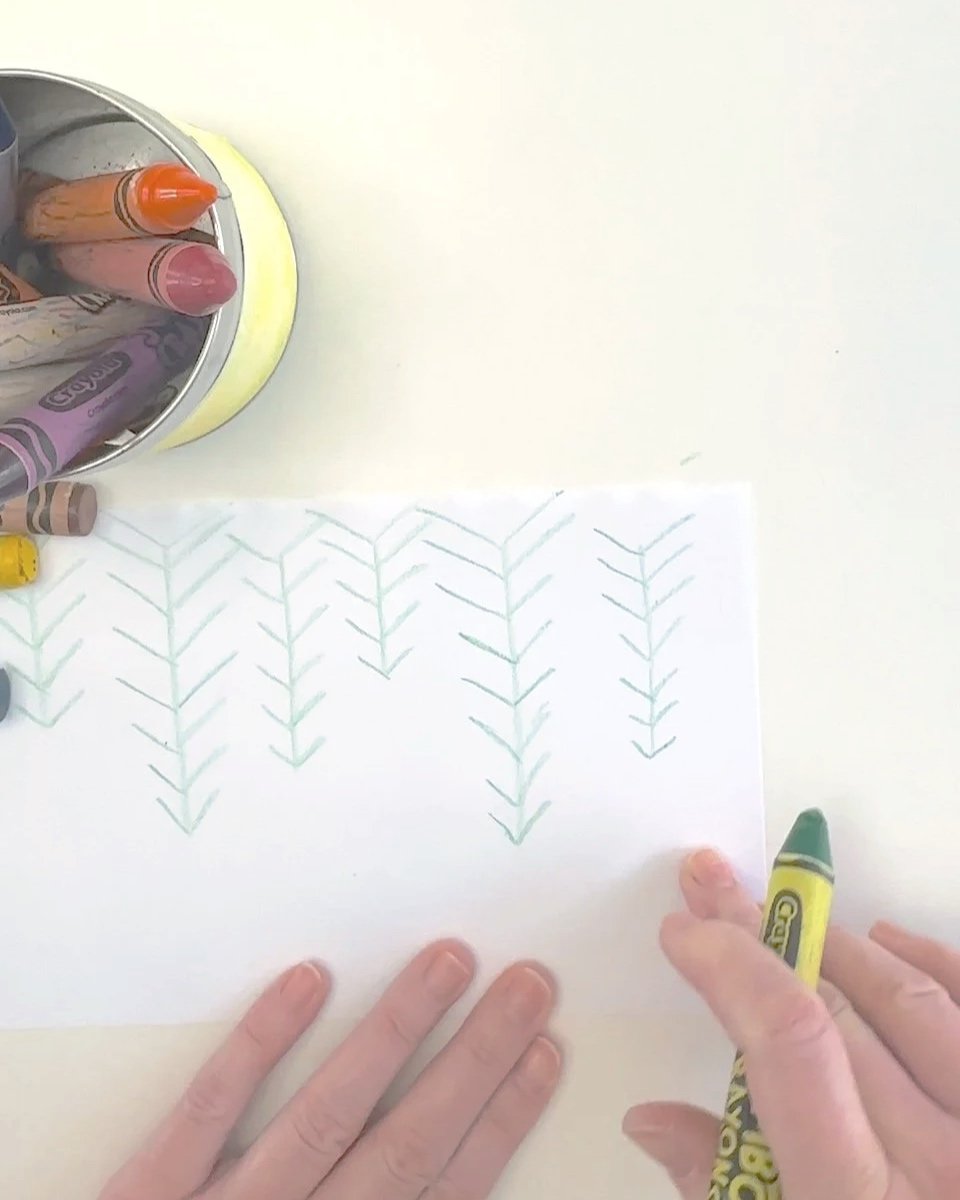
Turn upside down & add branches.
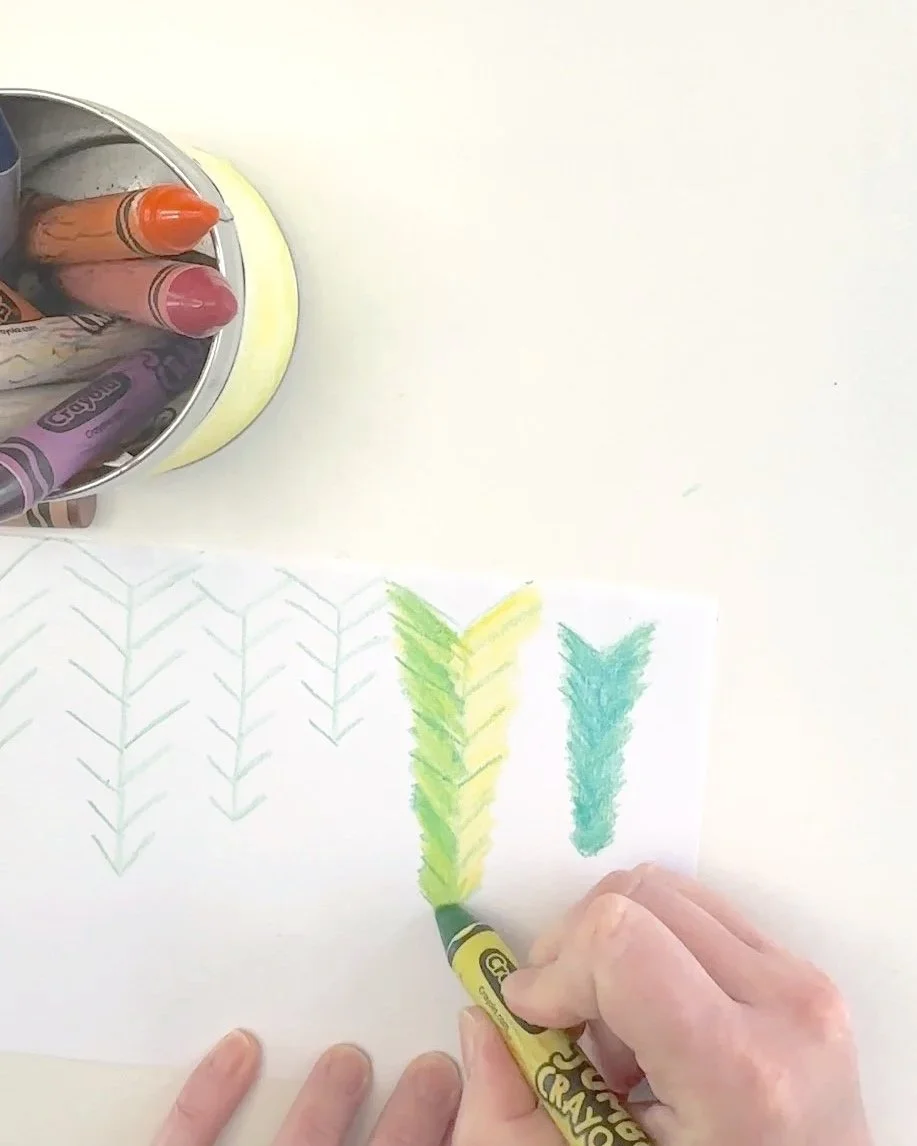
Layer 2 colors.
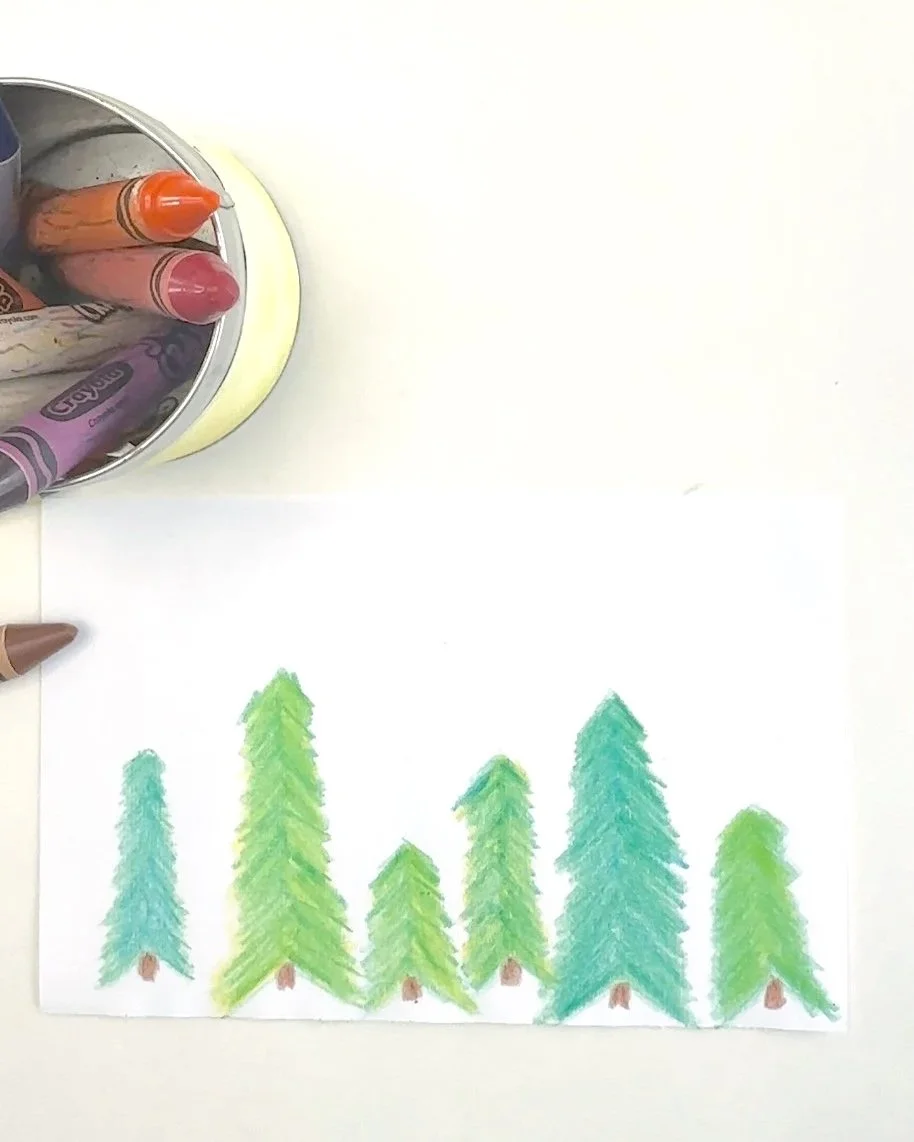
Add little brown “trunks.”
Steps:
Decide if you want to work on a full sheet or a half sheet of paper.
Place your chosen paper horizontally. On the lower half of the paper, draw a row of small vertical lines the height you want your trees to be. Leave enough room between the vertical lines/ trees to draw in the “branches.”
Rotate the paper 180 degrees, so it’s upside down. (This is optional, but we decided it was easier to work in this direction for the remainder of the drawing and coloring.)
Use a green crayon to draw symmetric diagonal lines (branches) extending out from each vertical line (tree). Begin at the bottom of each tree (which will actually be the top of the tree when you rotate your paper right-side-up at the end) and make the lines (branches) slightly longer as you work your way up the tree trunk. Leave room between your diagonal lines (branches) for coloring in.
Repeat until each tree trunk is filled with symmetric branches.
Now it’s time to color in the needles of your evergreen trees. If you’ve done the art lesson below, then students will have chosen their analogous colors that represent an evergreen forest. If not, instruct the students to color their trees by layering a couple shades of green, or yellow and green, or yellow and blue, or green and blue. (These are all next to each other on the color wheel. See below if you want to download our color wheel from the Free Resource Library.)
To get a lovely layered color effect, lightly color each tree first in one color, then layer a second color on top of it. Continue coloring your trees in a variety of blues and greens until all the “branches” are filled with colorful “needles.”
Now add small brown squares to each tree to represent the trunk of the tree.
You should now have a row of upside down evergreen trees.
(Optional) Add more trees in any remaining white space on the paper.
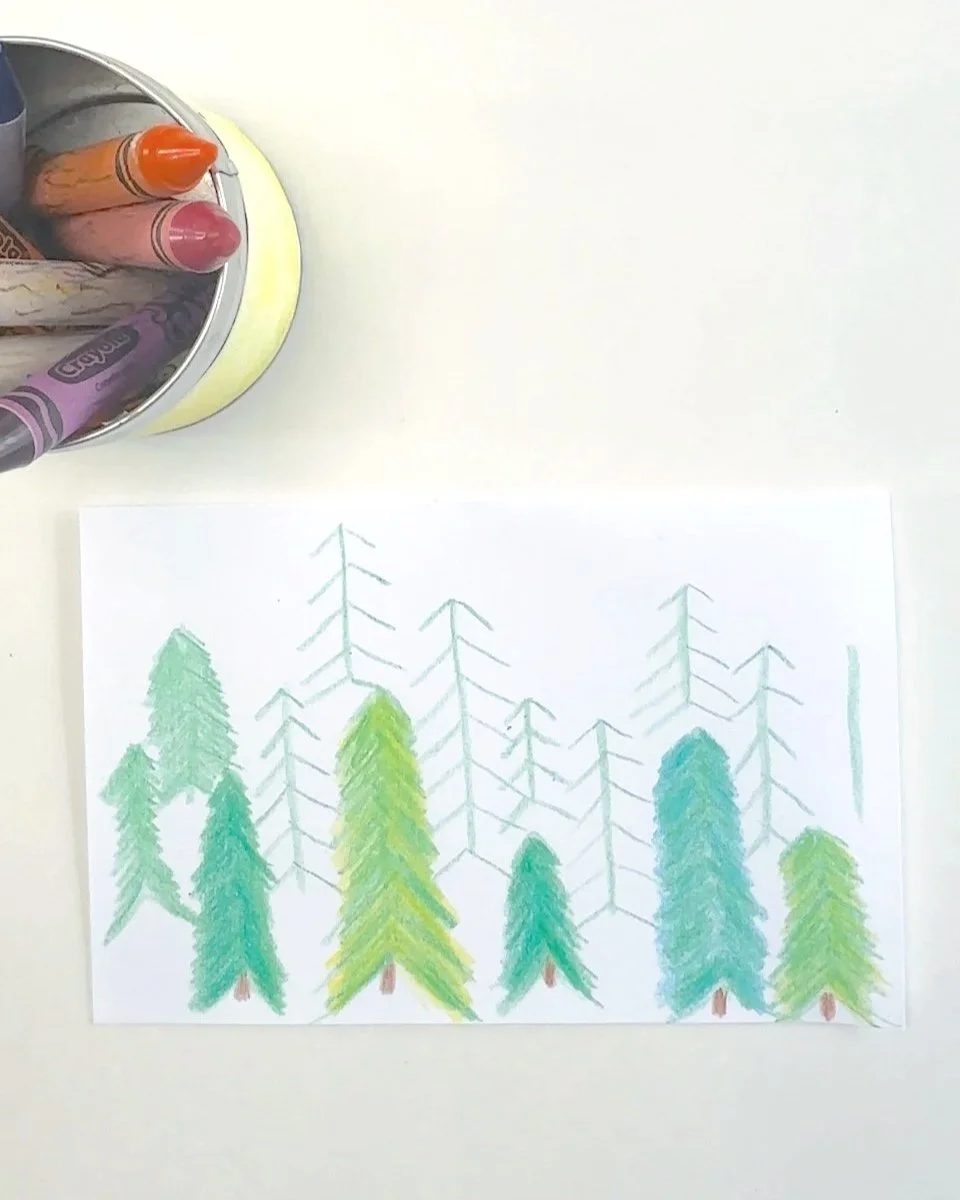
Fill white space with more trees.
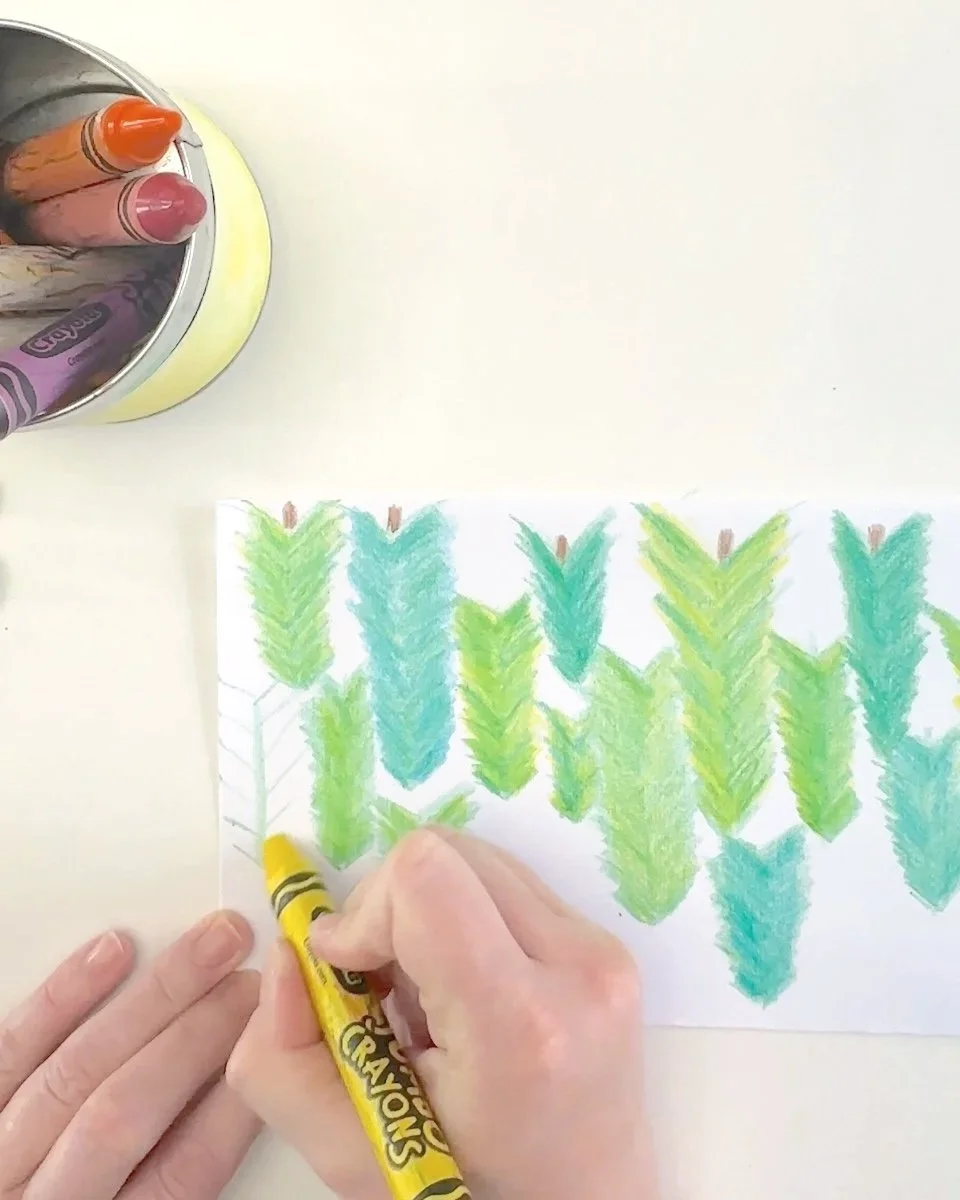
Color with analogous colors.
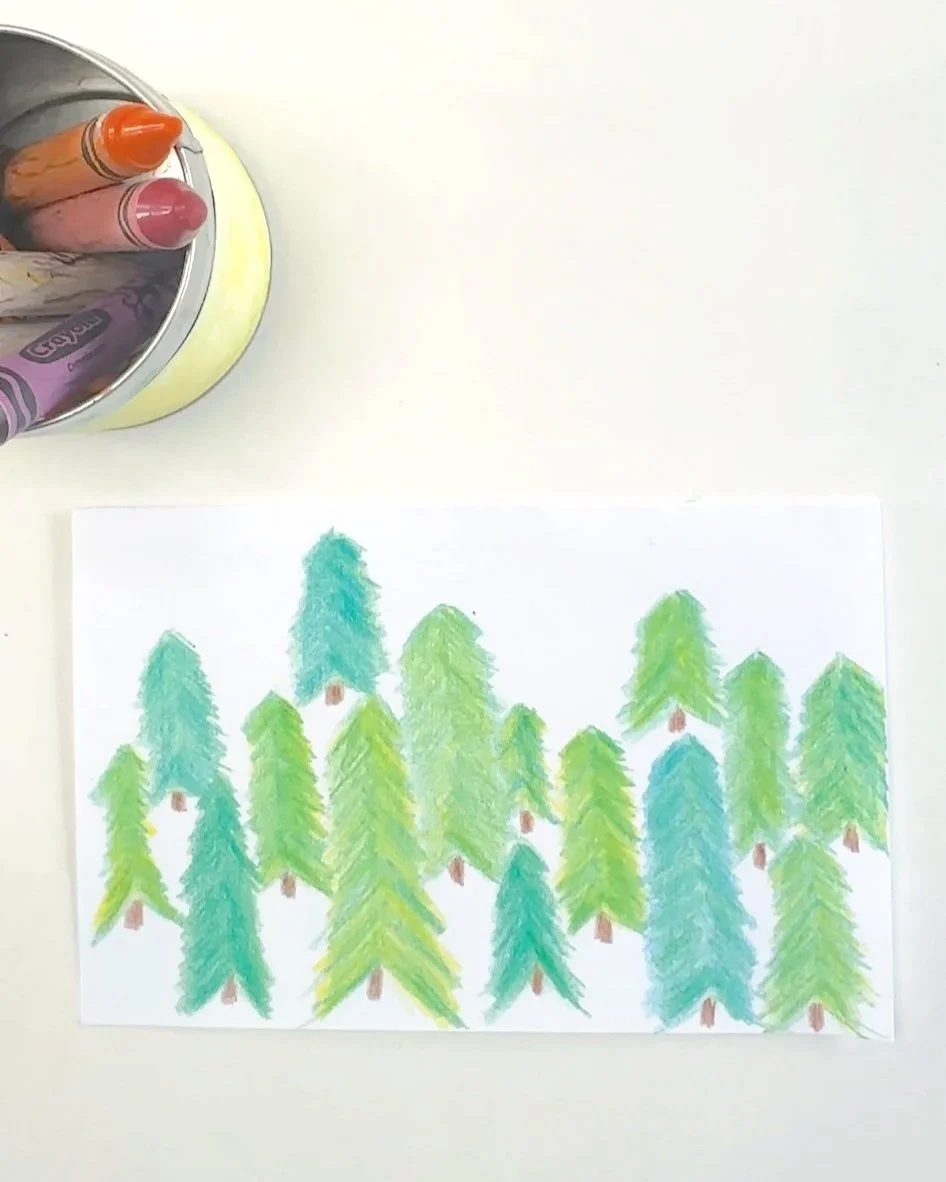
Evergreen Forest made with Crayons
Tips:
This forest scene can also be made using colored pencils, blendable markers, or watercolor paint.
For best results, color the “needles” going in the same direction as you drew the diagonal “branches.”
If kids want to add more trees in the background, remind them to think about perspective and that trees in the distance are smaller than trees in the foreground. (You can download our Simple Perspective poster from the Free Resource Library to show an example of this. Learn more about accessing the Free Resource Library below.)
(optional) Turn this into a winter landscape of trees by using the splatter technique to sprinkle “snow” onto your trees with white tempera paint.
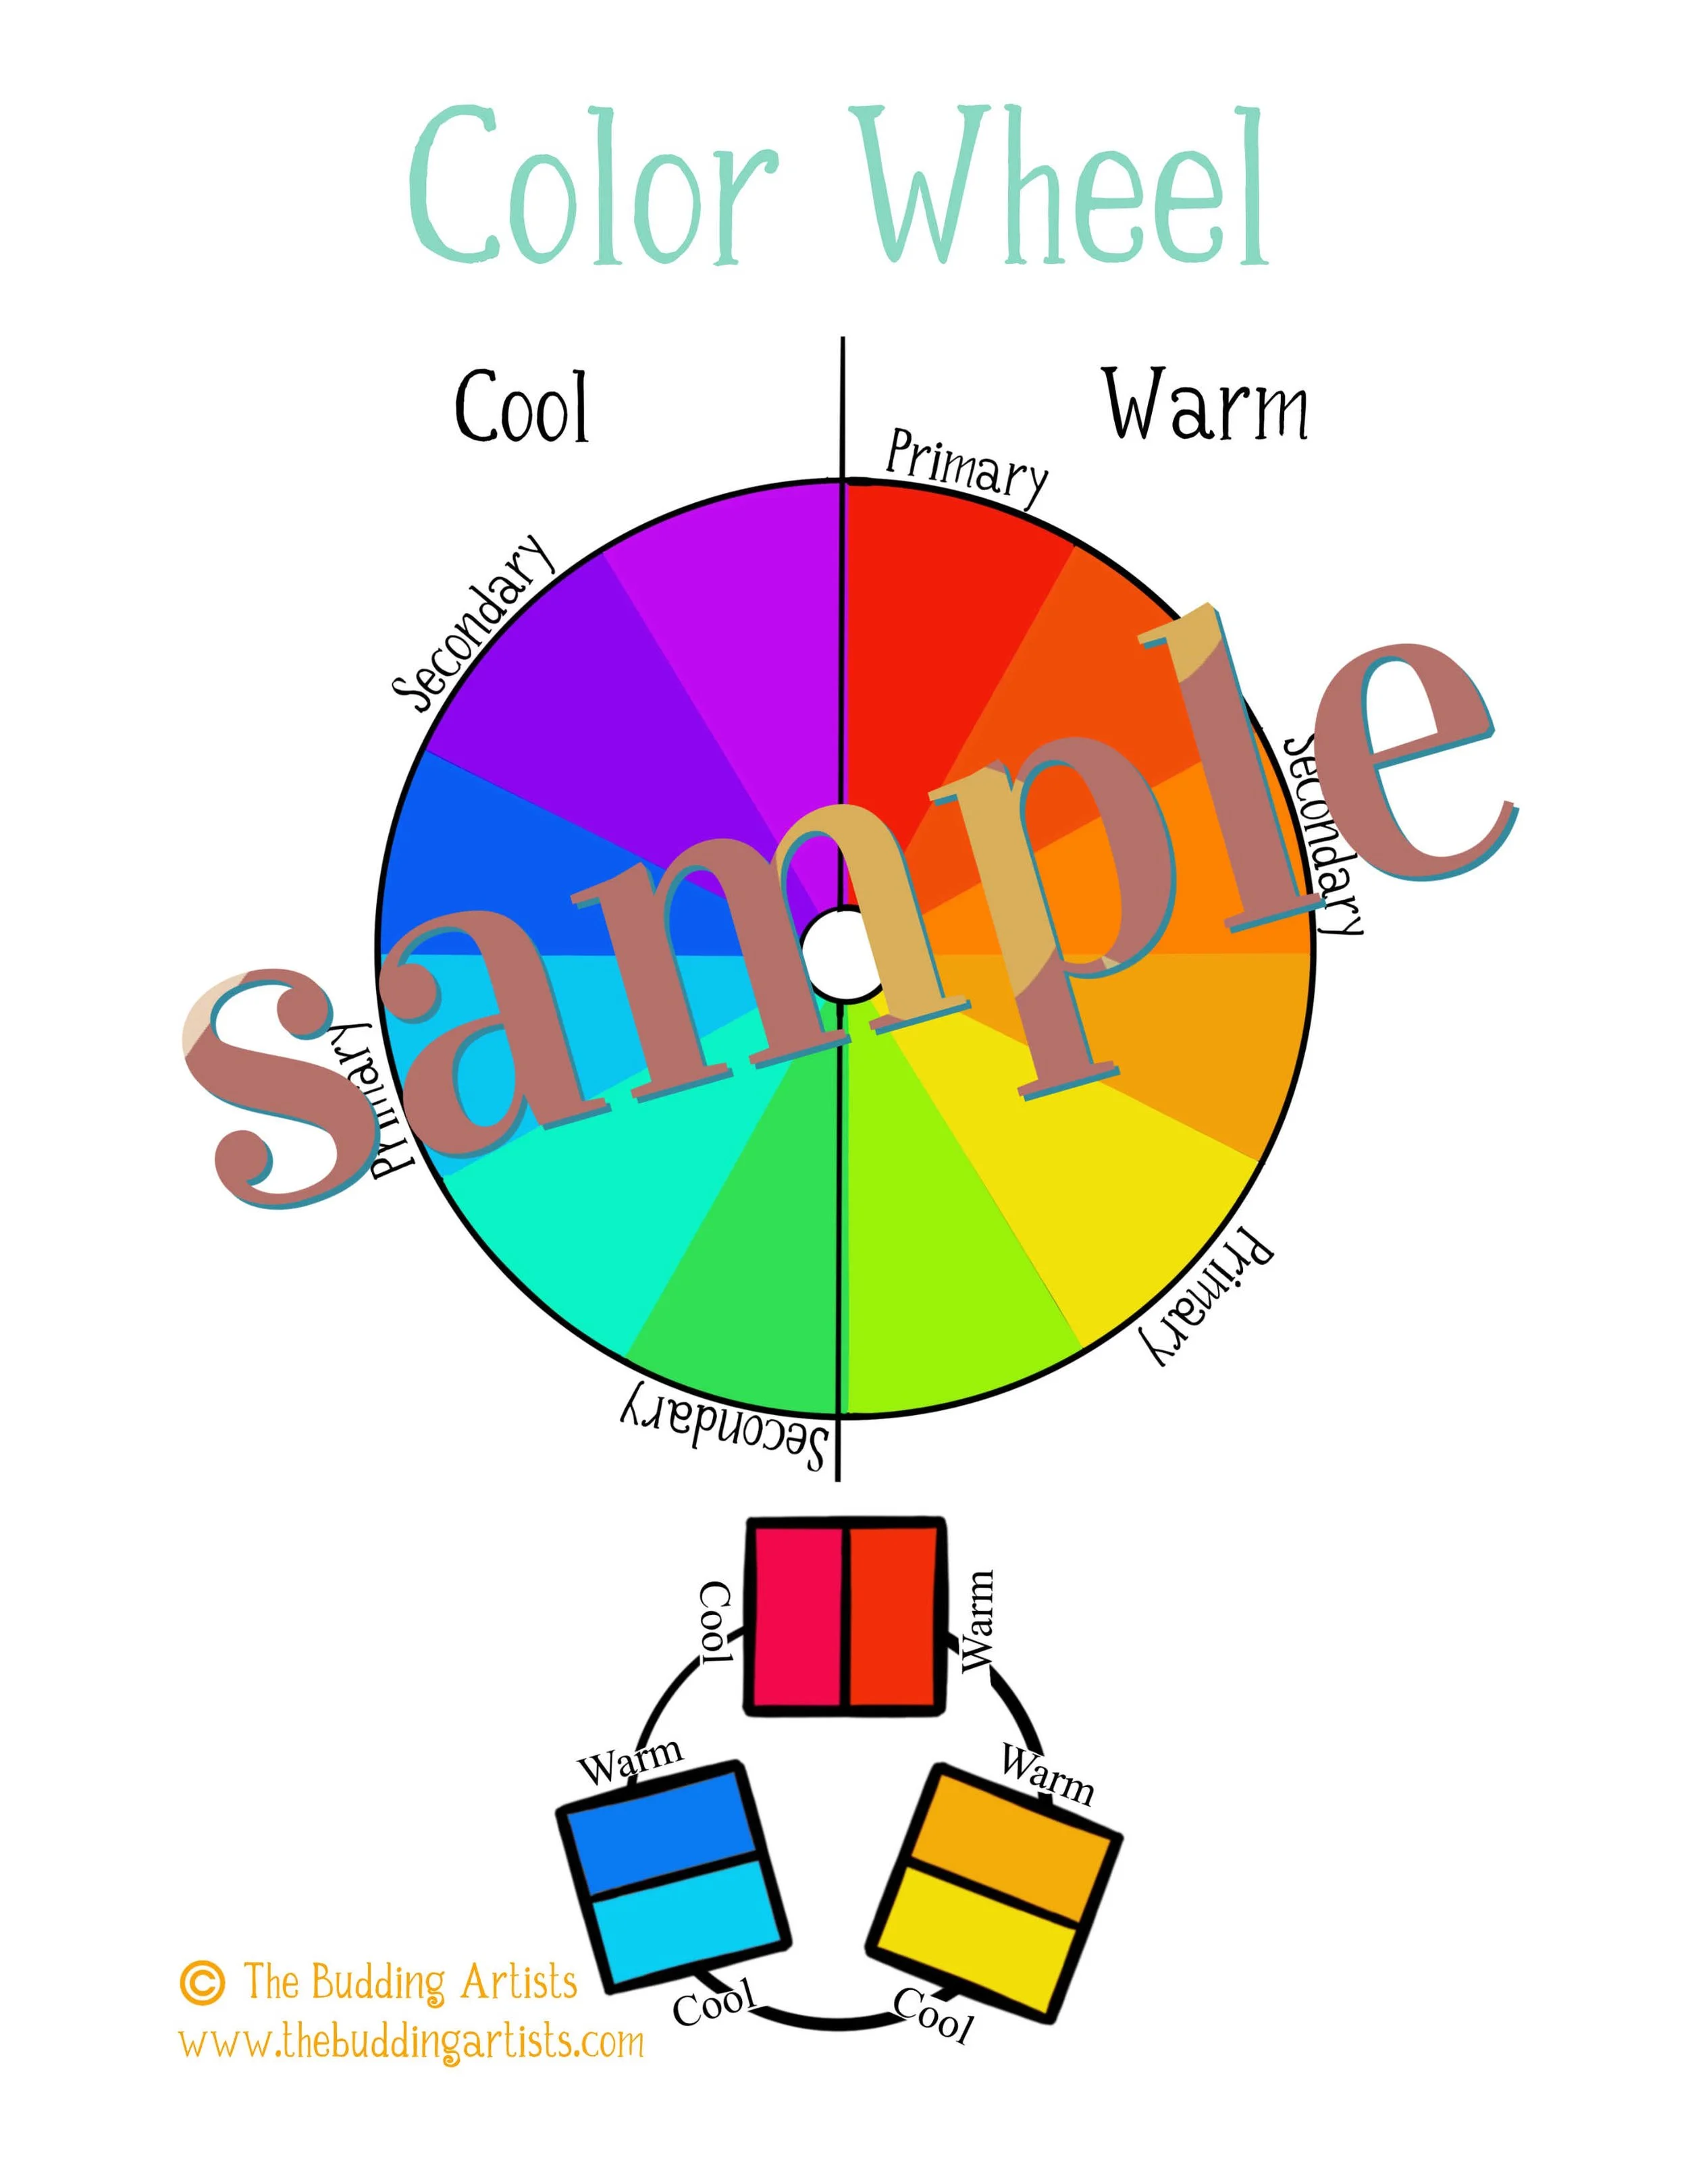
Download our comprehensive color wheel from the Budding Artists Free Resource Library
Art Lesson on Color Mixing:
Mixing colors is such a fun way to engage with and make art.
There are two main concepts for kids to keep in mind when choosing colors to make their evergreen forest: primary colors and analogous colors.
If your kids have never mixed primary colors to make secondary colors, they should start this lesson by coloring a scrap paper with yellow and then color blue on top of the yellow and watch as it becomes green. Consider using a color wheel with older kids to demonstrate primary colors and secondary colors. (You can grab our comprehensive color wheel from the Free Resource Library.) Add interest by mixing different shades of yellow with different shades of blue to see what kind of green emerges.
This evergreen forest art activity provides a perfect opportunity to teach young artists about analogous colors. These are colors (typically 3 colors) that are next to each other on a color wheel. The nice thing about analagous colors is that they blend together beautifully (as opposed to complementary colors—opposites on the color wheel—which make a muddy brown when mixed). Point out analogous colors on a color wheel. To prepare for this evergreen forest art activity, have students practice mixing analagous colors of yellow, green, and blue. They can experiment with different shades of yellow combined with different shades of green and blue to see which results they like best. Prompt them to keep track of what colors they’re mixing so they can remember which combos they liked and didn’t like.
Once students have experimented with mixing colors ask them to choose which colors they want to blend to make their evergreen forest. Then begin with step one of the art activity above.
Help your kids learn more about color and the other elements of art using our art curriculum Mimic the Masters: Impressionists.
You can save this activity for later by pinning the image below. Thanks!
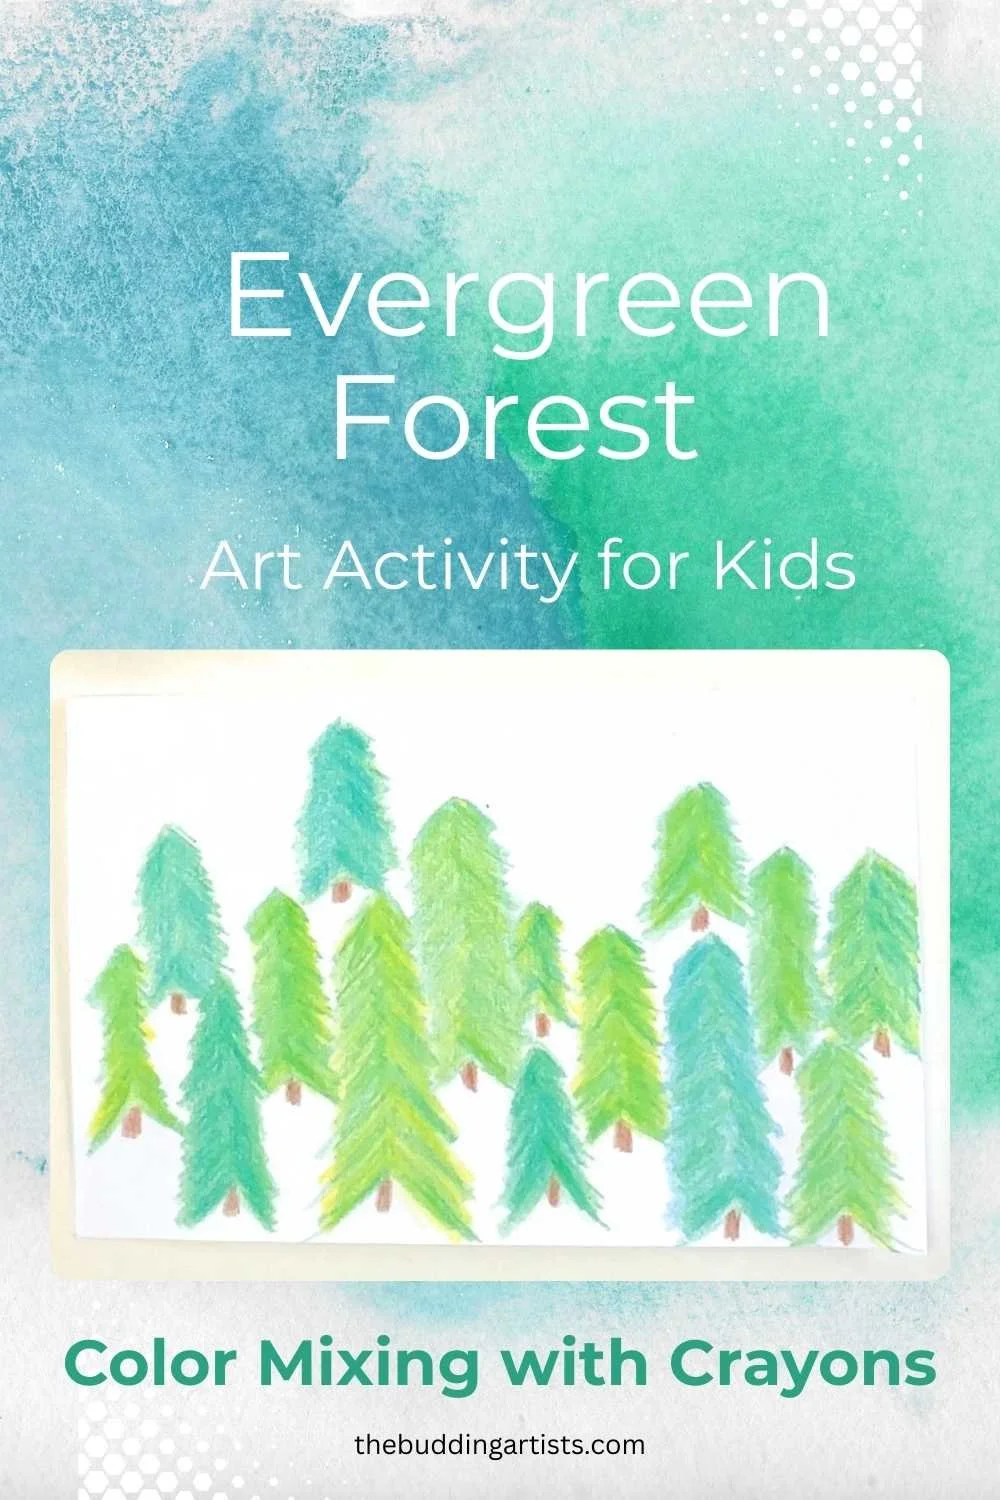
Simple color mixing art activity for kids using crayons to make a winter evergreen forest.
Access the Free Resource Library:
We offer lots of handmade printables for subscribers to download for free to use in their homes or individual classrooms. To get immediate access to these, use the subscribe box at the very bottom of the page to sign up for the Budding Artists newsletter. We promise not to sell your email address or spam your inbox. We only send emails when we have something new to share. (When subscribing be sure to verify your email through the double opt-in process in order to get your password to the Free Resource Library.) If you’re already a subscriber, check the latest email you received from us for the most current password.
You may also like:
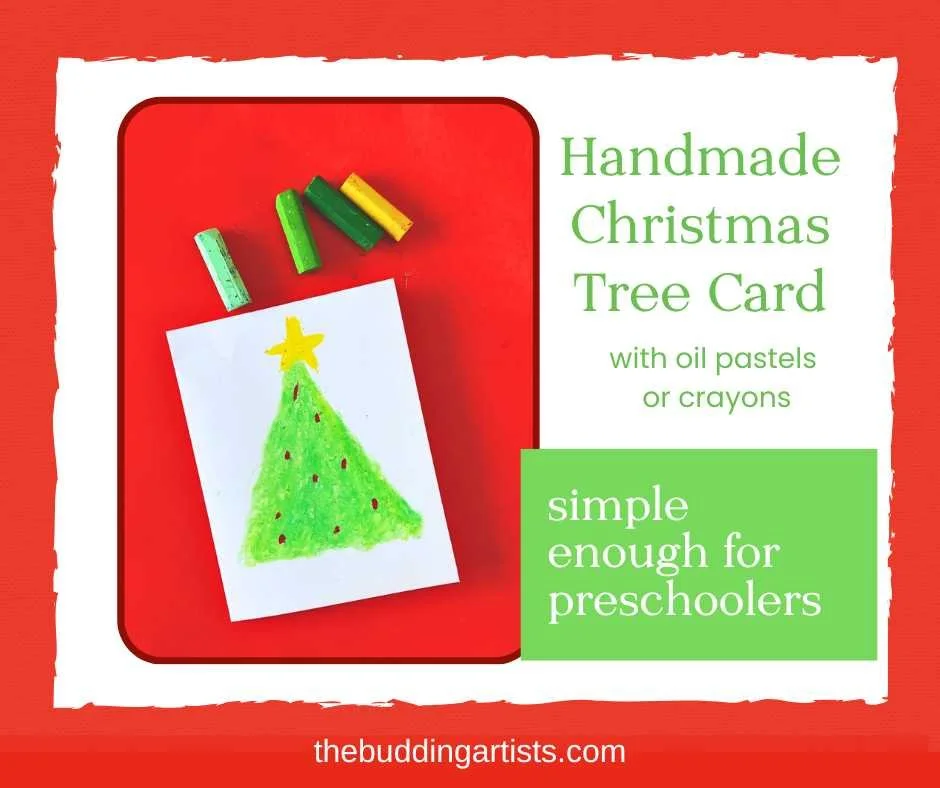
Homemade Christmas Card

Gifts for Young Artists
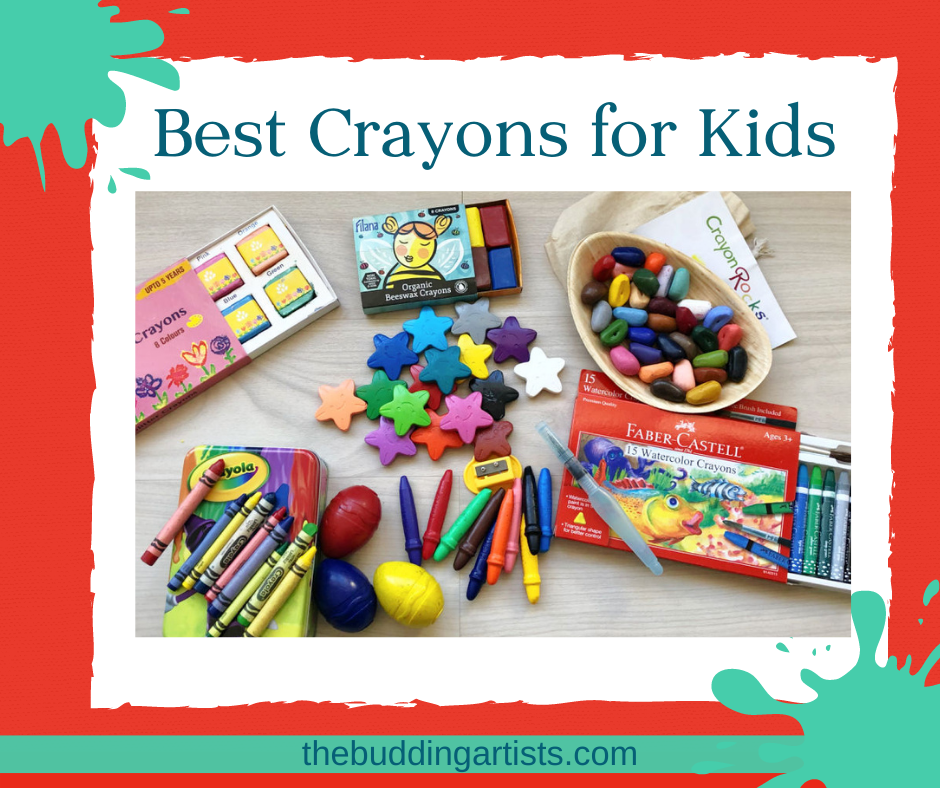
Our Favorite Crayons for Kids