Wildflowers Watercolor Painting for Kids
This wildflower watercolor painting activity is simple enough for preschoolers to create, but it’s enjoyable for all ages no matter the ability level of the artist. We love seeing how different each painting turns out.
Note: This post contains affiliate links. As an Amazon affiliate, we earn a small commission on purchases made through these links at no extra cost to you. 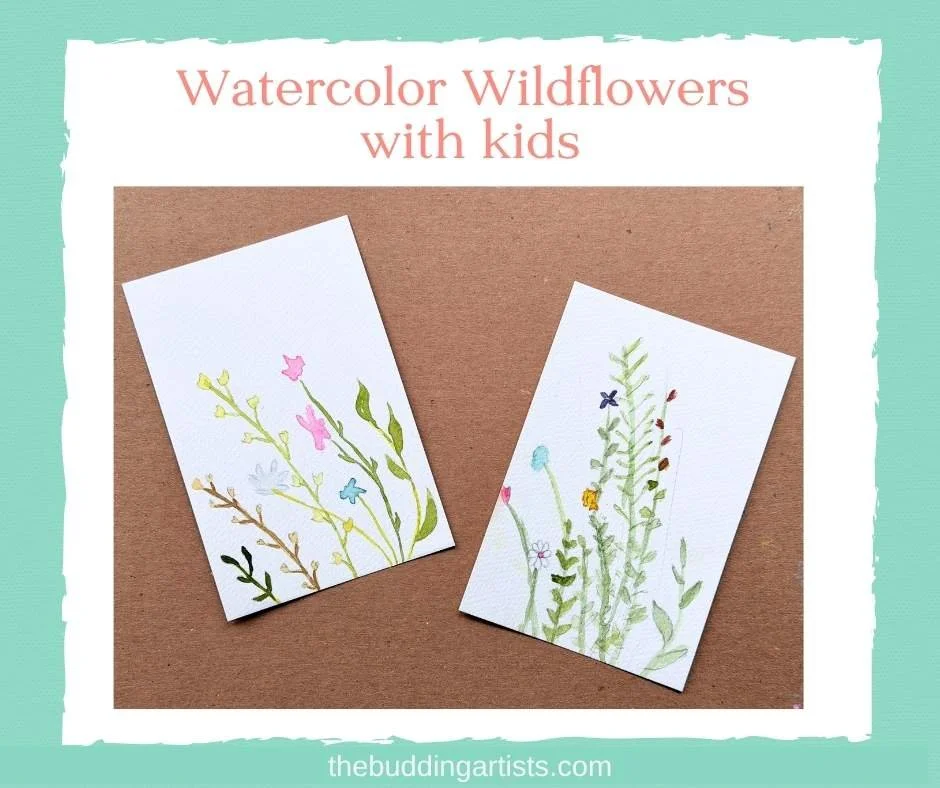
Materials needed:
Watercolor paints—Peruse this list to see our favorites.
White guoache (optional)
Watercolor paper—we chose to keep this painting small and painted on a quarter size piece of paper. You can purchase pre-cut watercolor paper in a variety of sizes (like these), which makes them very convenient to just grab and paint.
fine-tipped paintbrush—we like this set
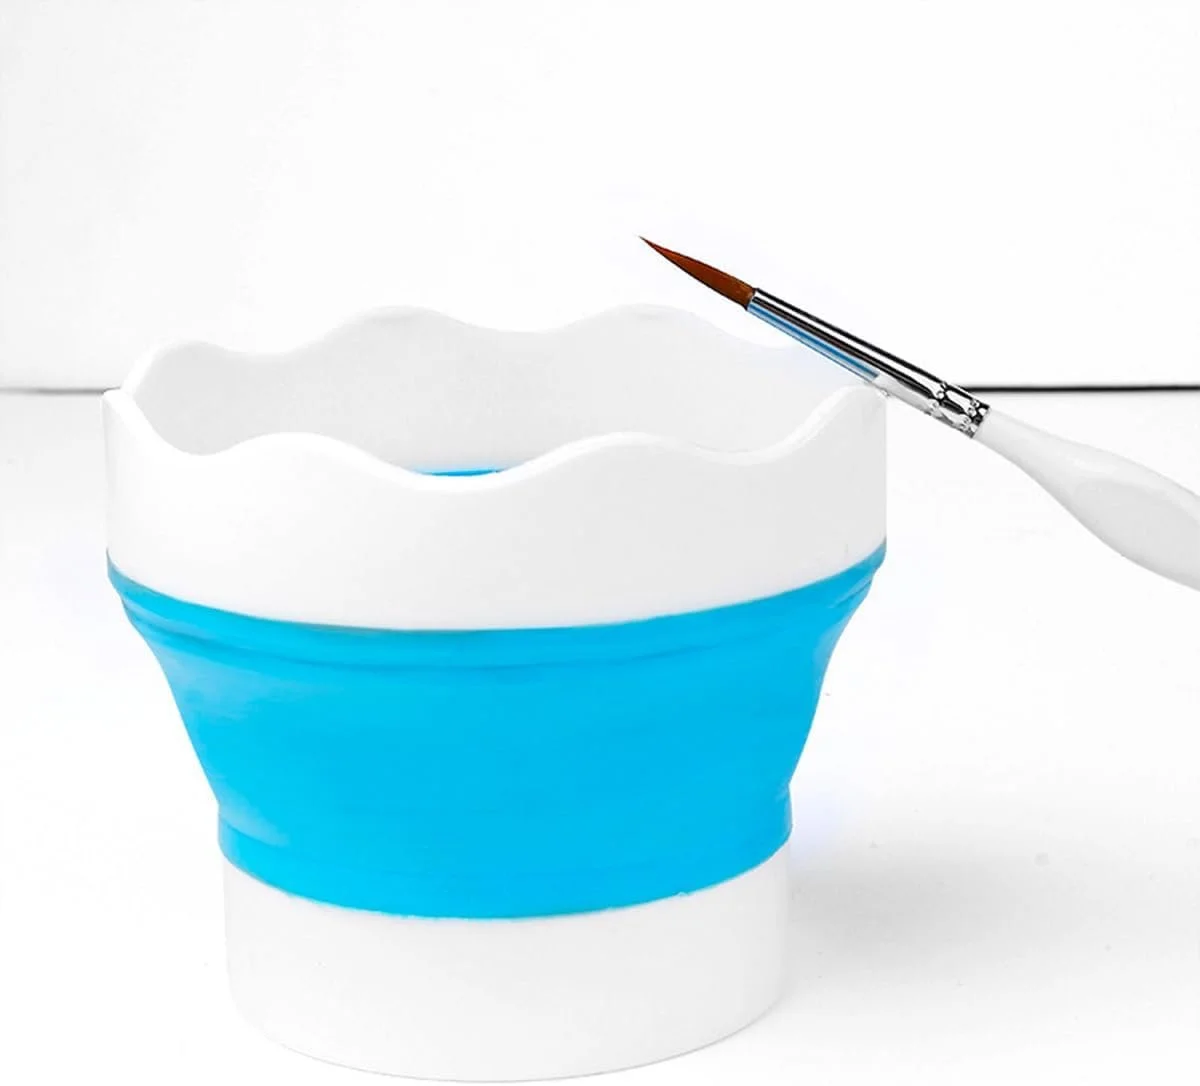
A container of water—these ones are sturdy, cute, and allow you to rest a paintbrush on top
A basic #2 pencil and sketch paper for practicing
It can help to have a reference photo of painted wildflowers as a guide. This link takes you to some images that are similar to our original inspiration.
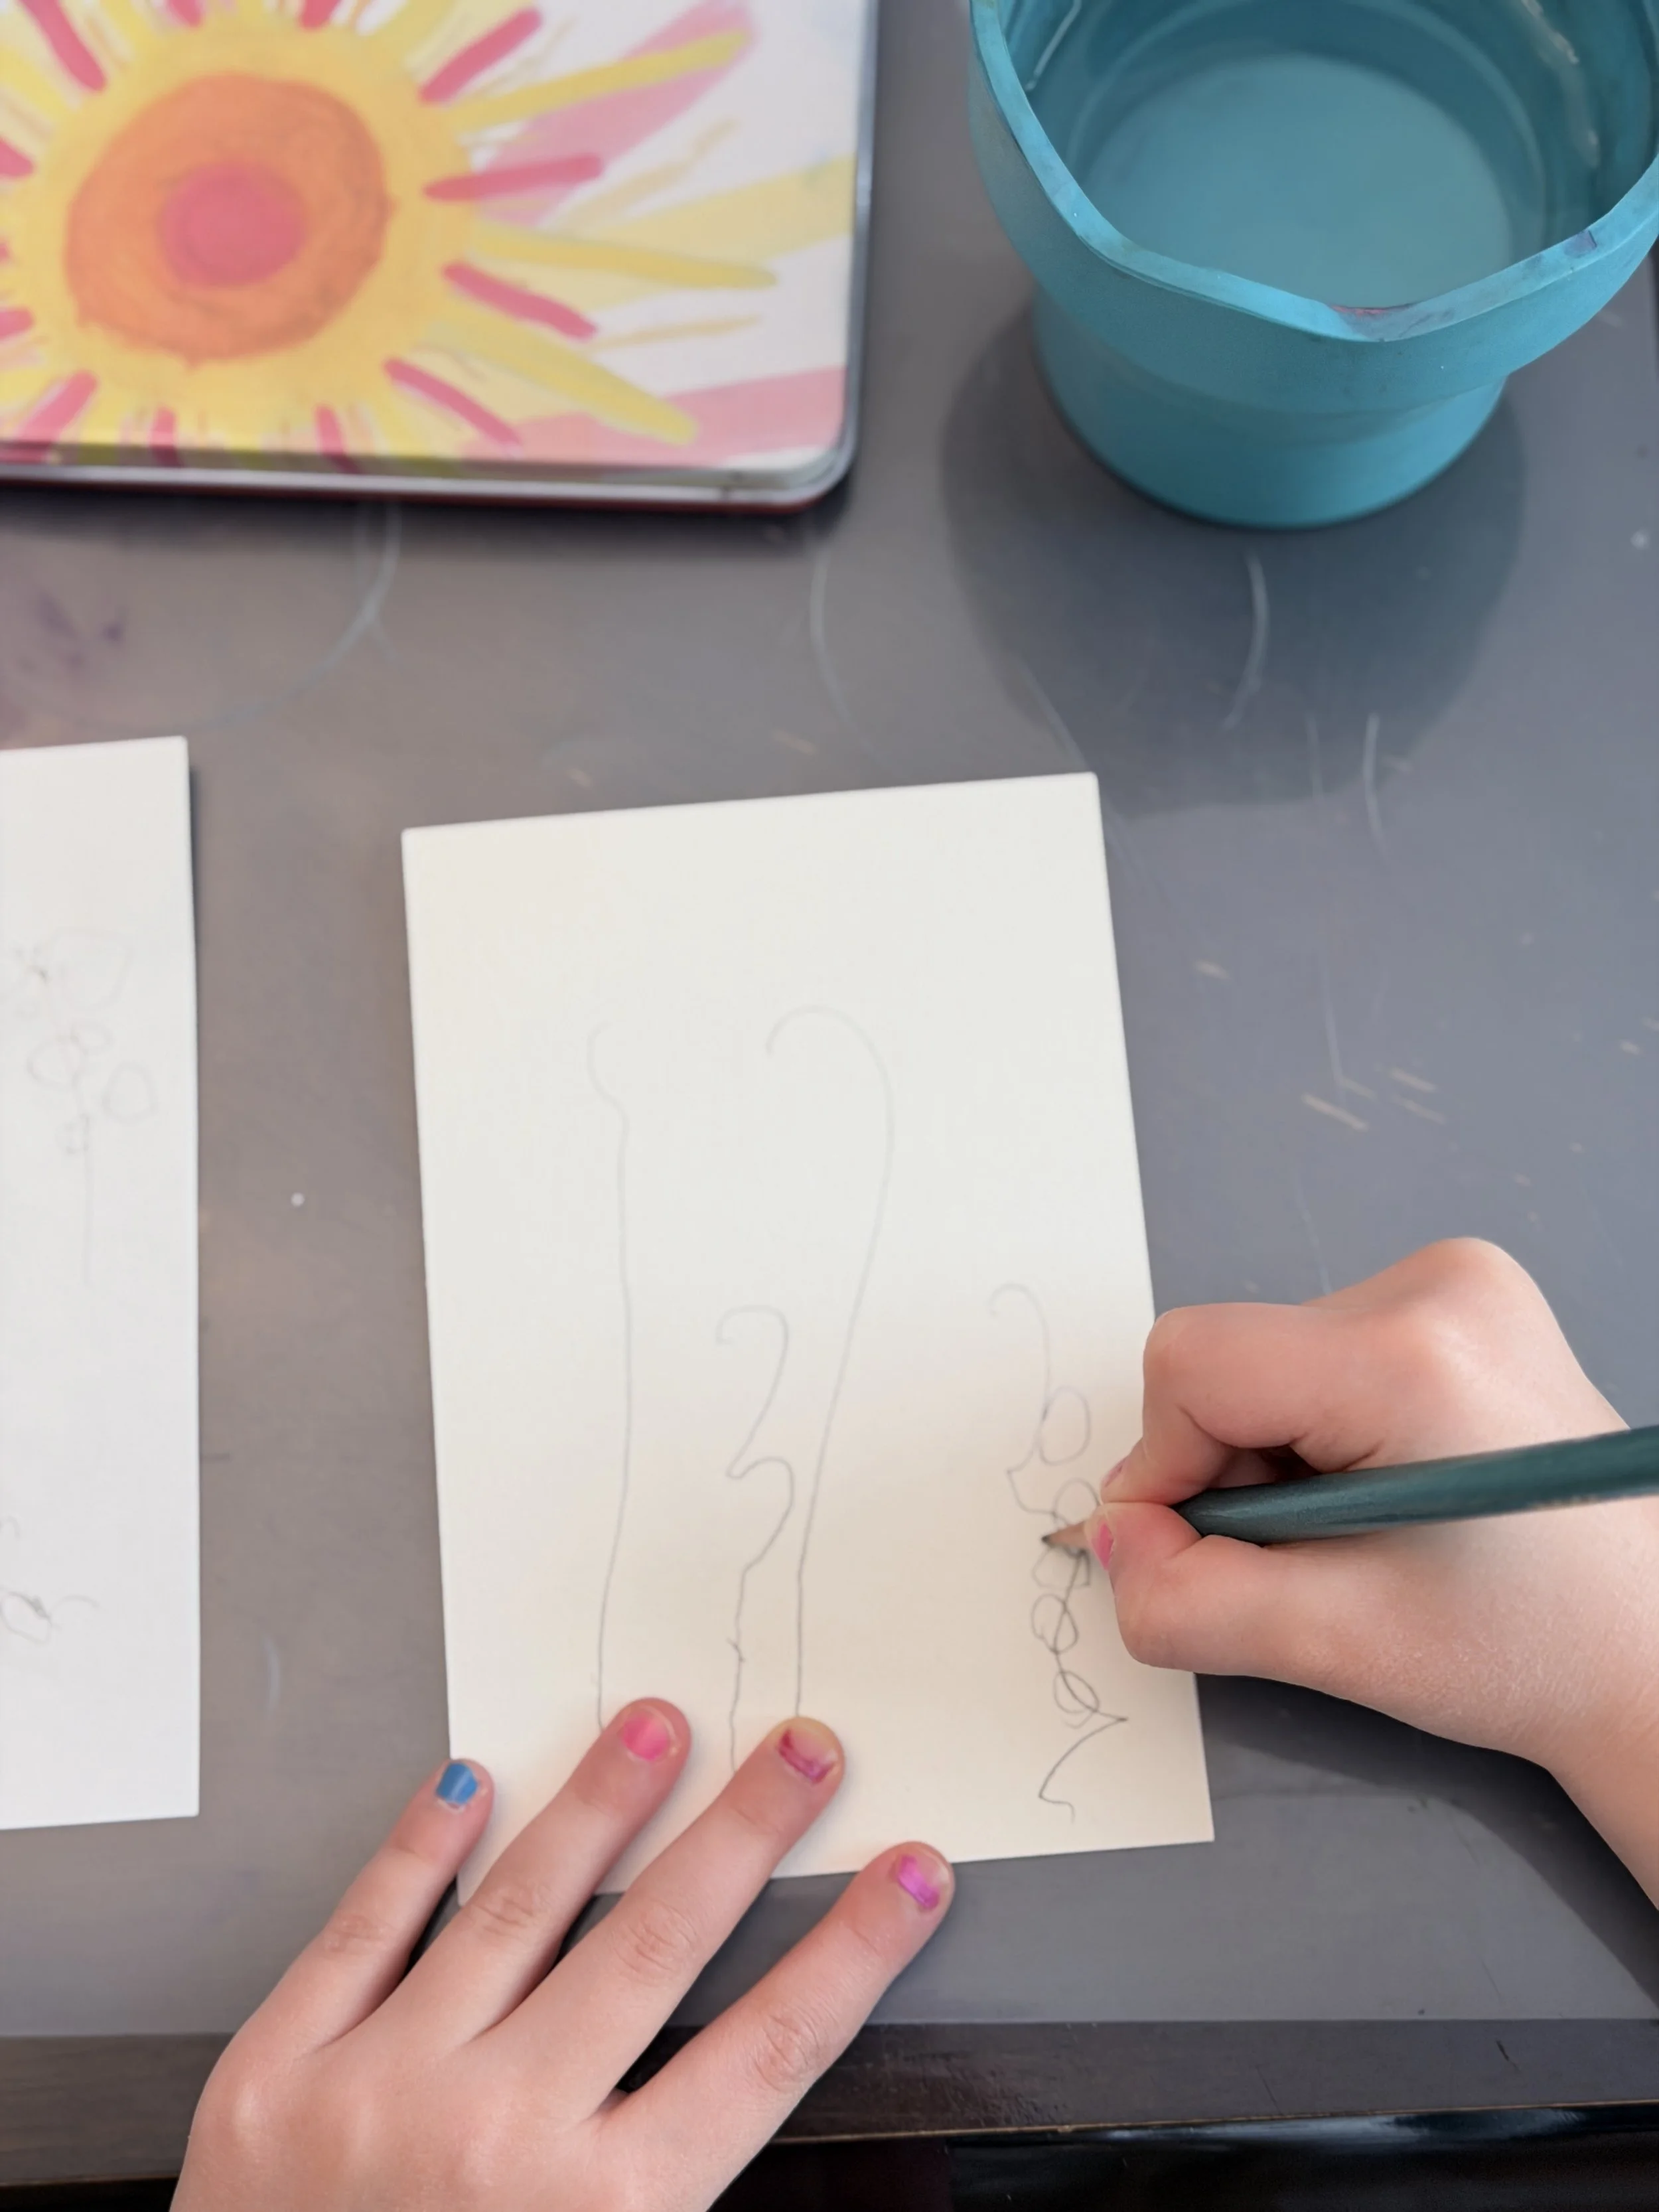
Wildflowers being drawn by a preschooler.
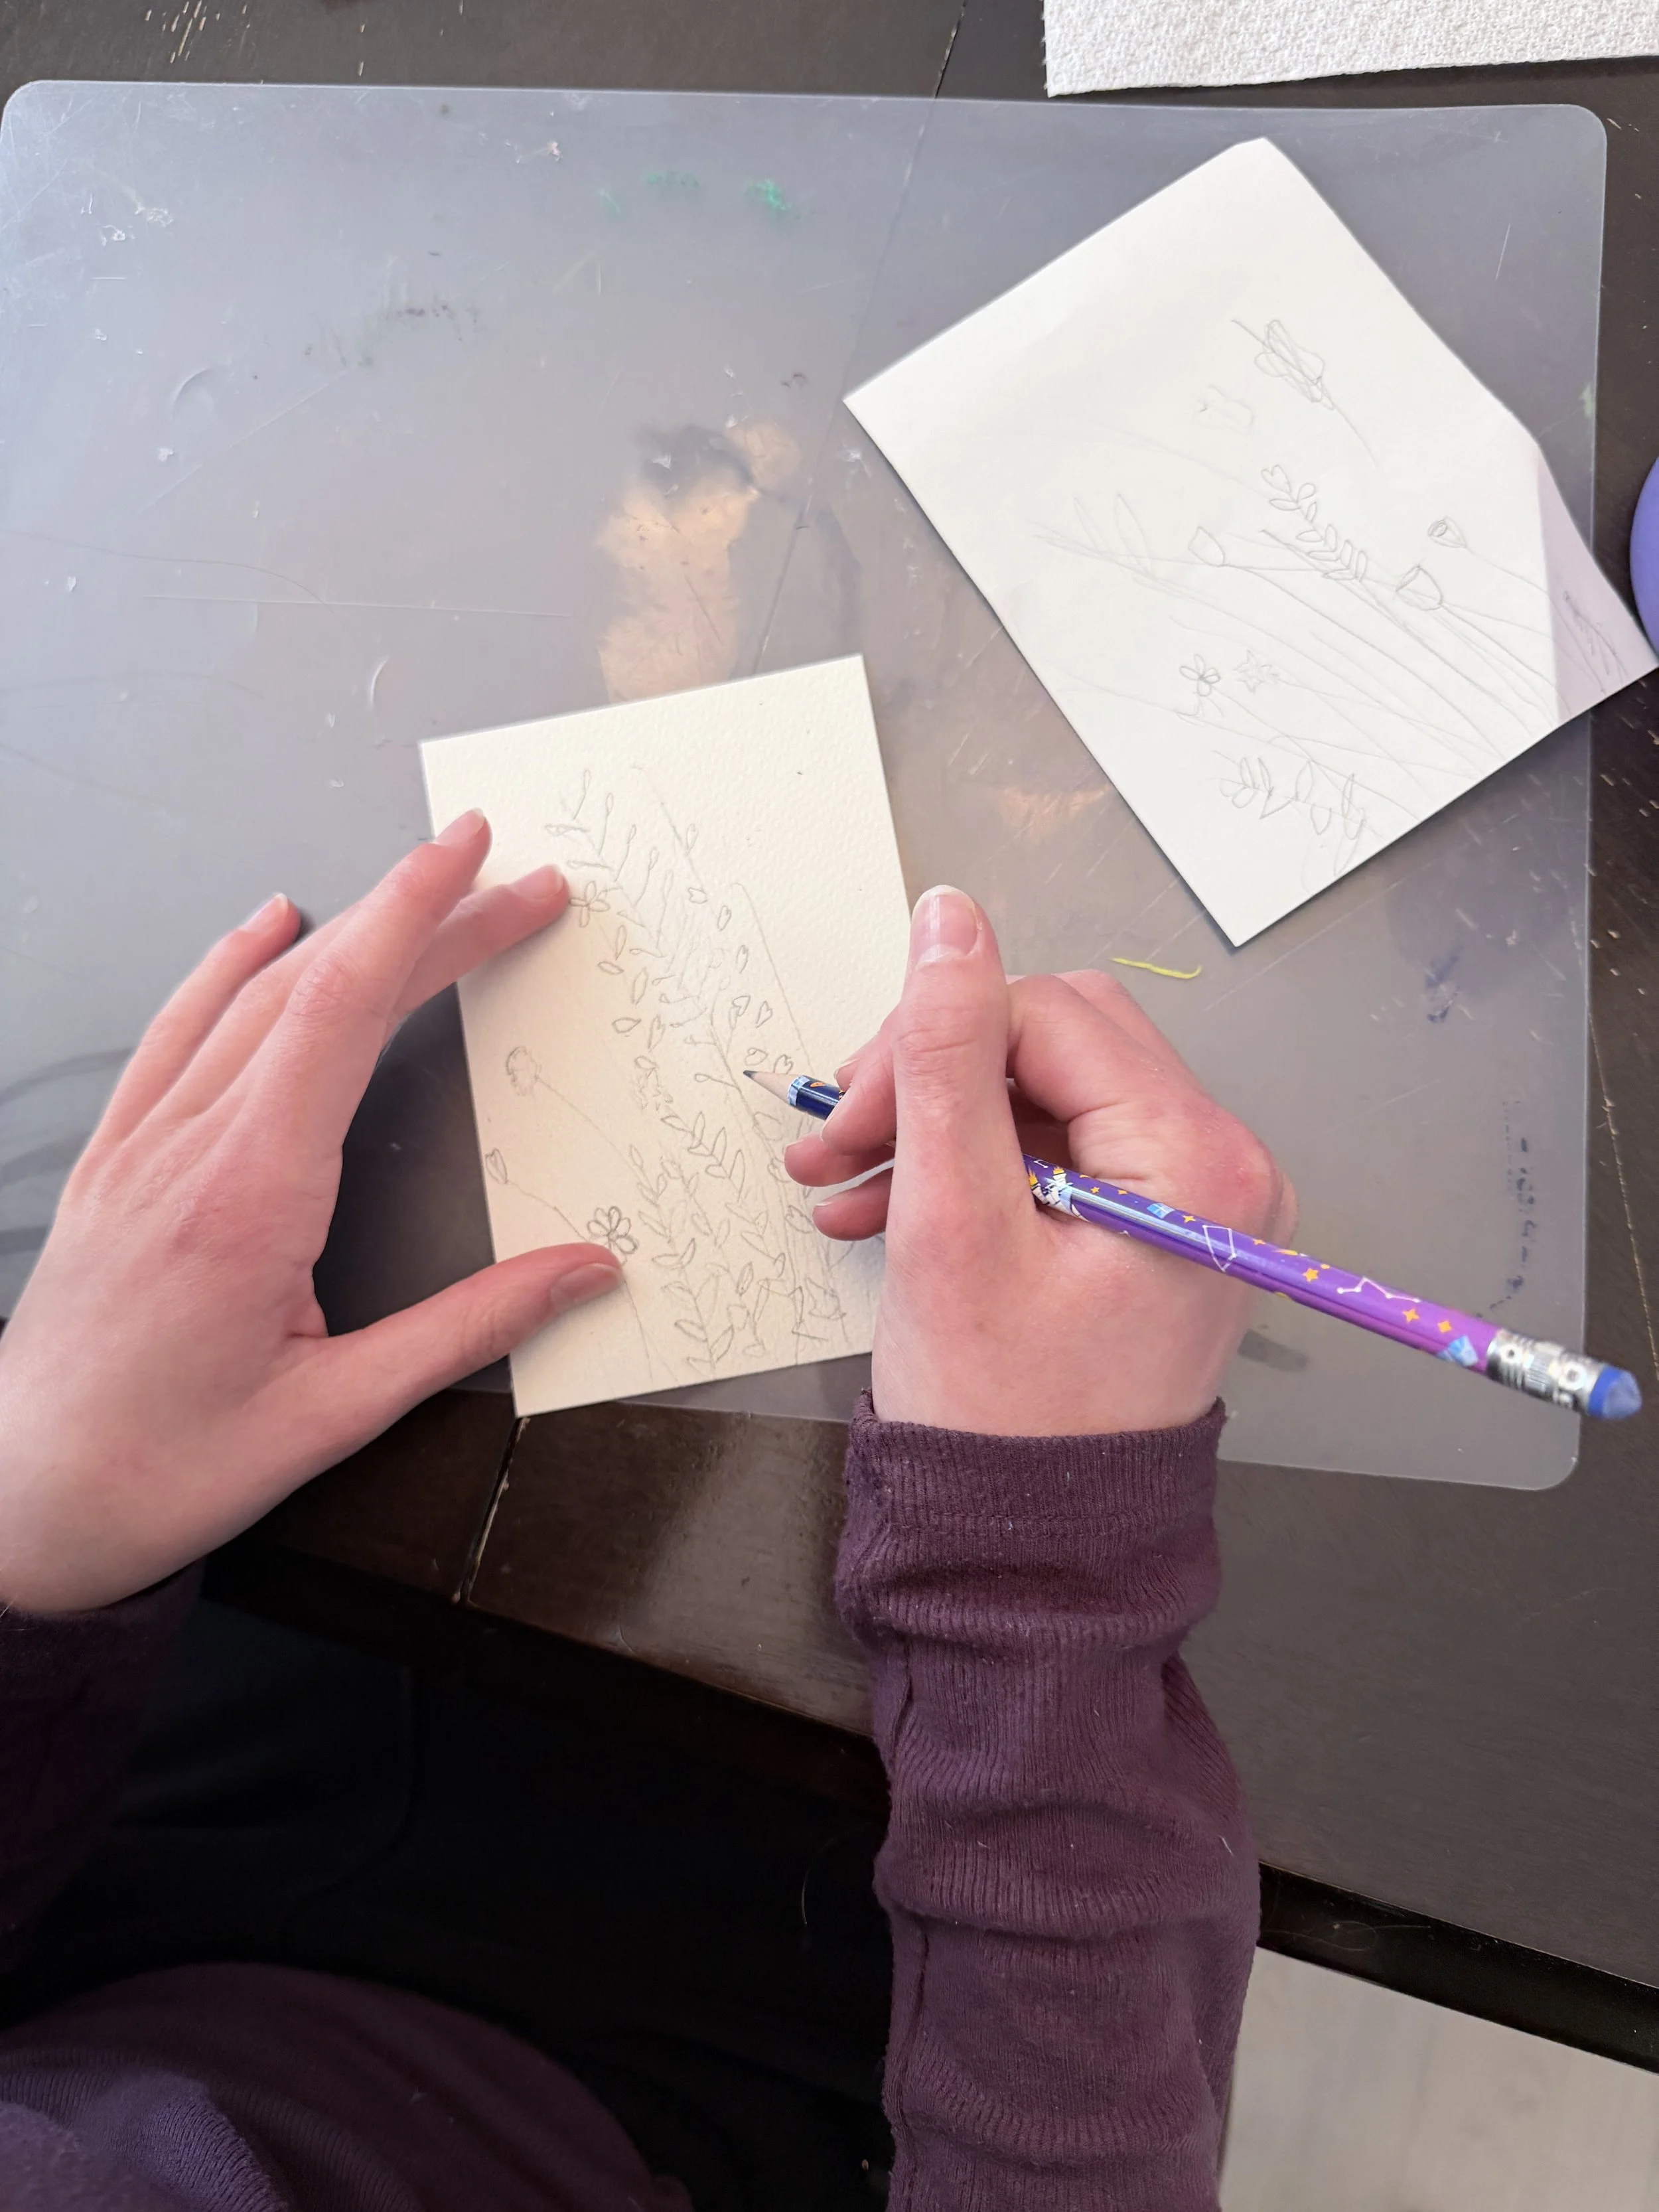
Wildflowers being drawn by a middle school child.
Steps to create your Wildflower Watercolor Painting:
If you have a reference photo, take a moment to look at the different organic shapes used for the flower petals. We’re not trying to recreate real flowers, just an impressionistic or abstract version of wildflowers.
Think about whether you want a picture oriented vertically or horizontally, then position your paper in that direction.
Use a pencil to practice sketching a wildflower scene on practice paper. Draw long flowing stems that are mostly parallel to each other first. (Though you may want to make one or two cross over the others.) Be sure to make the stems long enough to fill most of the white space. Then practice drawing the flower petals and leaves onto the stems using different organic shapes. Don’t try to recreate a bunch of perfectly detailed flowers. The beauty comes from the overall impact of different colors and shapes on all the green stems.
After practicing some different flower shapes, use pencil to lightly draw another version of your wildflowers (it doesn’t have to be an exact copy) onto the piece of watercolor paper. (We highly recommend keeping this painting small, otherwise kids will likely get bored before they finish.)
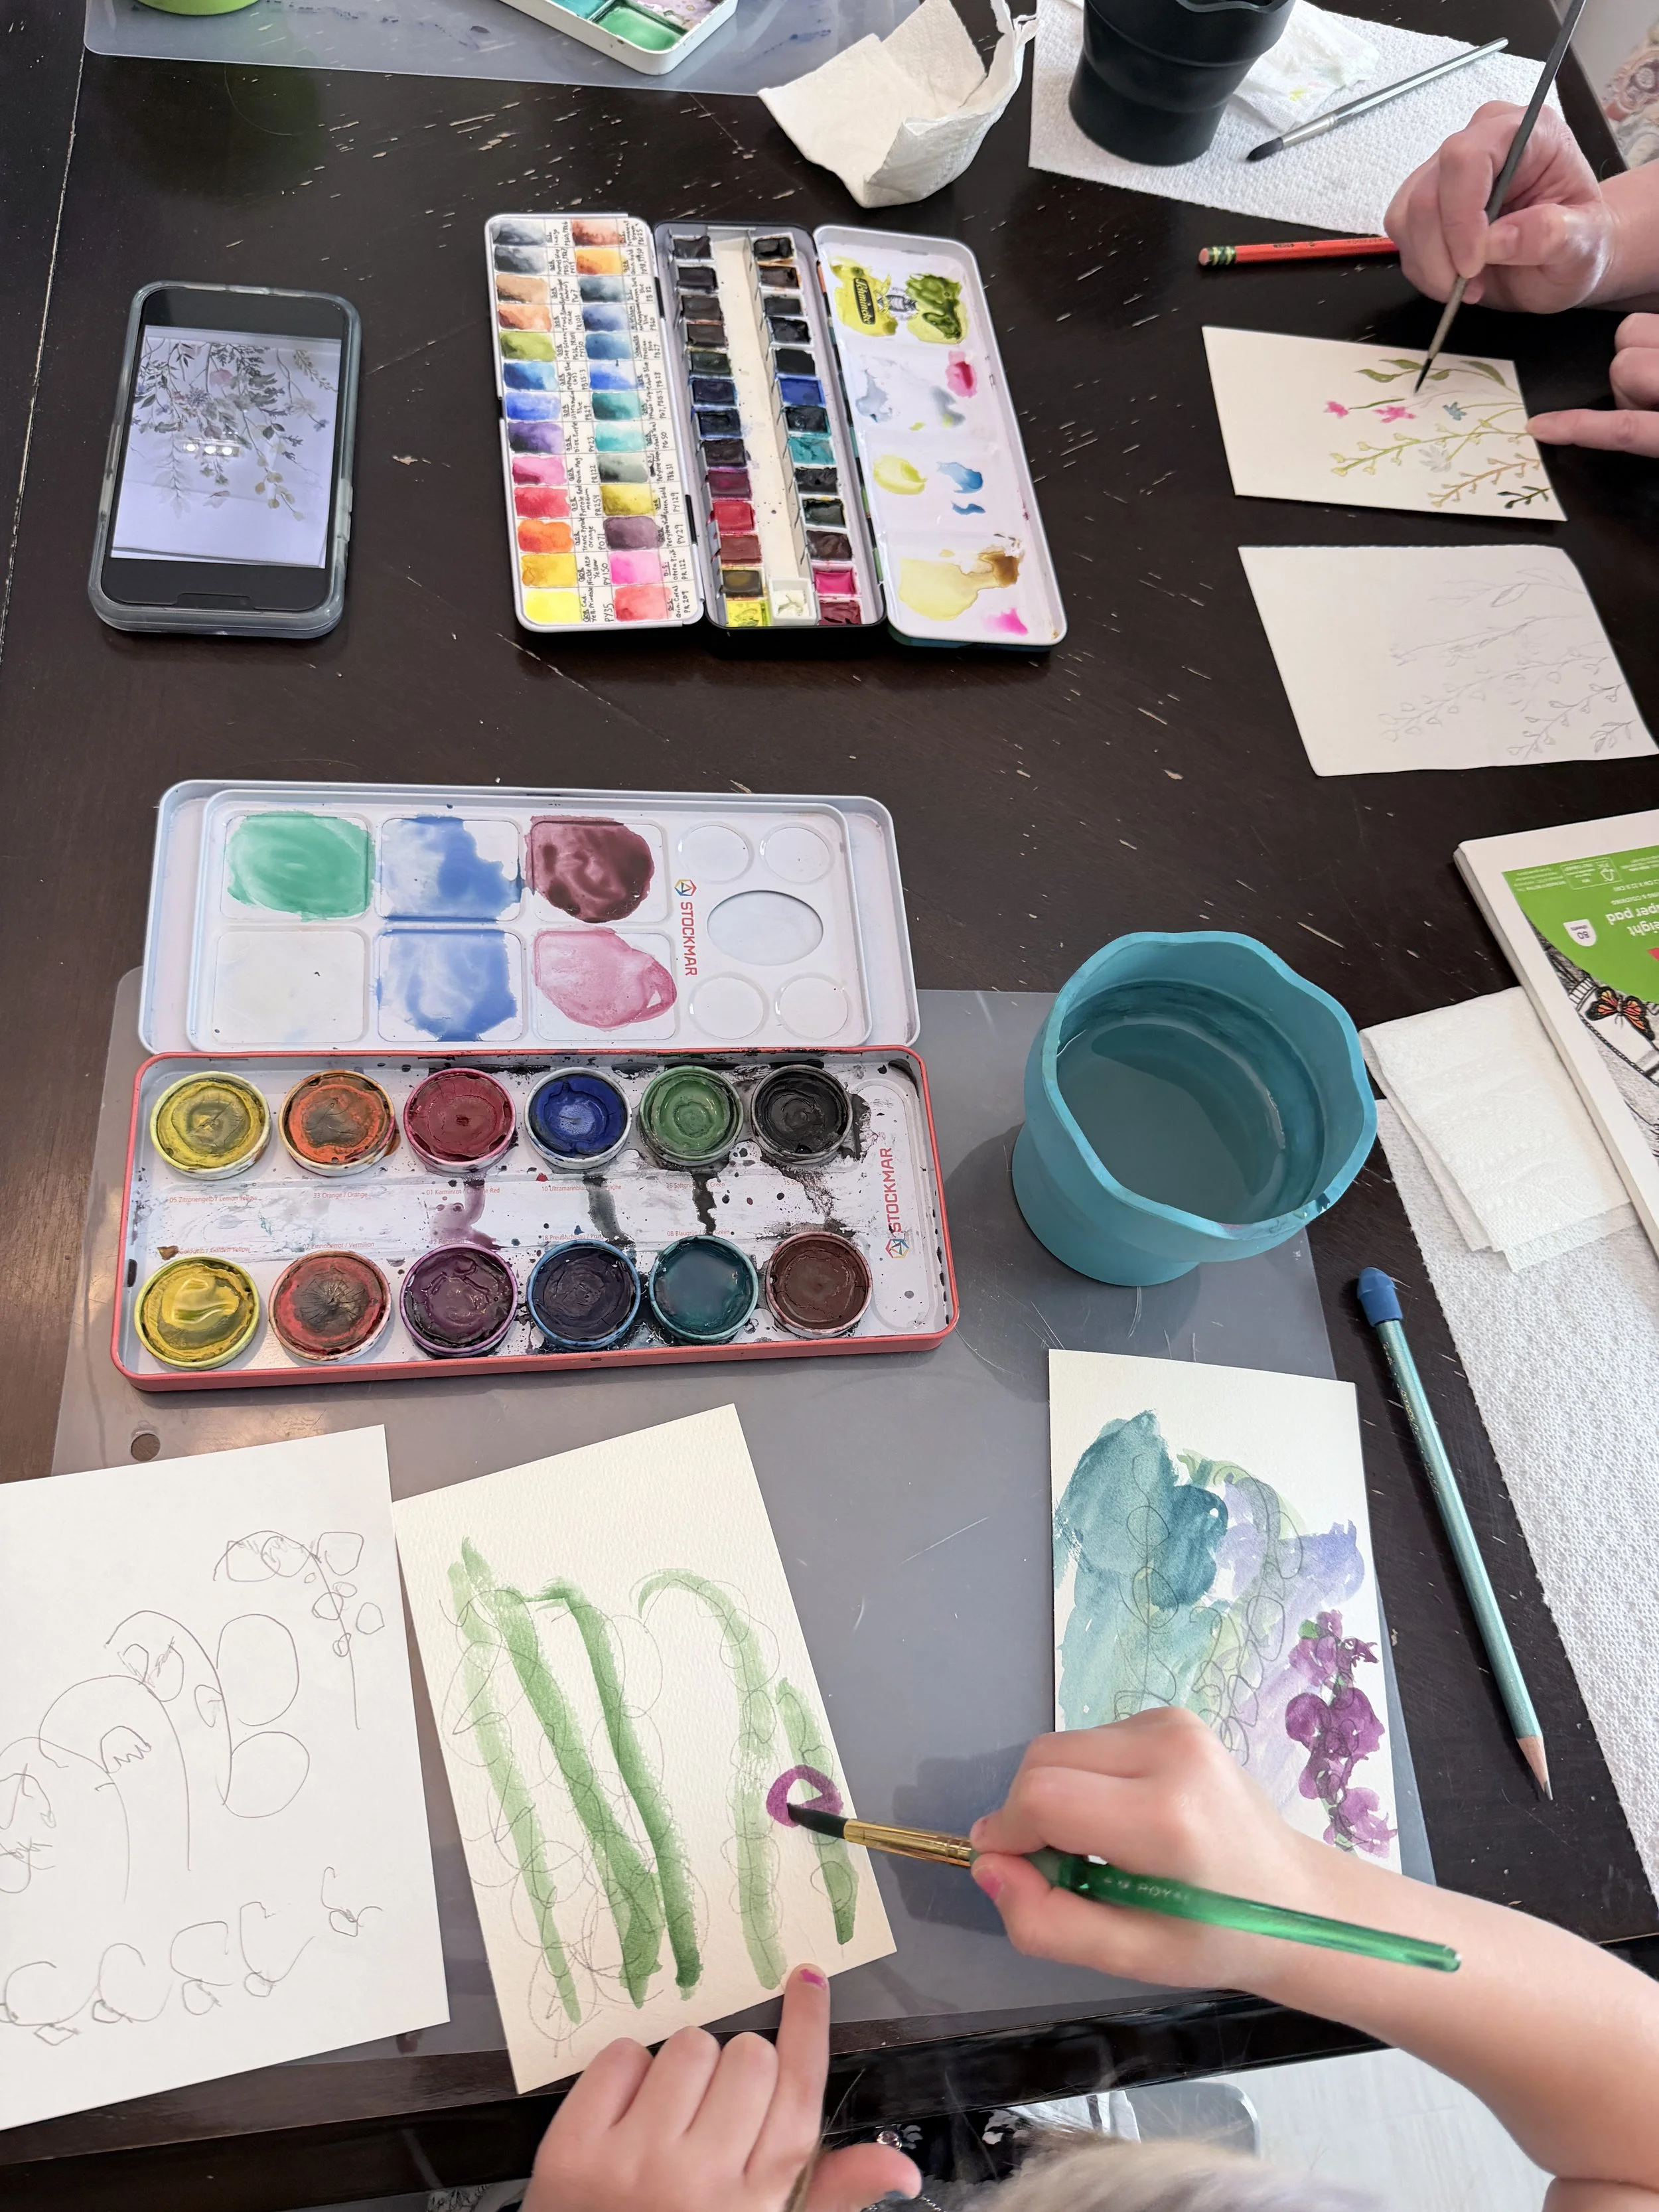
Preschooler painting watercolor wildflowers
8-year-old painting watercolor wildflowers
5. Now you’re ready to paint. If you’re not familiar with watercolor painting, check out this post on Tips for Working with Watercolor.
6. Choose the green (or other color) you want to use for the stems. You may want to mix some green and yellow to make a variety of shades for the stems. Using your fine-tipped paintbrush, carefully trace over your penciled-in stems with smooth long vertical strokes. Use the same color of each stem to fill in any leaves you drew on it.
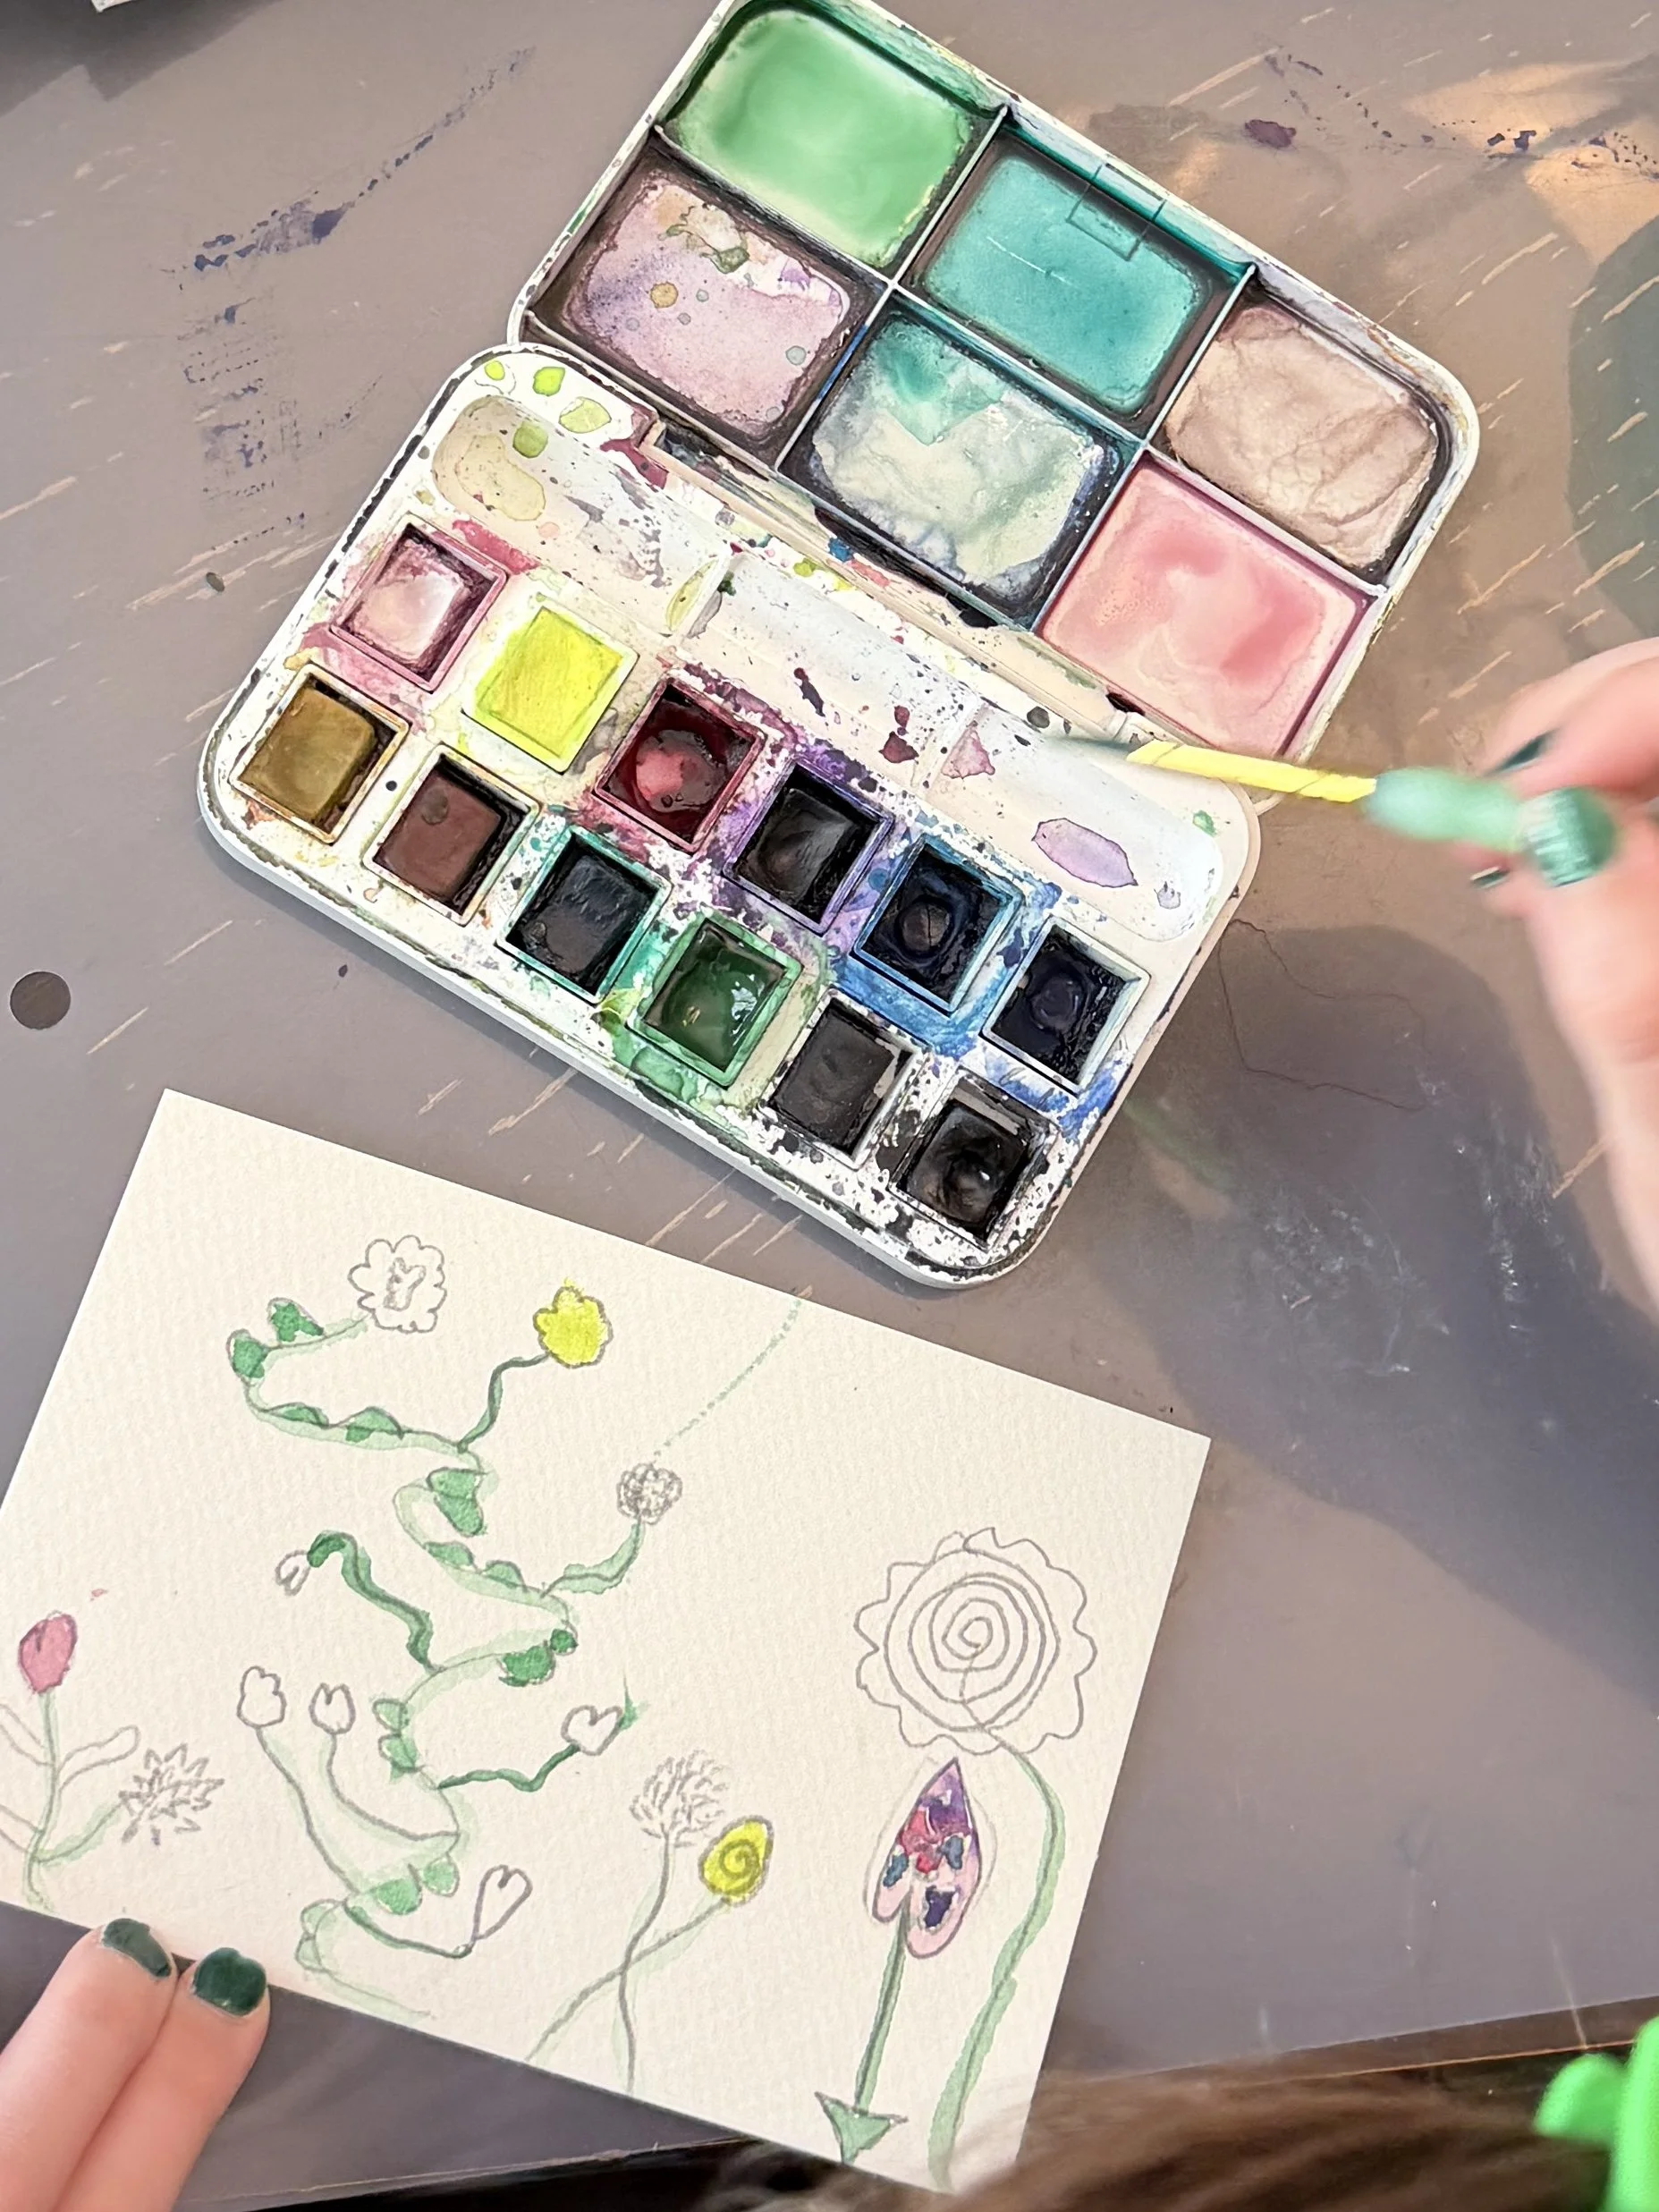
7. Next, give your painting a minute to dry while you choose colors for your wildflowers. When you’re ready, paint them in. If you want to paint any white, you may need to use white gouache.
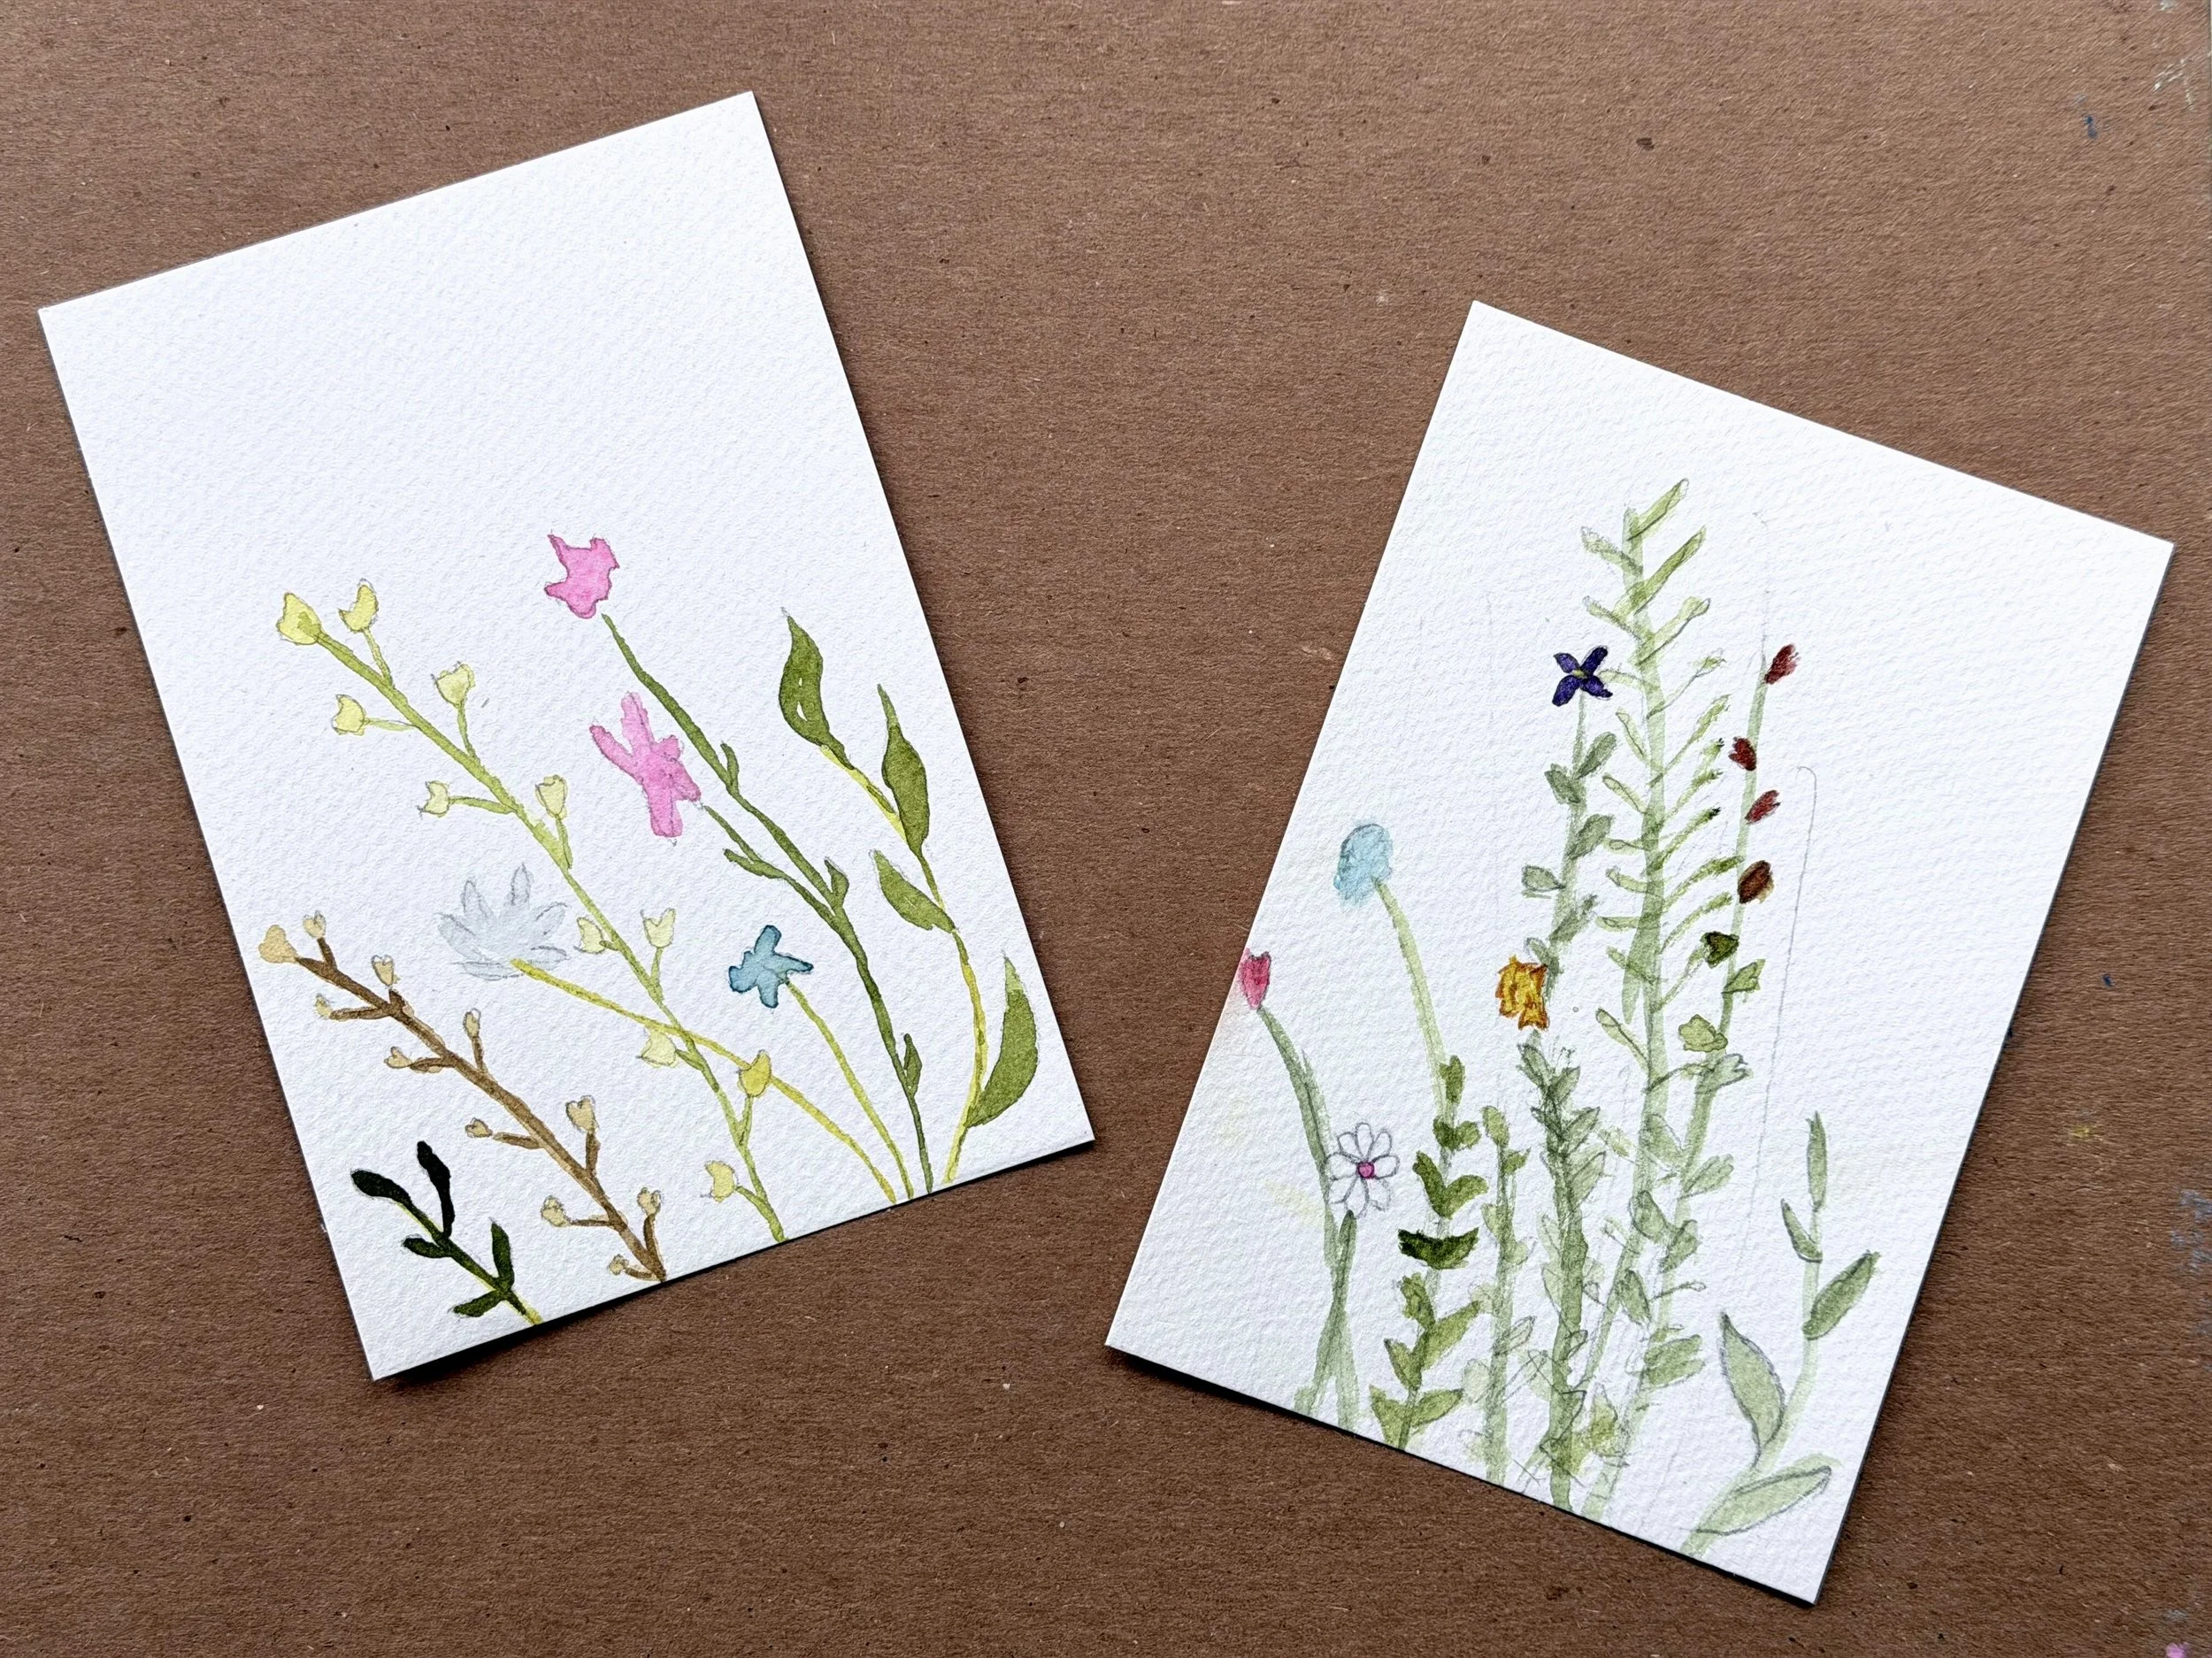
Wildflowers watercolor painting by an adult and teen
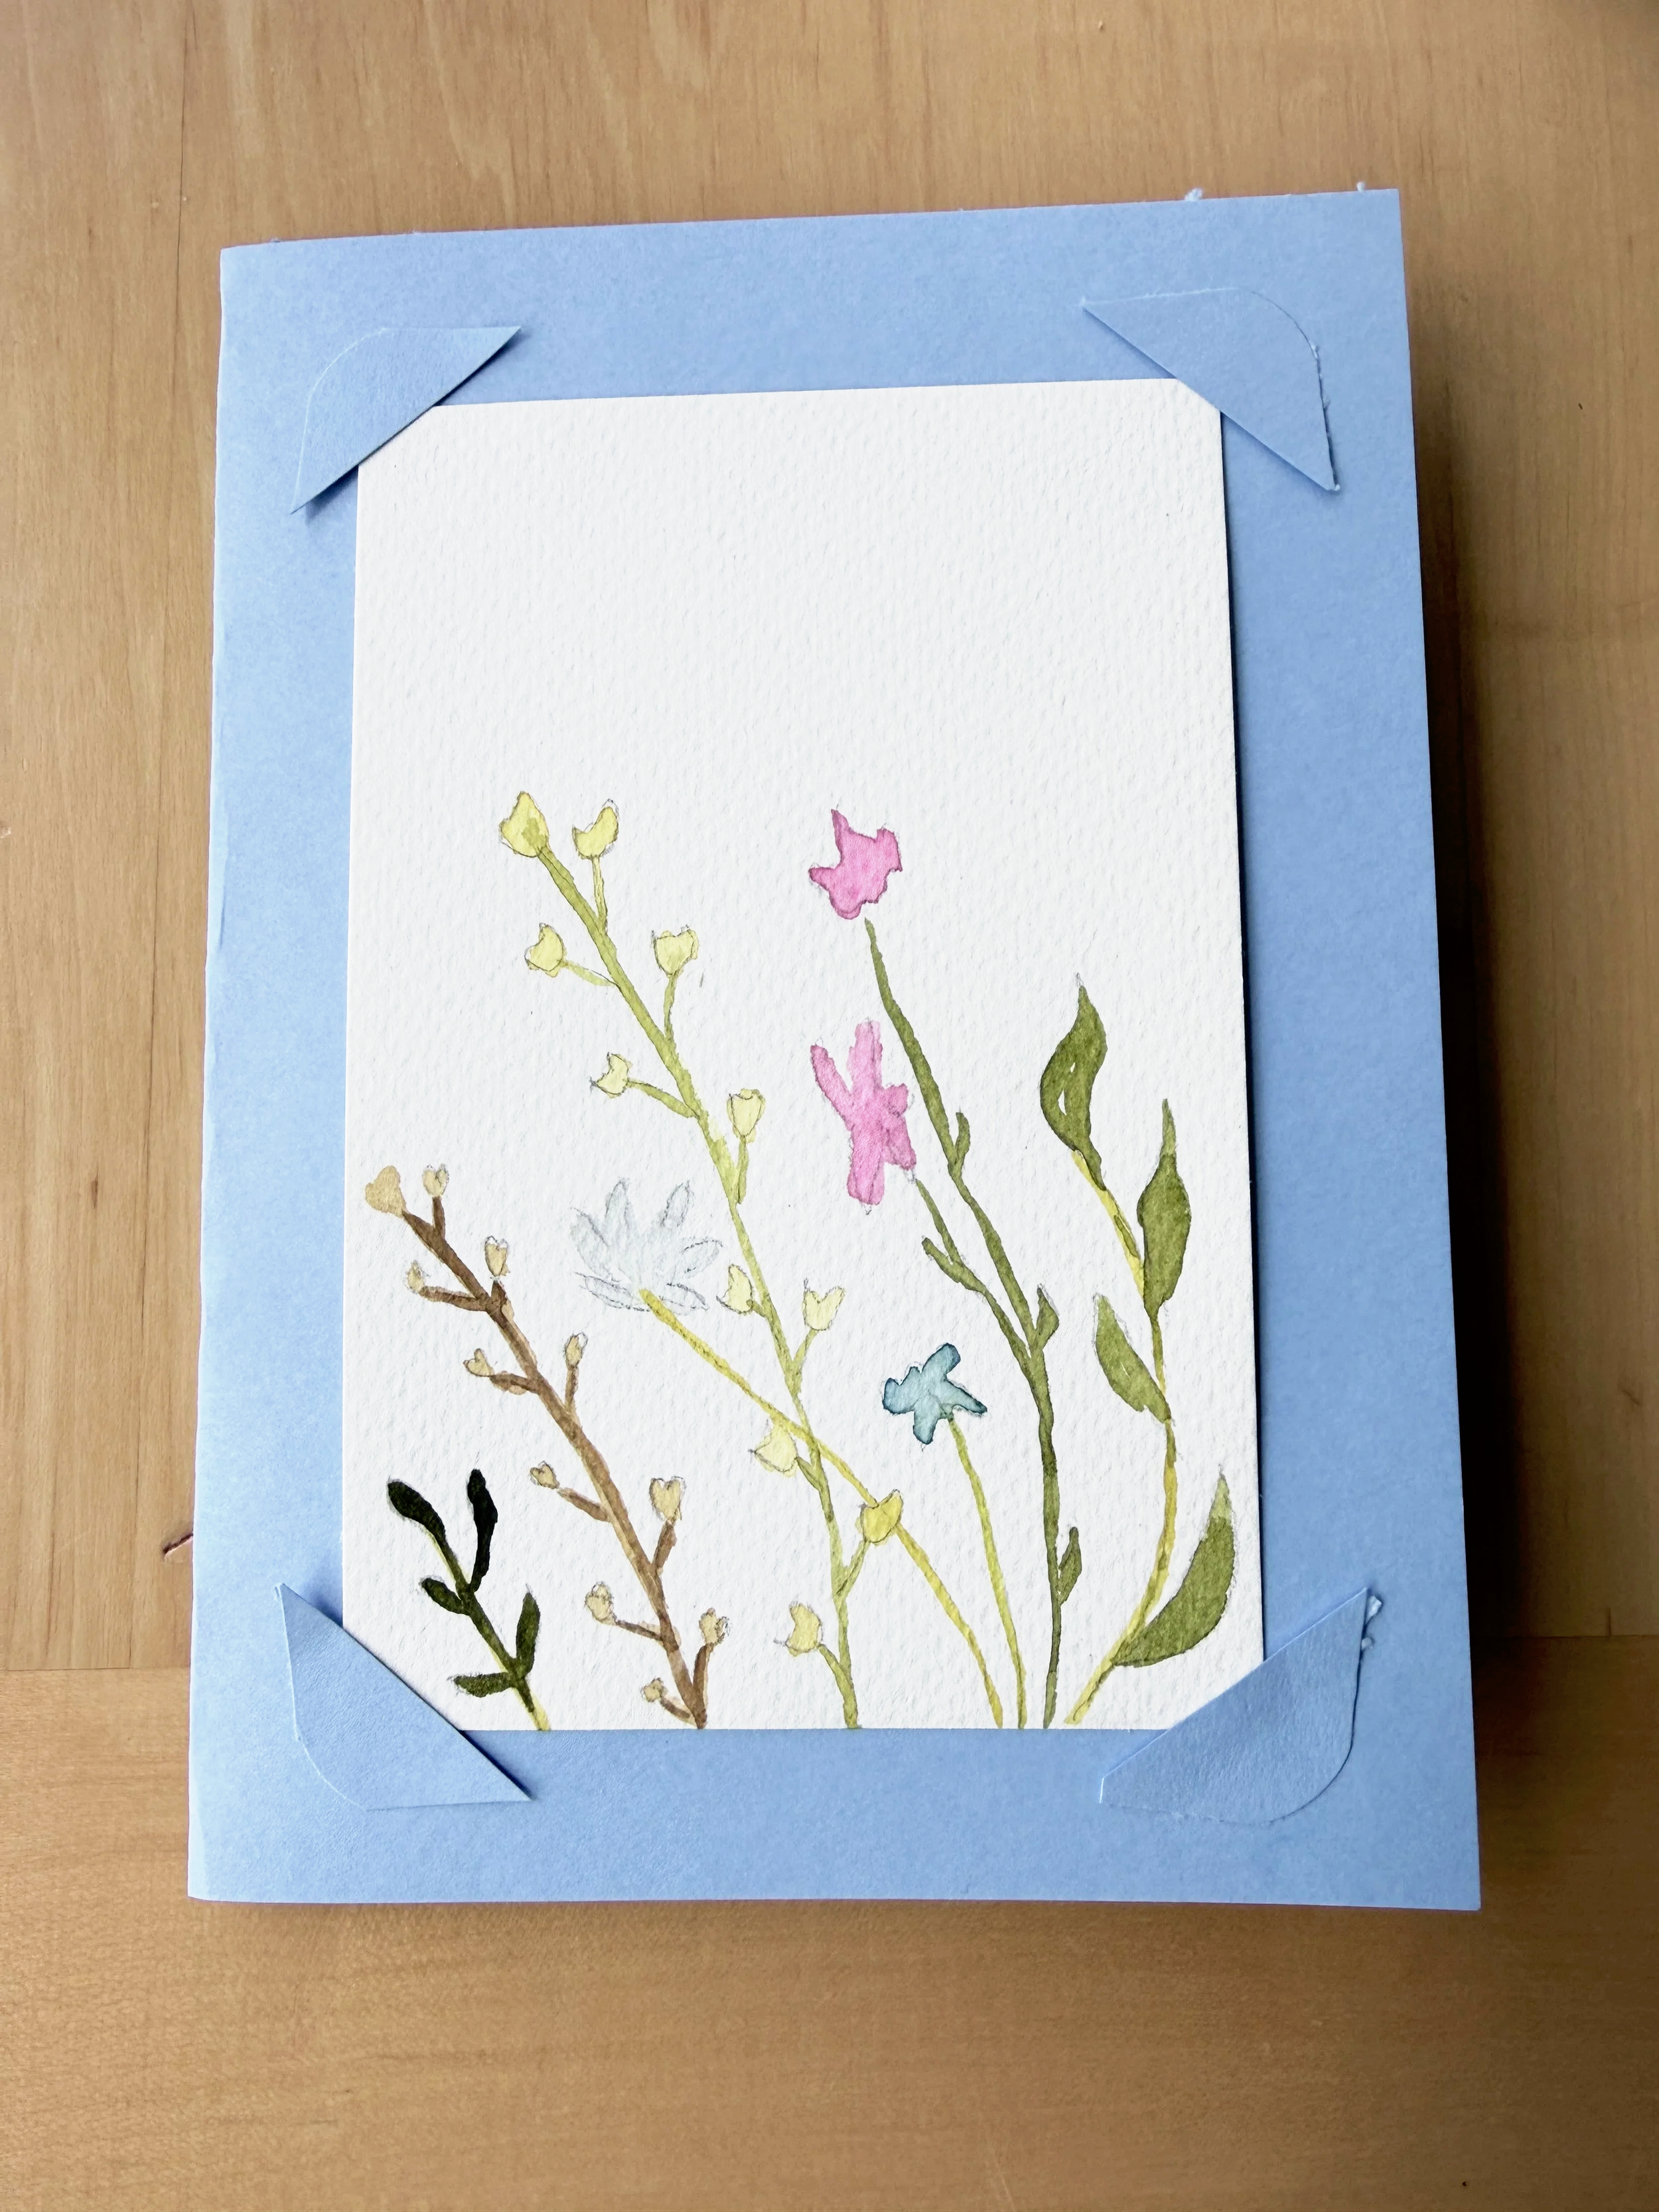
Watercolor wildflower handmade card
Tips:
remind kids that these can be impressionistic flowers. They don’t need to look like exact replicas of real flowers.
It can be difficult to control watercolor. It’s best to use a fine brush and work with small amounts of paint.
Work slowly. Give paint a minute to dry when switching colors if you don’t want them to blend as much.
Don’t stress if kids get whimsical and go in their own direction with this activity. (For reference, the paintings below were done by a 4-year-old, 8-year-old, and 14-year-old (respectively).
Make your painting part of a handmade card by attaching it to cardstock.
You may also like:

Field of Flowers Painting
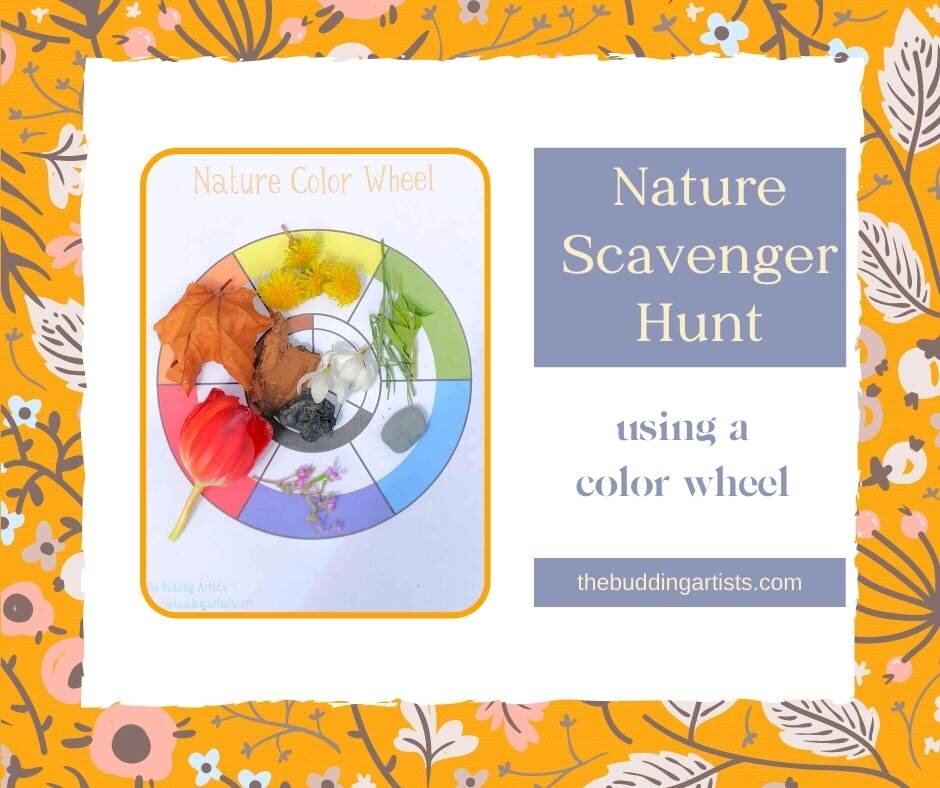
Nature Color Scavenger Hunt
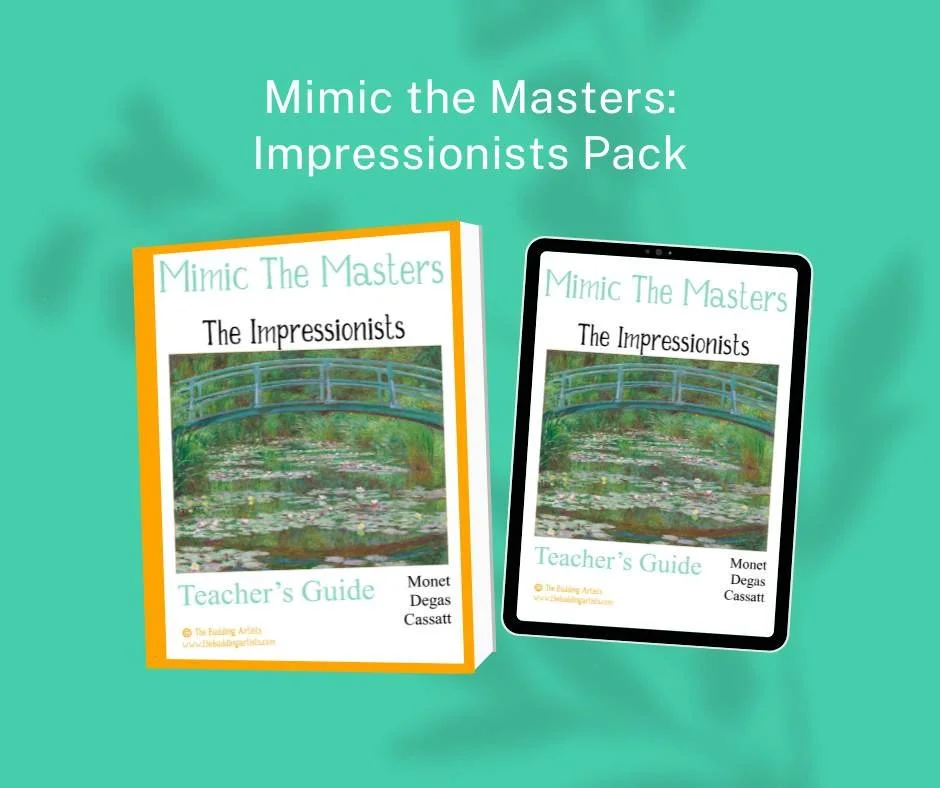
Art Curriculum PreK-Middle School