
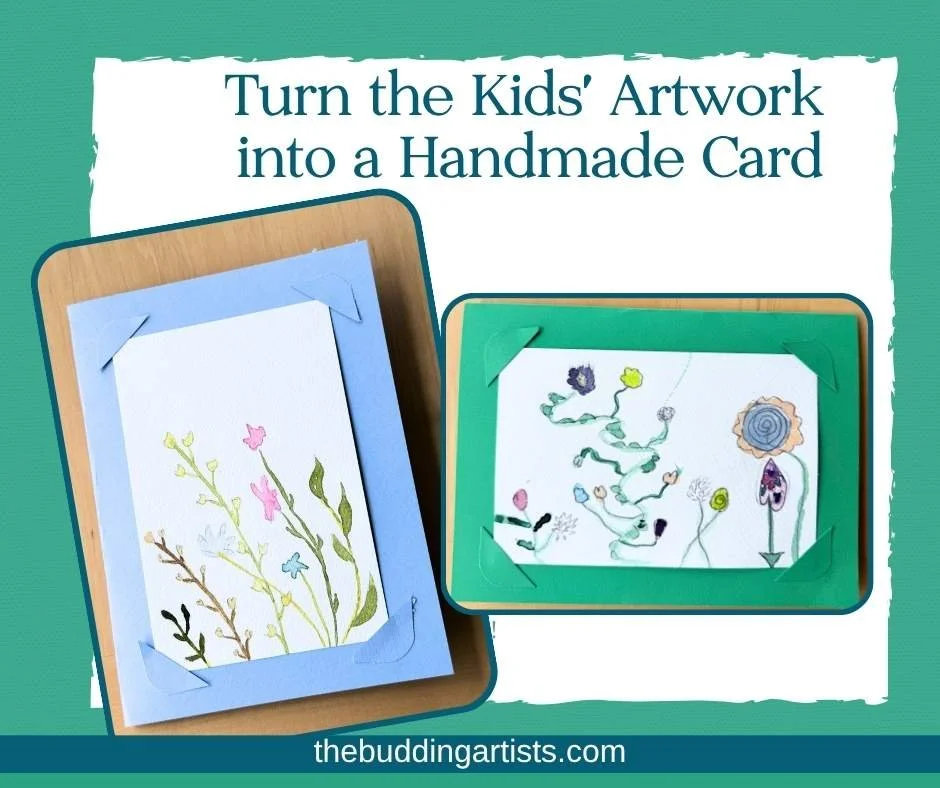
Turn Kids’ Art into a Card
Use this simple process to turn a child’s artwork into a card that can be given to a loved one. This would be great to do for Mother’s Day, Grandparent’s Day, birthdays, or any other special occasion that requires a sentimental gift.
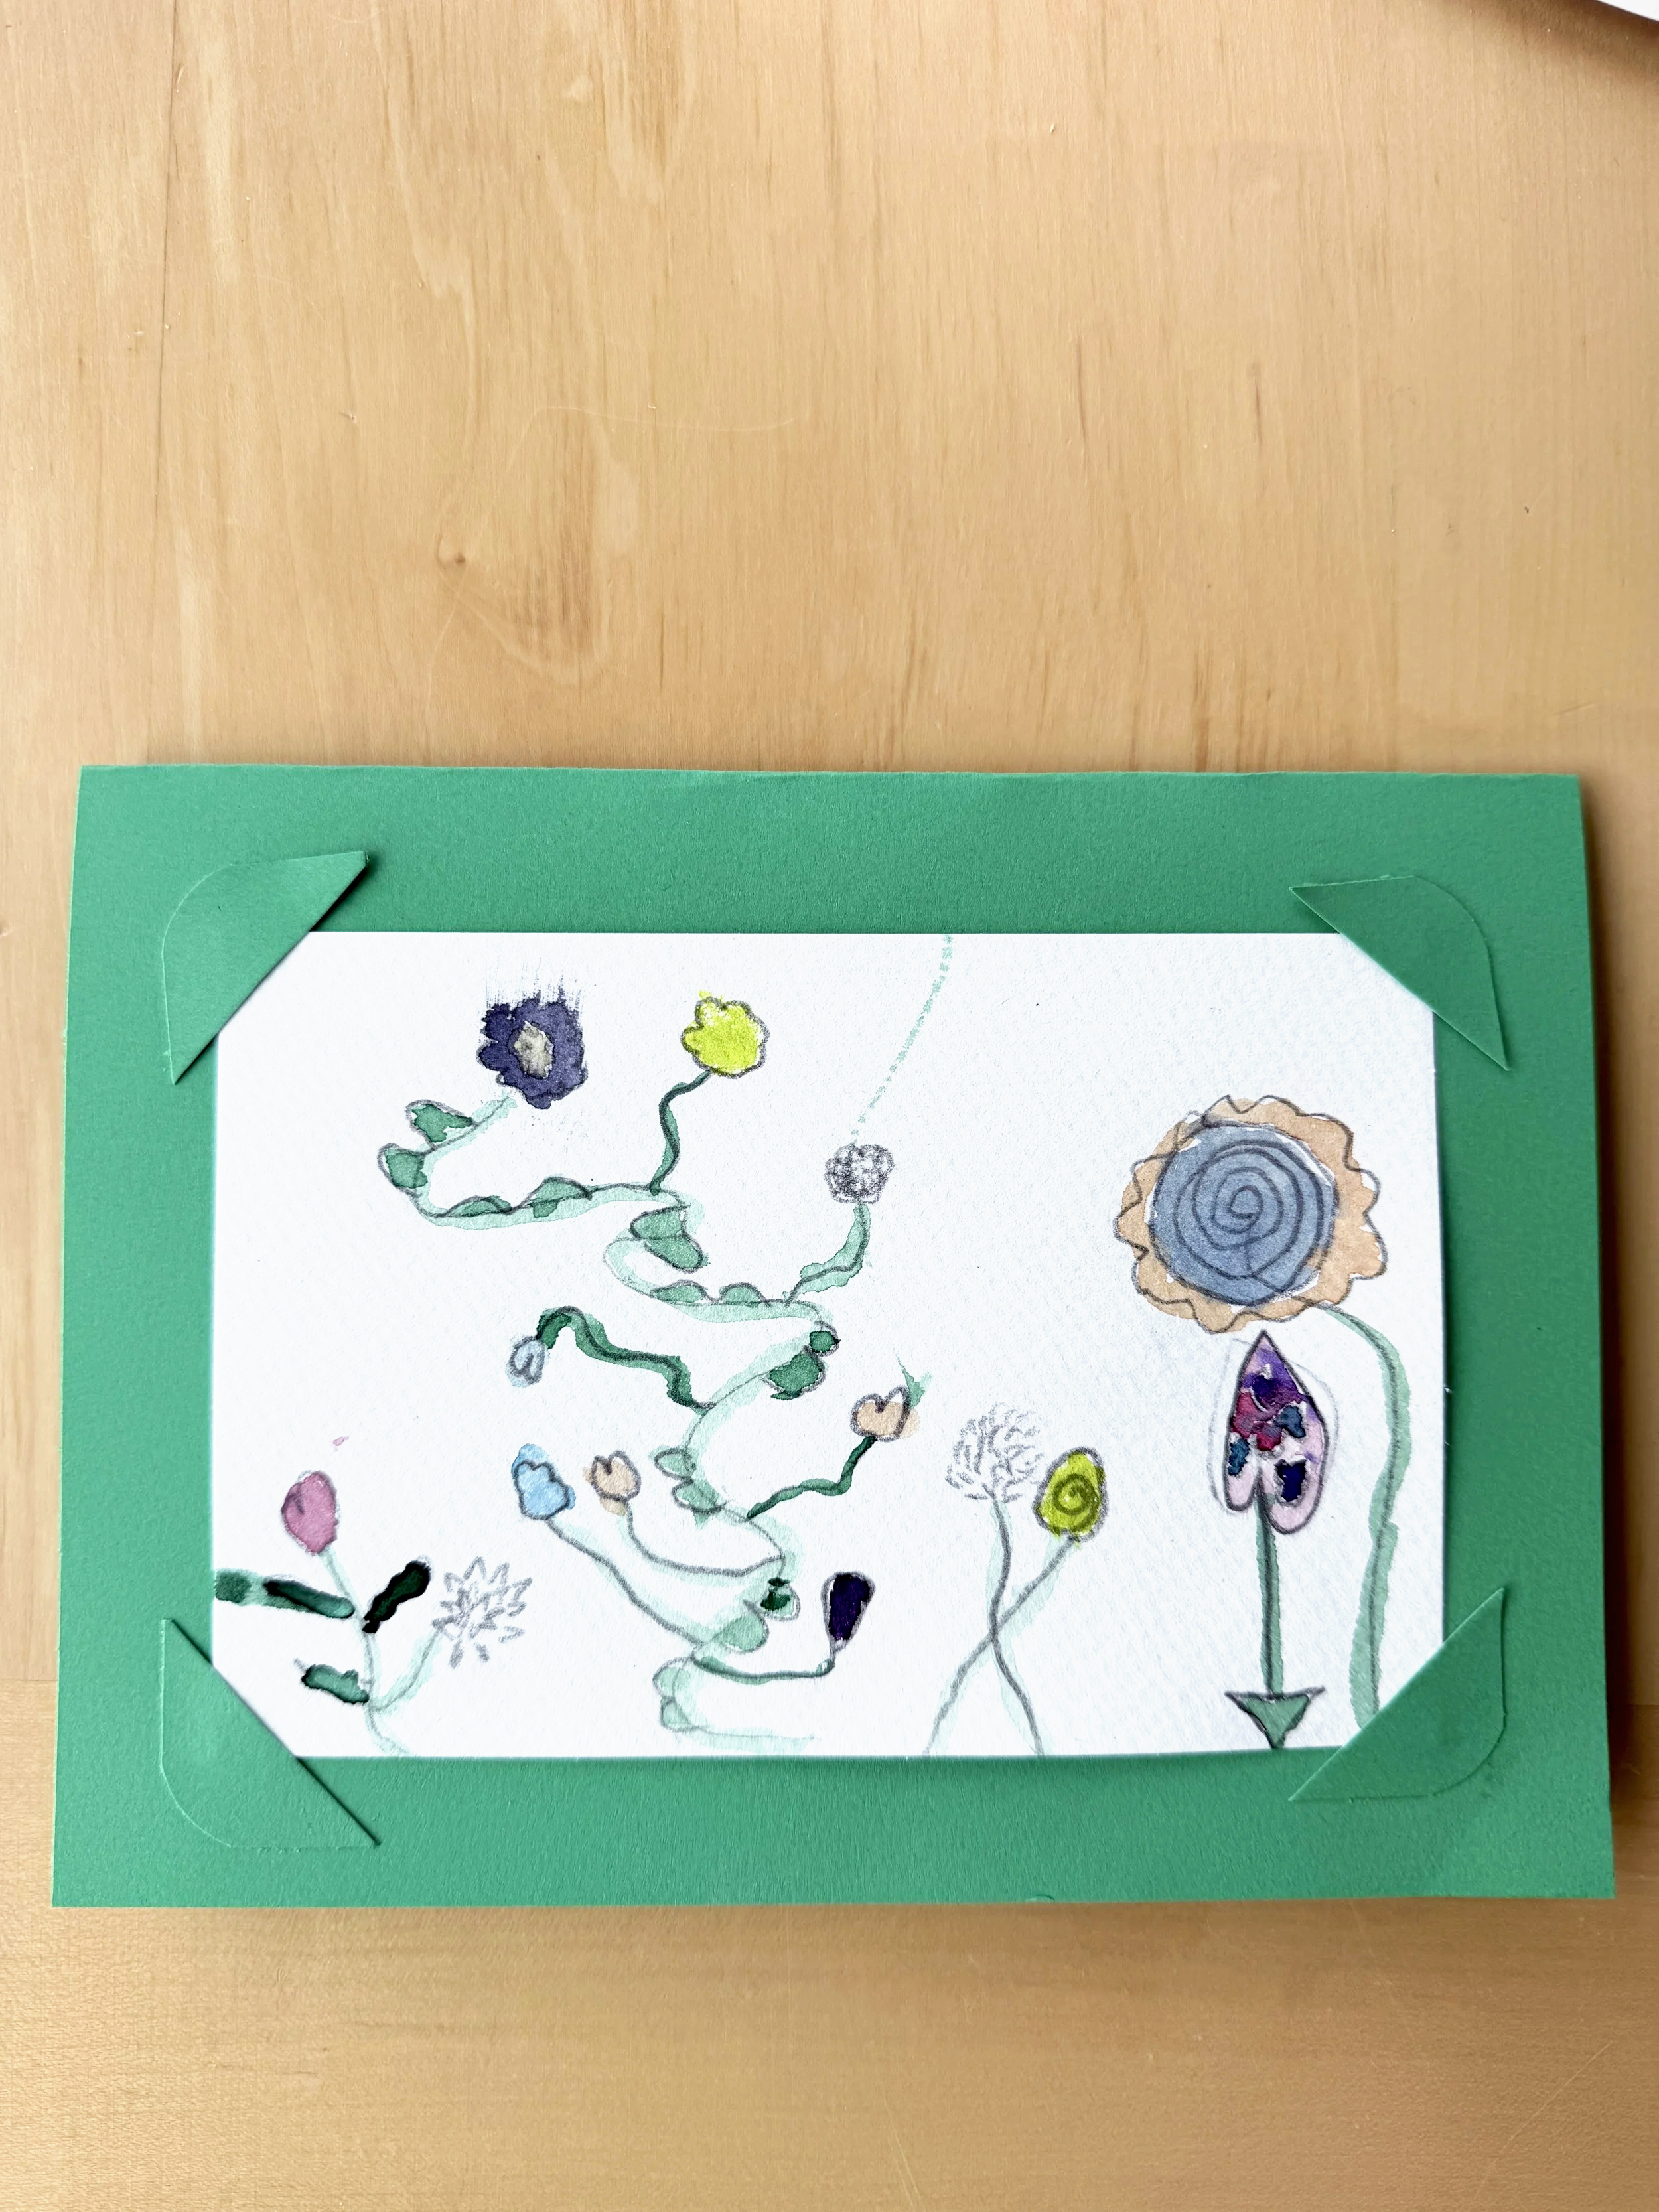
The idea behind this card is that you can use it to gift a small piece of artwork to a loved one. We attach the art in such a way that it can later be removed, if desired, and kept without the card.
This project works best with artwork created on a quarter or half sheet of paper.
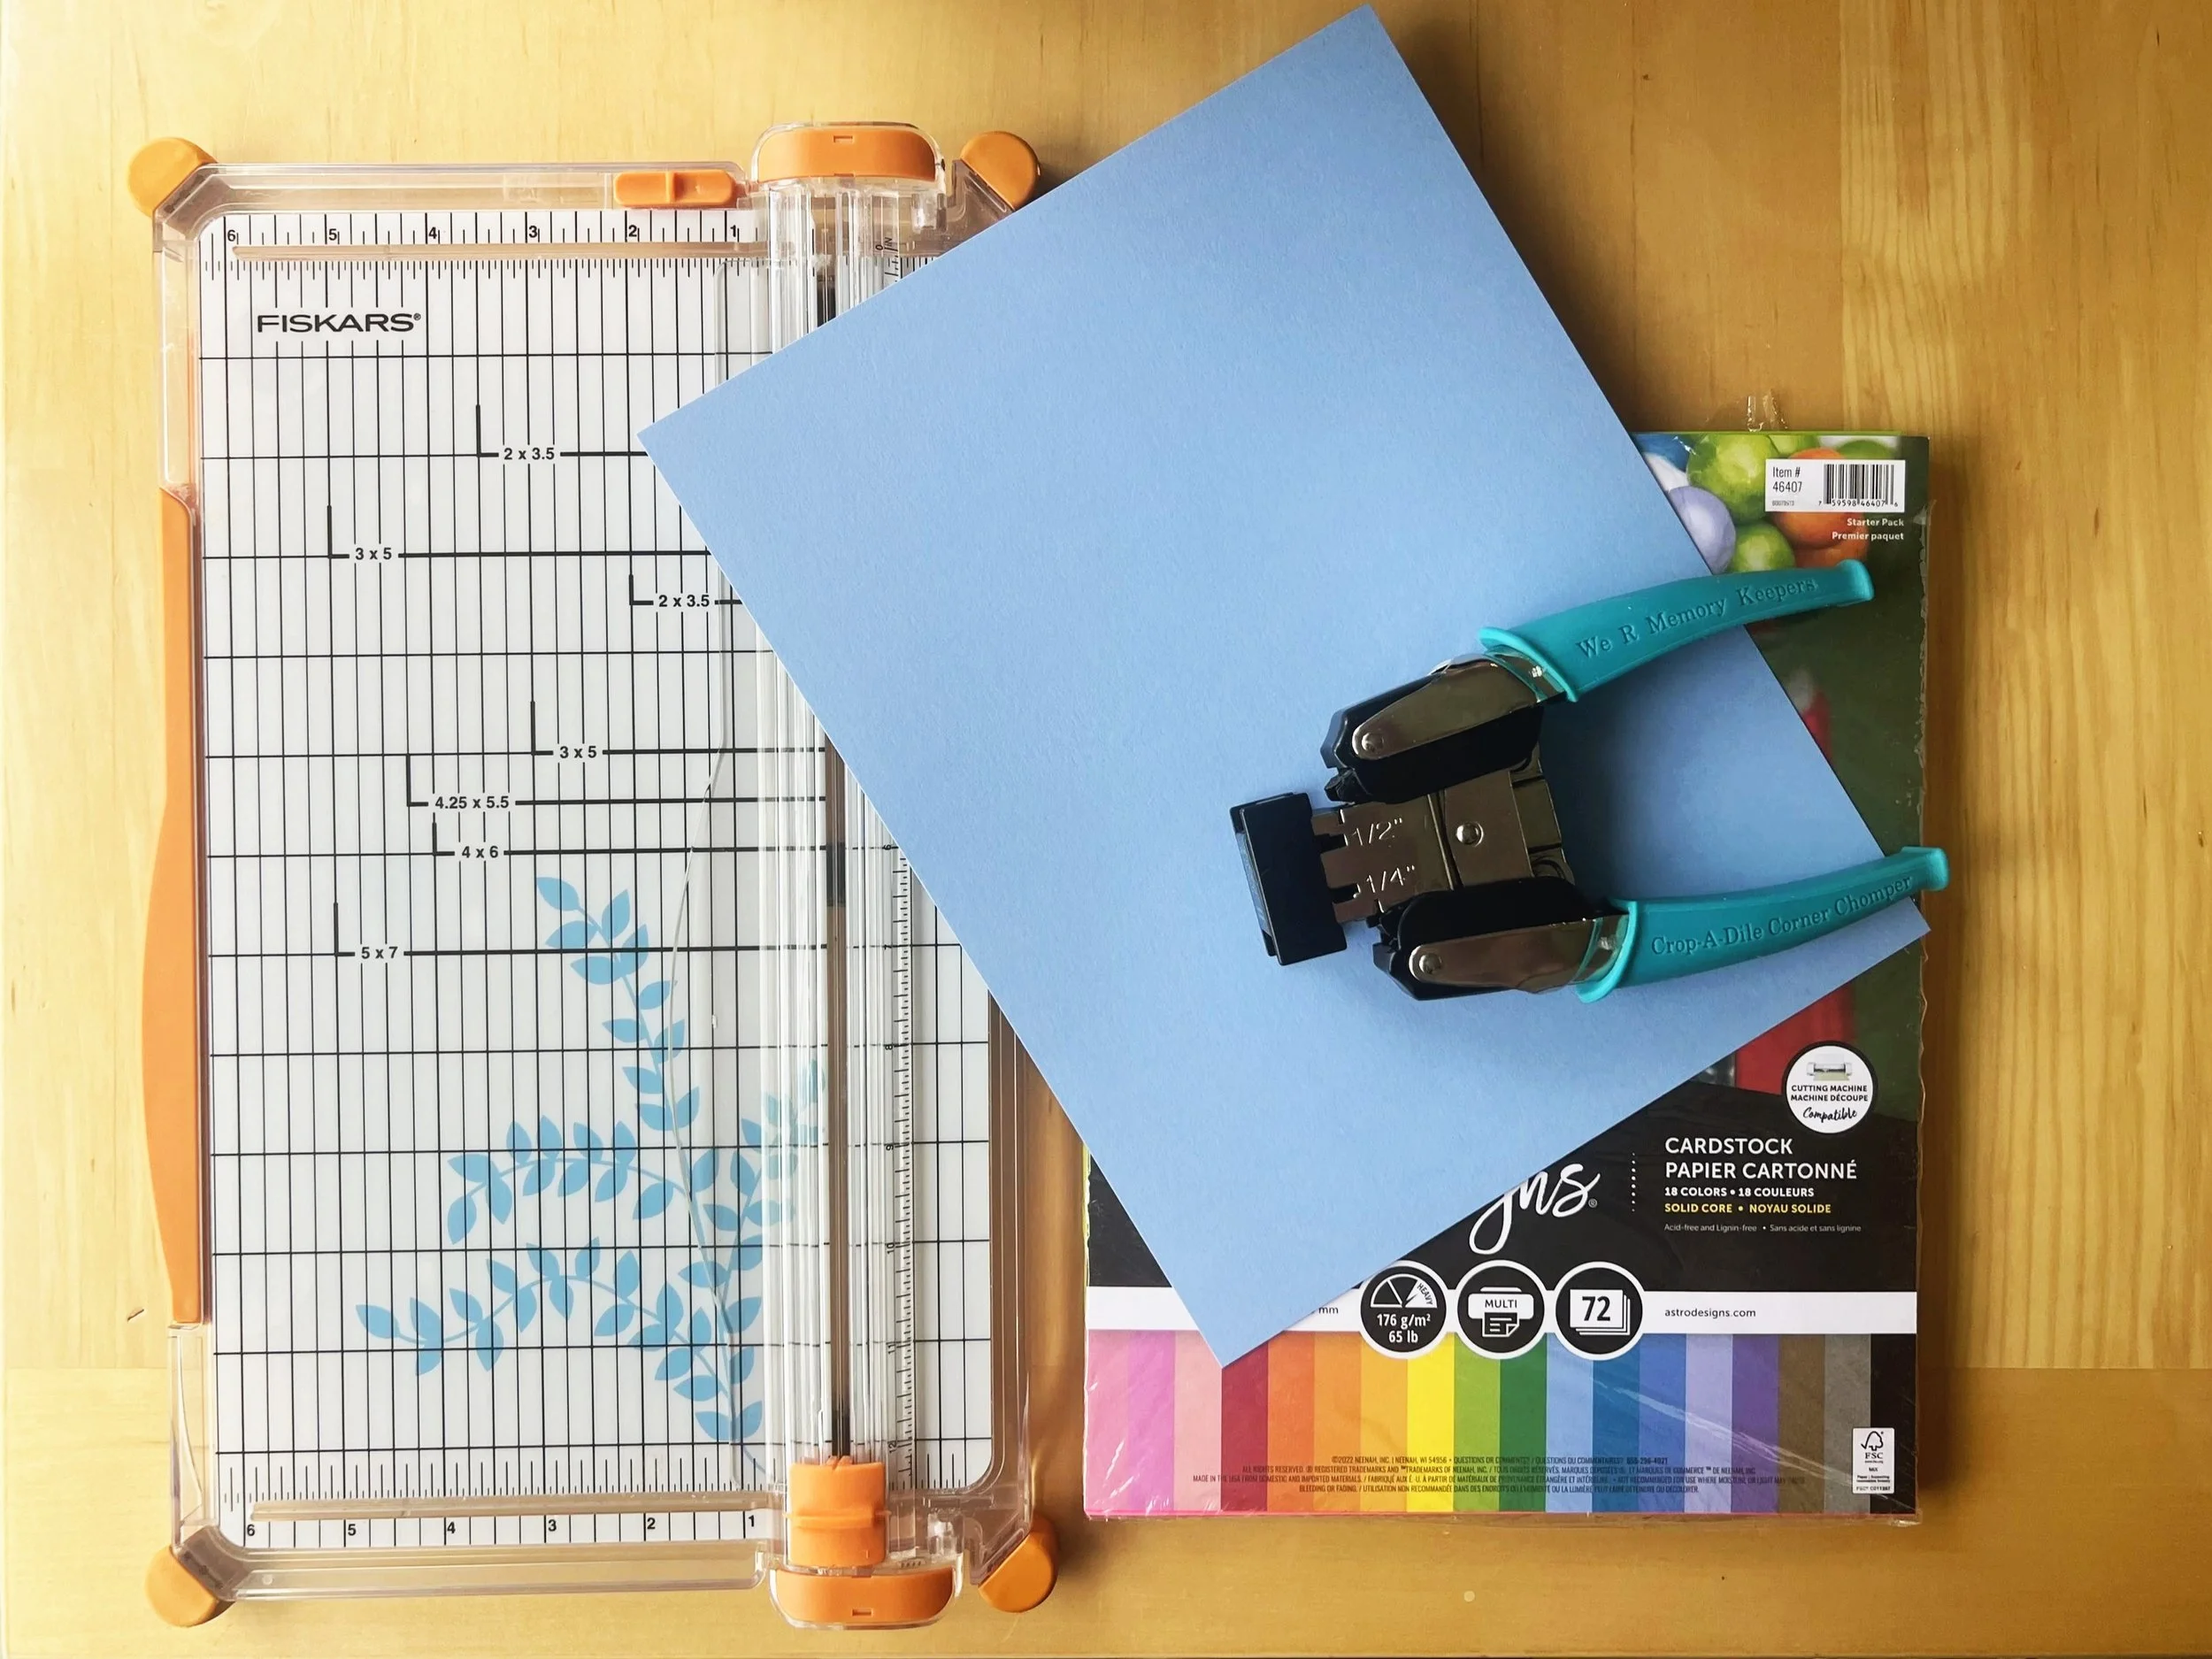
Note: This post contains affiliate links. As an Amazon affiliate, I earn a small commission on purchases made through these links at no extra cost to you. Materials:
scissors
corner punch or premade photo corners
double-sided tape runner (or other adhesive)
child’s artwork
Steps:
Choose a color of cardstock that coordinates with the artwork you’ll be attaching.
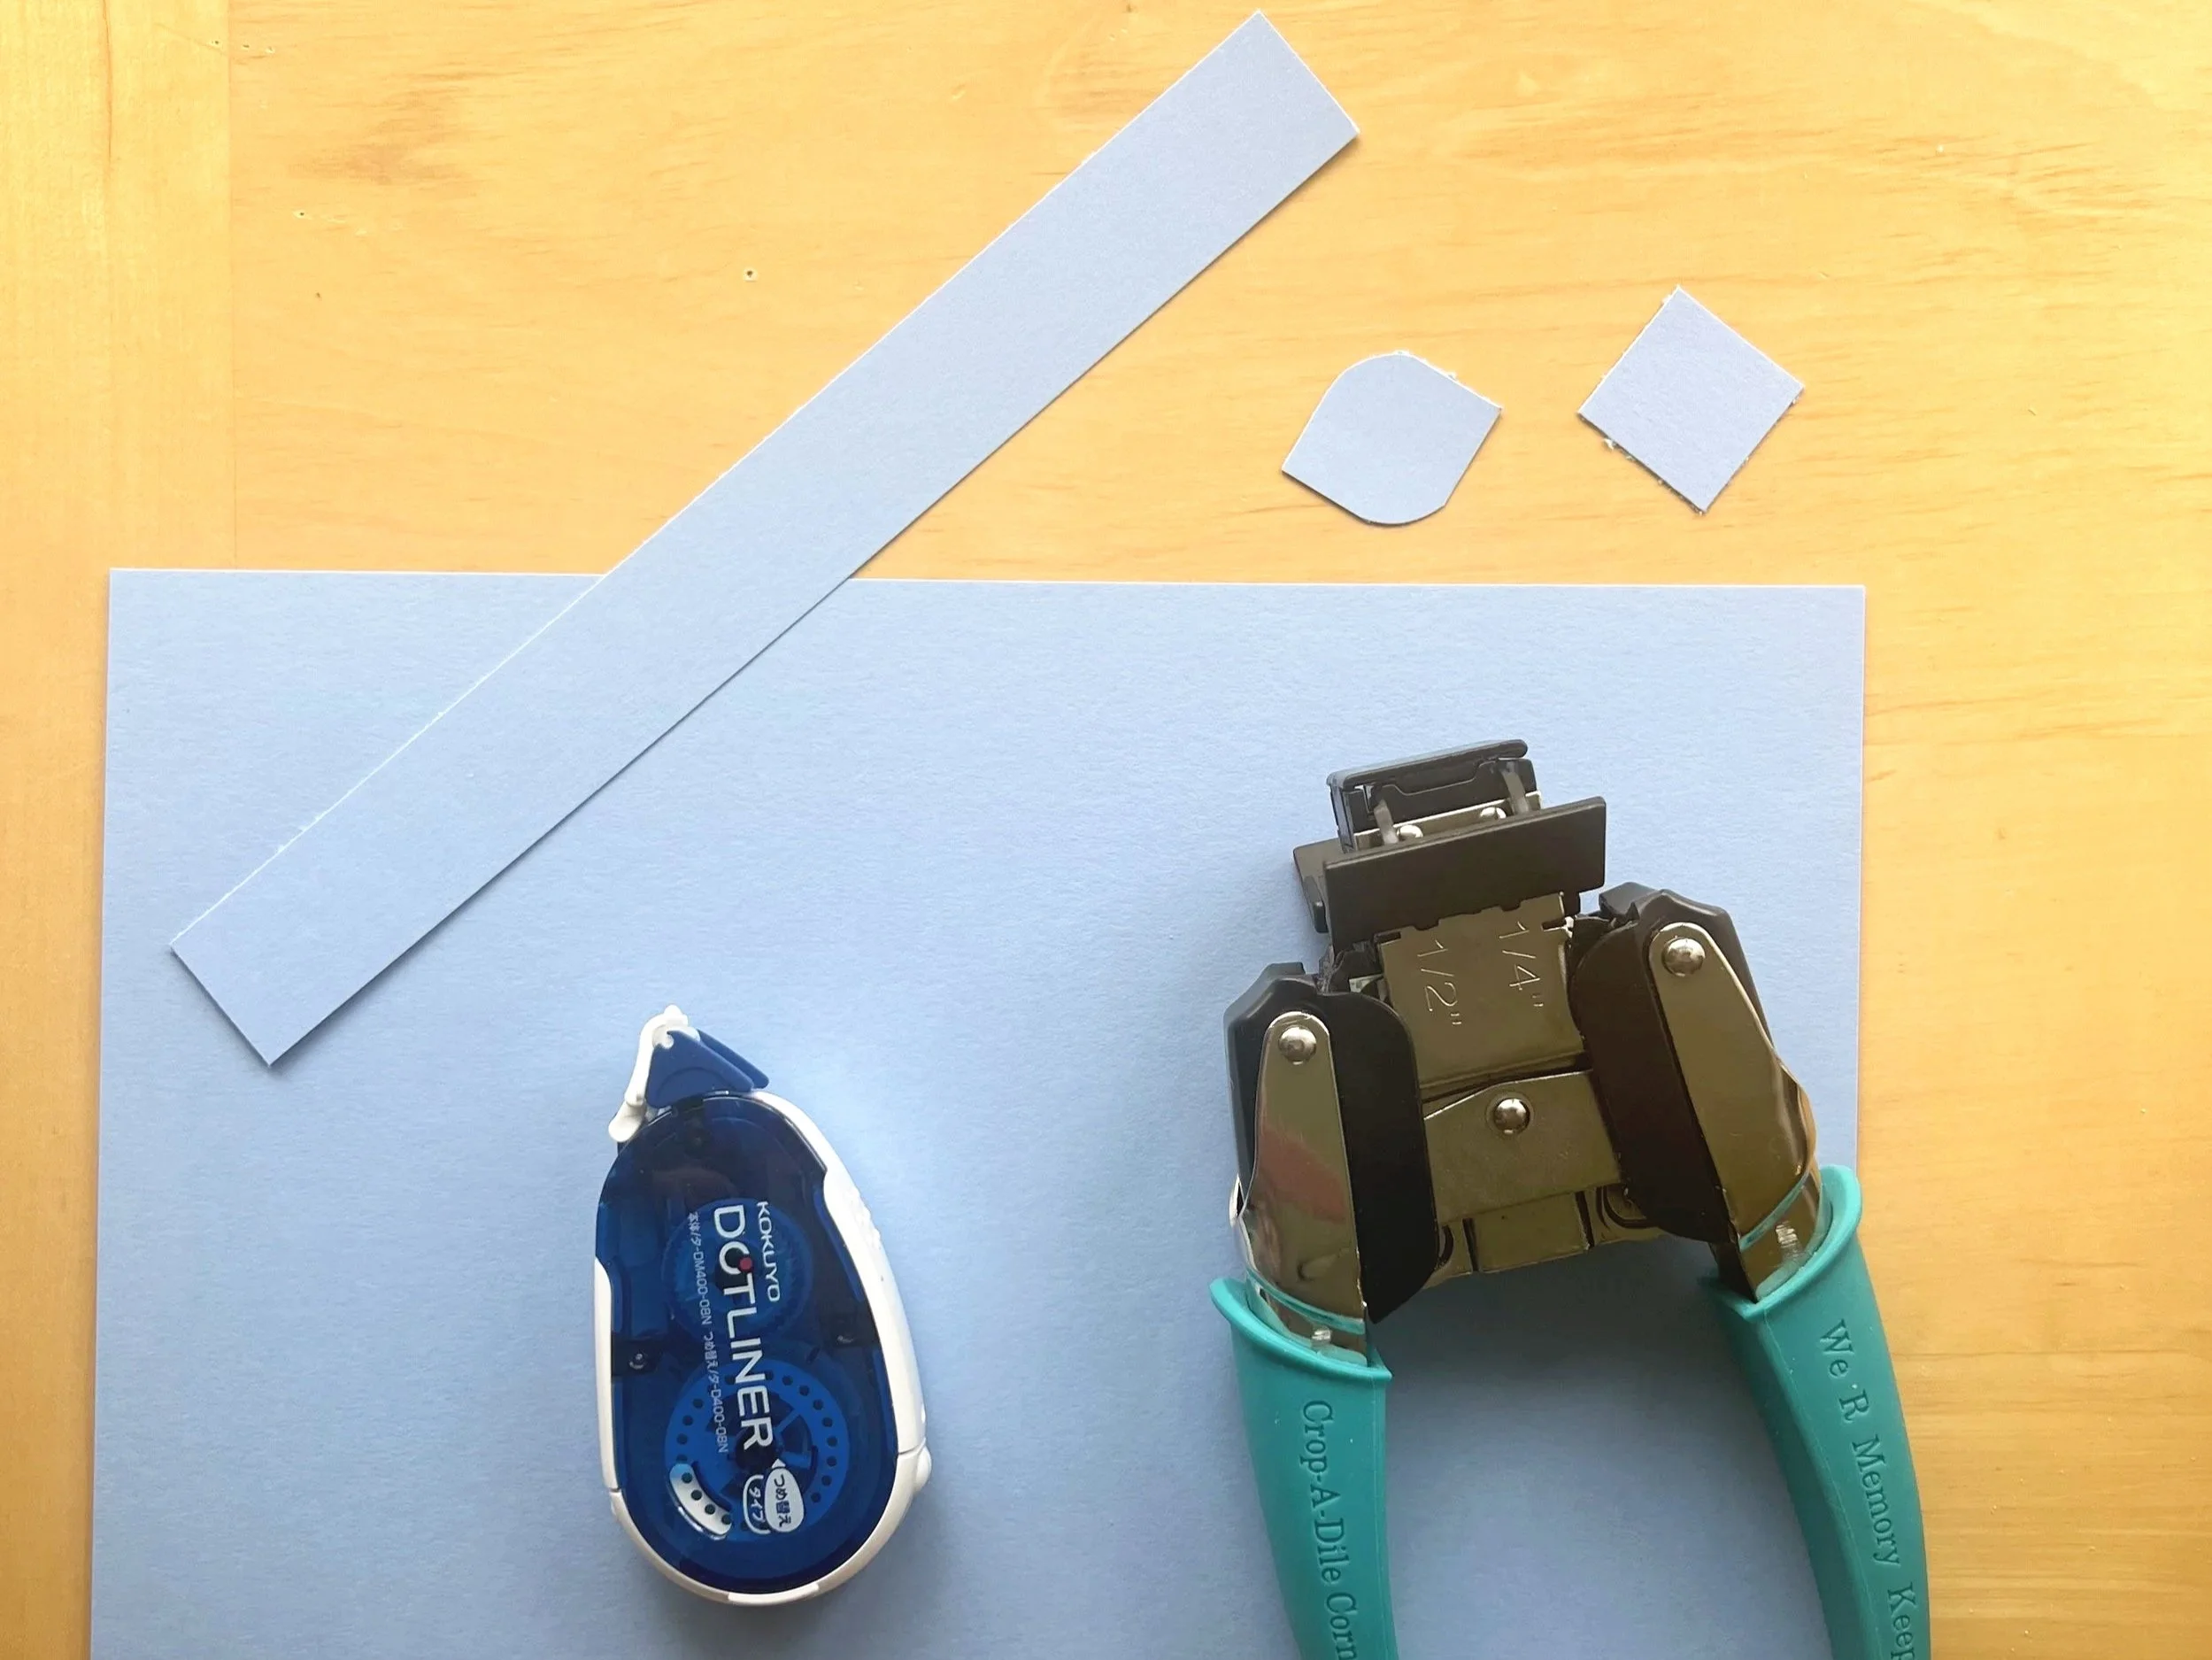
Decide how much you will need to trim the cardstock so that the artwork takes up most of the front flap of the card (when you fold the cardstock in half). We were working with a 4×6 piece of artwork. We decided the card would look best if we trimmed one inch from the long end.
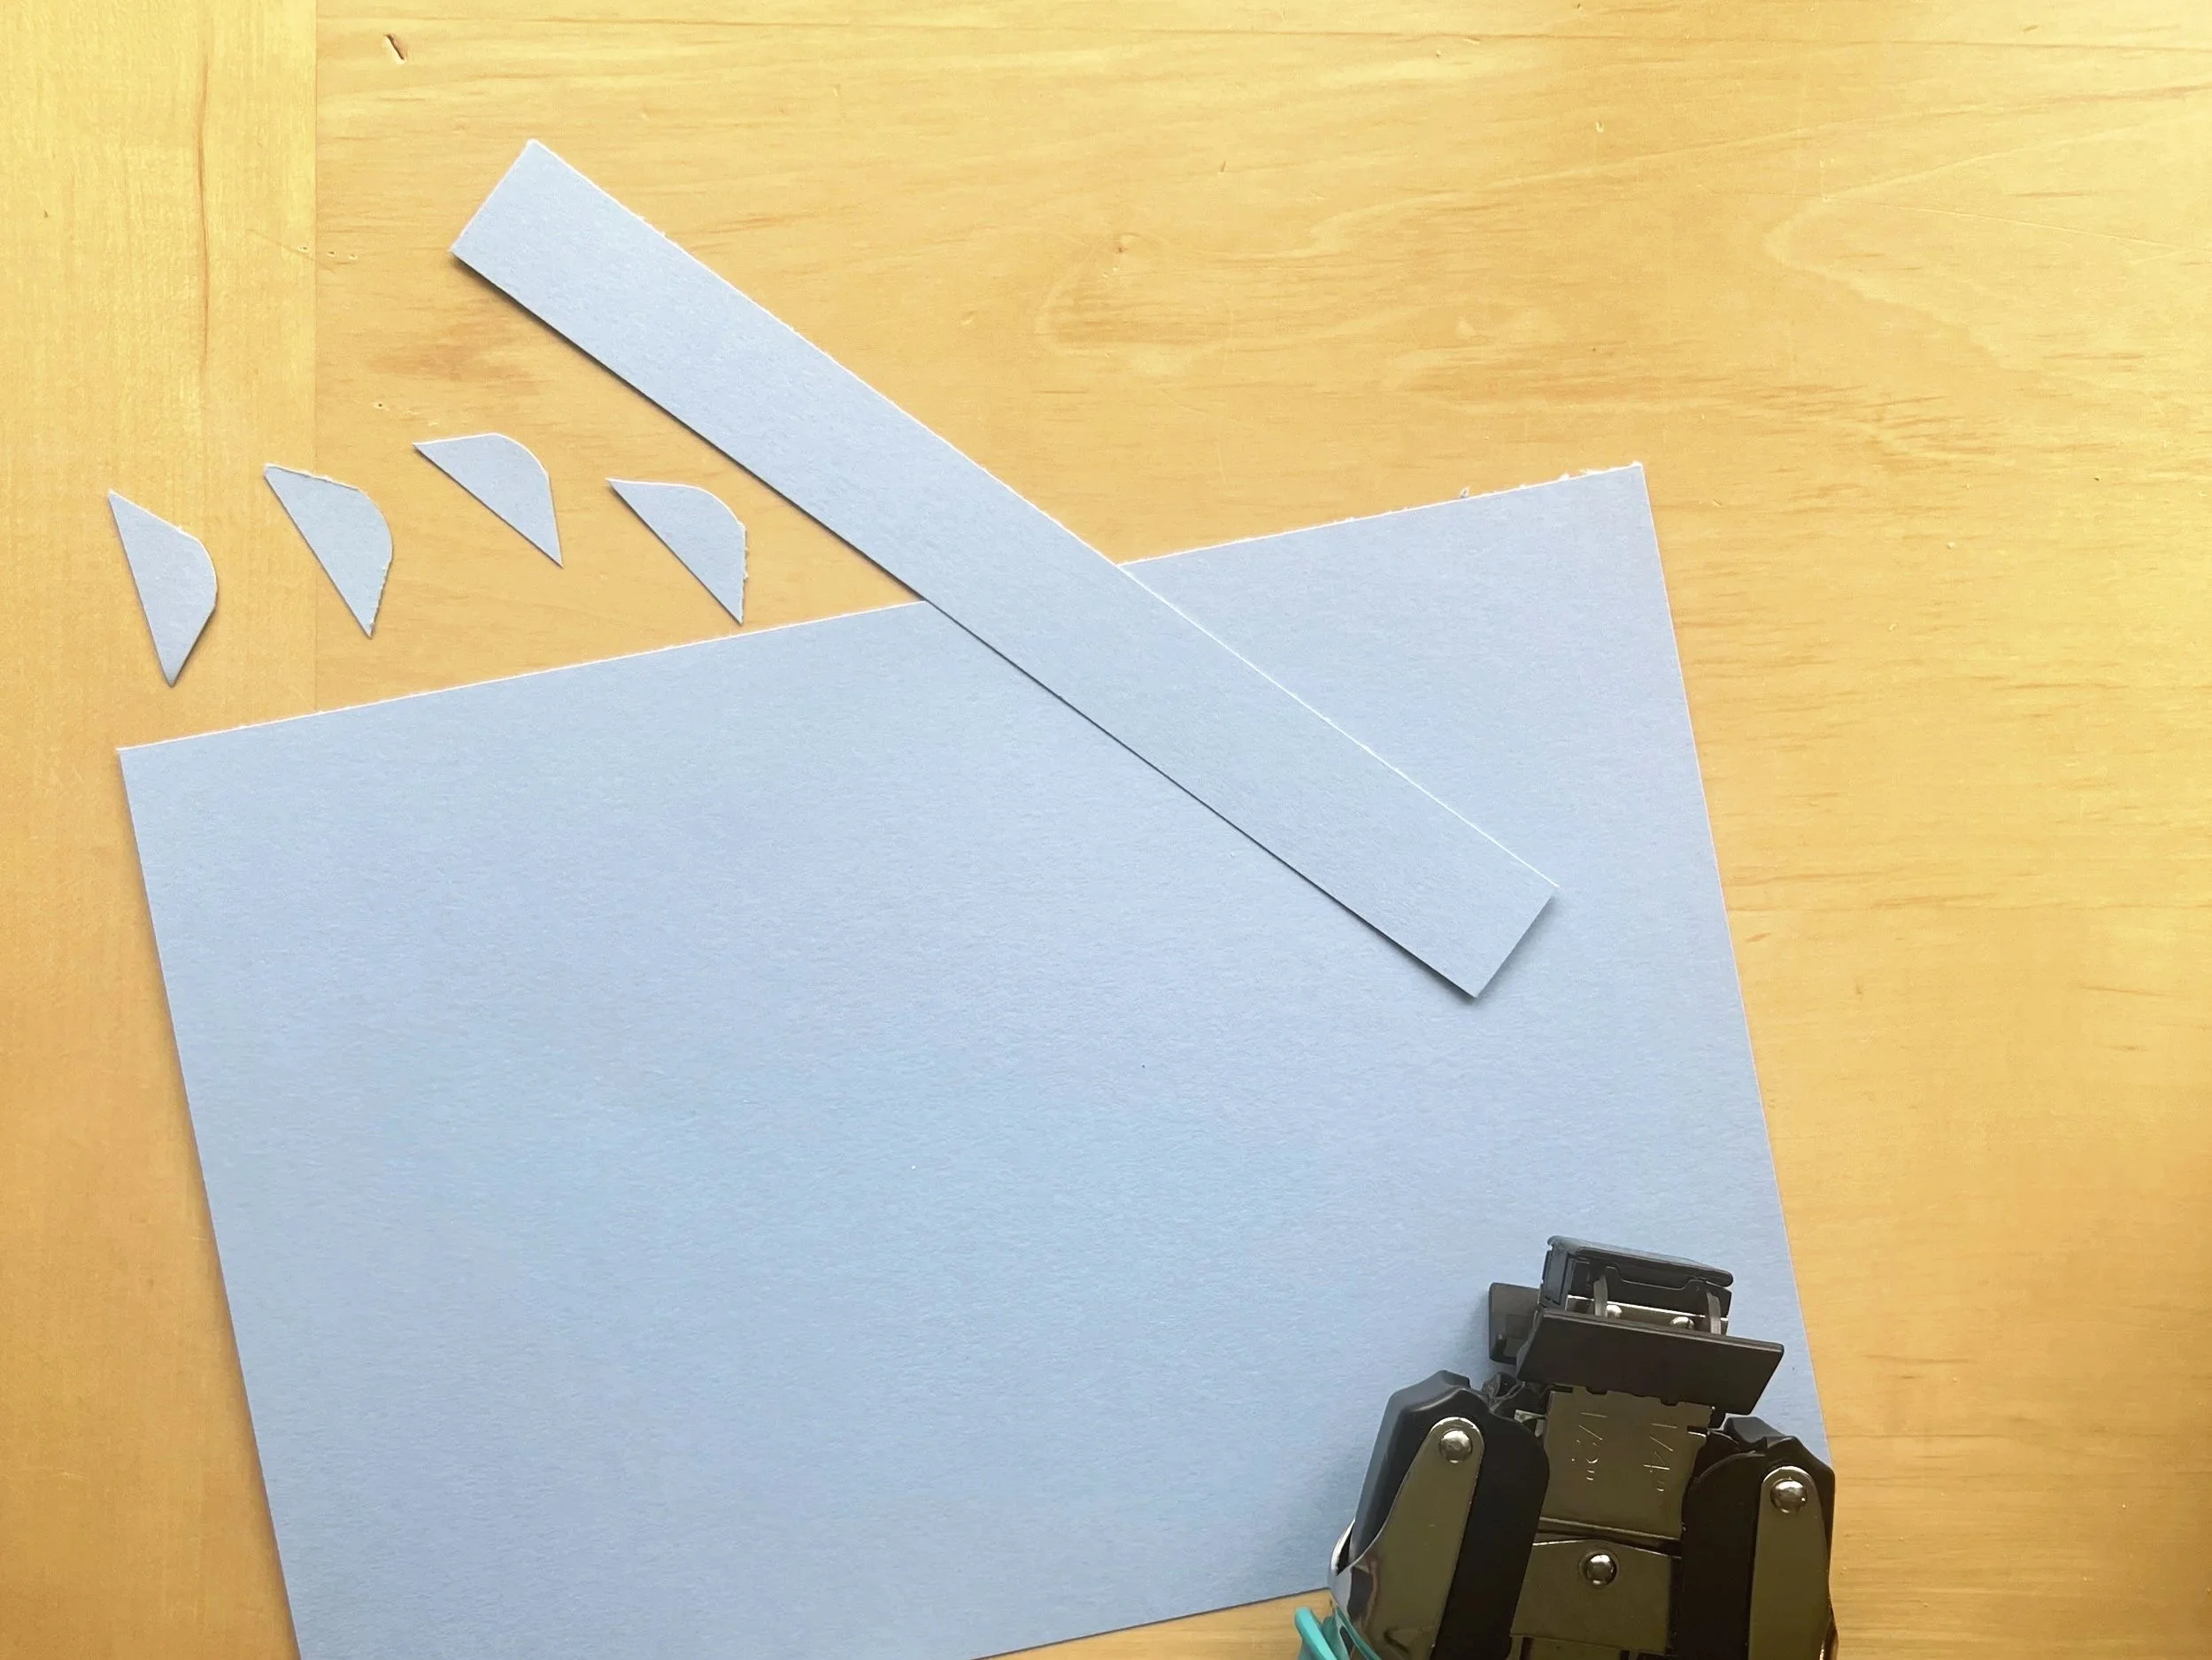
Get your photo corners ready. You can use pre-made photo corners like these. Or you can create your own photo corners to hold the artwork in place on the card. To make our own, we cut two one-inch squares from the excess strip of paper, rounded two opposite corners of each of the squares with the corner punch, then cut each square in half diagonally to form two triangular corners.
Next, fold the cardstock in half and determine if you will orient the card vertically or horizontally (depending on the artwork).
Center the art piece on the front of the folded card.
Attach premade photo corners, or use the following steps to attach the photo corners you created. With the artwork in place, use adhesive tape runner to secure each photo corner halfway over each corner of the artwork. It is important that you apply adhesive only to the outer half of each corner. Don’t adhere the photo corner to the artwork if you want to later remove the artwork from the card.
Now you have a lovely homemade card with a unique piece of artwork as the front cover. Be sure to have kids write a note/poem inside and sign it.

Tips:
Be sure kids sign and date their artwork on the back before attaching it to the card.
Use premade photo corners like these if you don’t want to make your own.
You can create a giant card to gift 8.5 × 11 or similar size artwork using large construction paper like this.
See how we made these simple Wildflower Watercolor paintings here.
You may also like:

Flower Vase Template Card

Gifts for Young Artists

Paper Collage Heart Card